
Everything about the Shimano brakes bleeding
Each component on a bicycle has meaning. The functionality of the brakes is probably the most important. It is essential for survival; a failure at the wrong moment can end disastrously.
For this reason, it is advantageous to know how the installed brake unit functions. A regular check-up of the brake pads or linings should become routine. Widespread use naturally causes signs of wear.
With hydraulic brake systems, braking performance can decrease if air enters the brake lines. The remedy is bleeding. Here, you can learn everything you need about bleeding hydraulic disc brakes.
1. What are the types of brakes on the bike?
Bicycles usually have rim brakes or disc brakes. For example, racing, trekking or city bikes are often equipped with rim brakes. When the brake lever on the handlebar is actuated, brake pads are pressed against the rim on both sides of the wheel. The resulting friction slows down the speed.
Rim brakes are lighter and usually cheaper compared to disc brakes. They are also very robust.
"However, the rims wear out due to the resulting friction and heat. In wet conditions, the braking performance is reduced." - Alice Huot @buycycle
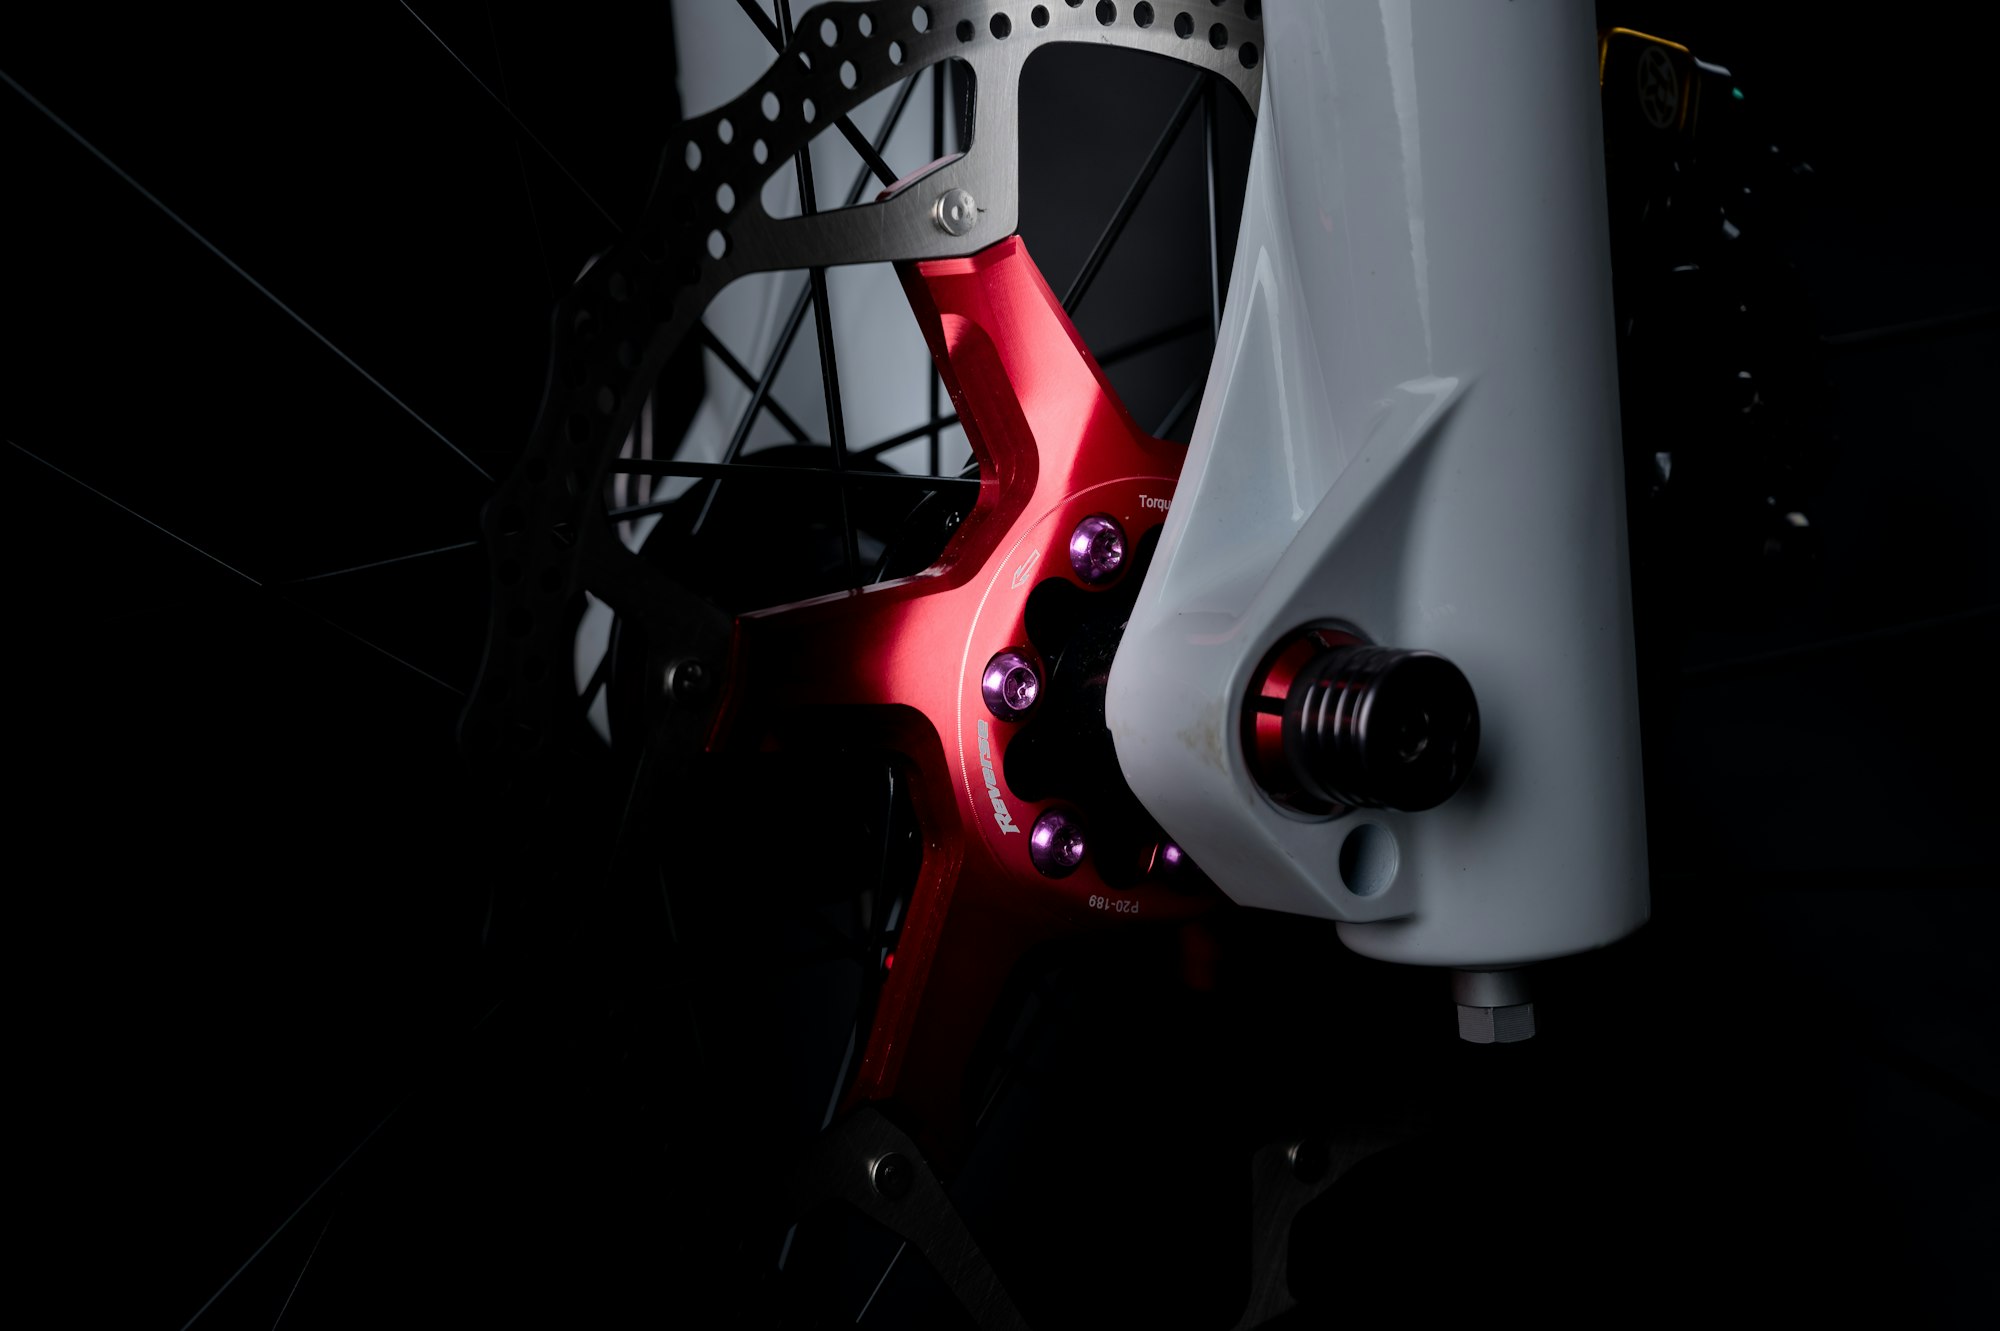
Disc brakes are standard on modern bikes of all types. Brake discs are attached to the hubs of the wheels. When the brake lever is pulled, two brake pads press on the discs from both sides and slow down the bike.
Both rim brakes and disc brakes have different modes of operation. The braking force can be transmitted hydraulically or mechanically. Hydraulic brakes must be bled from time to time. They contain a closed fluid system. Especially with mountain bikes, hydraulic disc brakes are often installed. Mineral oil runs through the brake cables. This cannot be compressed. When the rider pulls the brake lever, pressure is applied to the brake calliper. This causes the brake pads to press against the brake disc.
2. Why do you bleed a brake?
If braking performance decreases, the components should first be checked for wear. After that, there are other possible causes. If the brake elements are dirty or overheated, losses also occur. Cleaning them or letting them cool down will quickly remedy these deficiencies.
When cleaning brake discs and pads, no oil or grease should get on the elements. Those who regularly take their bikes out on long mountain tours risk overheated brakes.
"Before buying, you can pay attention to brake pads that are thermally pre-treated and, therefore, somewhat more temperature resistant." -Anja Benson @buycycle
If the brake has been used for some time, the pressure point may move backward. This indicates that the brake lever must be pulled further than usual to trigger braking. However, it can also indicate worn brake pads.
If there is indeed a shift in the pressure point, it is evident that air has entered the brake system. Therefore, the brake fluid in the lines can no longer transmit the pressure ideally after the brake levers are actuated. You can seal brake systems no matter how well.
Air will still find a way inside after some time. That's not so bad. Even inexperienced hobbyists can use Shimano and save money at the bicycle repair shop. It does not require a lot of time. Especially with a bleeding kit, also called a Bleeding Kit, the brakes are properly adjusted again in no time. By the way, it can be used several times, so this investment is worthwhile. Whether Shimano XT, Deore, XTR, SLX, or other models of disc brakes, bleeding works identically.
3. How often should you bleed Shimano brakes?
The frequency of brake bleeding is not clearly regulated. Bleeding is usually necessary when the pressure point becomes spongy and moves to the rear. It is impossible to predict exactly how often this will occur. Bleeding should not be due more often than once a year, but instead even less often. Otherwise, various seals are probably outdated and should be replaced by a specialist workshop.
4. How do you bleed the brake by yourself?
Quick exhaust
Although the brake is the most important thing to ensure your own safety, you can independently bleed your own brakes without prior experience. There are two options for bleeding the brakes independently. The first option, which is presented here, is not as thorough as the second.
On the other hand, it is particularly fast. In addition, a complete bleeding kit is not needed, only a bleeding funnel. The bike is best clamped in a mounting stand, or you can clamp it to guarantee a secure hold. The brake lever of the brake to be bled is aligned horizontally.
"The corresponding wheel must be dismantled. The opening with the bleeding screw should become the highest point of the system. The screw can now be unscrewed." - Alice Huot @buycycle
The funnel is inserted into this opening. After braking performance decreases, some Shimano mineral oil can be added to the funnel. The brake lever is now repeatedly tightened a little and let loose. Meanwhile, you should tilt the bike slightly. Air bubbles rise and become visible in the fluid in the funnel. If no more air reaches the surface, you are finished.
Preparation for Complete venting
To completely bleed the brake system, quite a few tools besides the bleeding kit are required. A screwdriver, needle-nose pliers, Allen wrench, open-end, and a few rags are used. When buying the service kit, make sure it is designed to bleed the brake system. In most cases, it contains mineral oil that must be from the same manufacturer as the brake system. Bleeding kits from Magura or Sram are, therefore, unusable for a Shimano brake.
The piston seals can be damaged by foreign hydraulic oil.
The Shimano bleeding kit should include the bleeding funnel, syringe, hose, and oil stopper. Mineral oil is also included in many kits, but not all. Clean work is essential in the bleeding itself. After all, no dirt should get into the brake system.
"It is best to clean the brake lever and caliper in advance. A clean storage area for the tools is also essential. During filling, mineral oil often overflows or drips." Anja Benson @buycycle
A few clean rags should always be handy for this. If mineral oil runs onto the bike's frame, the area can be cleaned with mineral spirits. Other chemicals, such as brake cleaner, will attack the paint. Gloves can be worn to protect your skin from liquids and resulting irritation. In old models, equalization reservoirs are mounted on the brake lever. Here, the lid must be removed for bleeding.
Complete deaeration in a quick run
- Remove impeller
- Set the brake lever horizontally
- Remove brake pads
- Push the brake piston completely backward,
- Push the bleed block into the brake caliper
- Prepare a syringe and fill it with mineral oil
- Apply syringe to brake caliper
- Remove the bleed screw on the brake lever
- Screw on the funnel and fill
- Slightly unscrew the bleed nipple on the brake er
- Allow mineral oil to migrate from the syringe to the funnel
- Screw in and close the venting screw and venting nipple
- Remove the bleed block and install brake pads
- Mount the wheel and bring the brake lever back into position
- Test drive
Complete ventilation in detail
Here, the bike should be fixed with the help of an assembly stand or similar. A second person who can help in case of doubt does not hurt. The wheel of the brake to be bled is removed. As with the faster version of bleeding, the brake lever to be bled is now placed horizontally. The bleeding screw should be the highest point in the system.
The brake pads should be removed. Under no circumstances should oil get onto the brake discs or brake pads.
To dismantle, first remove the safety screw. The linings are removed. The pistons are carefully pressed back; for this, you can use the so-called bleed block or something else blunt. This is also in the bleed kit. The bleed block is placed with the rounded side first in place of the pads in the brake caliper. The bleed block can be fixed with the safety screw.
This keeps the pistons in position. The syringe can be prepared by turning the adapter onto it and then putting the hose with a clamp on it. The bleeding kit contains all the parts. The syringe can then be filled with mineral oil.
"Approximately one-quarter of the syringe should be filled with the fluid. It is essential not to let any air get into the syringe. To do this, close the clamp on the adapter after filling." - Alice Huot @buycycle
The syringe is now placed on the bleed nipple of the brake caliper under a bit of pressure. The bleed nipple is usually protected by a rubber cover, which must be removed beforehand. There is an equalization reservoir on the brake lever. The bleed screw located here is removed.
It is fitted with a sealing ring that must not be lost. The funnel can be screwed into the opening of the bleed screw. About one centimeter of the funnel is filled with mineral oil. The bleed nipple on the caliper should be opened a quarter turn. For this purpose, a 7 mm open-end wrench or a hexagon socket is required.
With the help of the syringe, the mineral oil is fed into the brake system. The fluid rises in the funnel on the brake lever, and air bubbles also rise. The contents of the syringe should not be emptied. It is important not to introduce new air into the system through this step.
A look into the funnel reveals whether the mineral oil is still good. If it is a different color than the new fluid or contains foreign bodies, it must be collected in the funnel and disposed of. To completely bleed the brake system, the syringe can be filled with oil and emptied again. The mineral oil is thus moved back and forth between the funnel and the syringe.
It is crucial never to empty the syringe entirely and not to introduce air into the system. You can always pull the brake lever and carefully tap the brake lines during the process. In this way, air bubbles rise in the funnel, and the last air accumulations disappear.
Difficulties can arise. The pistons are carefully pressed back; you can use the so-called bleed block or something else blunt. Especially when bleeding the rear brake. Improperly routed brake lines cause this. If they are laid in a particularly curvy manner, this makes the bleeding process more difficult. To remedy the situation, lay the brake lines as straight as possible.
By unscrewing the brake caliper and letting it hang, the entry point of the mineral oil can be shifted particularly far down. Hopefully, this will make the air to rise above the funnel to the outside easier.
As soon as no more air bubbles rise in the funnel, the bleed screw on the brake caliper can be closed.
The bleed screw must be closed with a torque of 4-6Nm. For this, you need a small torque wrench. After removing the syringe, the rubber cover can be put back on the bleed nipple. The brake caliper is cleaned with a clean rag. The pressure point usually sits ideally again after the brake lever is pulled a few times. The funnel is closed with the funnel plug and then unscrewed.
The mineral oil should be up to the screw-in opening. The bleed screw, together with the seal, is screwed back into the brake lever. It should not be screwed in too tightly. Old mineral oil from the funnel and syringe are disposed of properly.
Places on the bike that have come into contact with mineral oil are cleaned with methylated spirits. When the pressure point has moved further forward again, the bleed block can be removed, and the brake pads can be inserted.
Once the wheel is remounted and the brake lever is aligned correctly, the MTB or road bike is ready to ride again. After successful bleeding, the bike can be test-ridden. When doing so, you should ensure the brake engages significantly earlier in the best case.
The pressure point moves forward again. You may brake too hard if you are still used to the old brake. If there is hardly any change in the pressure point after bleeding, this may be due to the seals. Age and wear cause problems. The seals should be replaced at a specialist workshop to make them impermeable to air again.
Final word
If you are not sure about the bleeding process, you can, of course, go to a bicycle repair shop. After all, there are a few points that you have to pay attention to for a clean result.
You can develop a routine here and realize what matters only by bleeding several times. Nevertheless, bleeding is also feasible at home and without prior knowledge.
It's best to try it out if you have any questions about the brake system. The buycycle-team with advice and to your side. Until then, we wish you Happy fixing, braking, and cycling!
Components guide
- Bike components guide: what are the parts of a bike?
- What bike parts to upgrade first?
- How much do bike parts cost?
- Where to buy bike parts?braking, and
- What are the main gravel bike parts? Check out our guide to gravel bike components!
- What are the main mountain bike parts? Check out our guide to mountain bike components!
- What are the main road bike parts? Check out our guide to road bike components!
- How to convert a road bike to a gravel bike? Is that even a good idea?
- All things suspension travel
Gearing system
- Everything you need to know about the Shimano Di2
- Shimano Claris review: lifting the lid on the Shimano’s most accessible road bike groupset
- All about the Chinese L-TWOO eRX shifting group
Wheels and tires
- Tubeless tires - What are the advantages?
- Going Tubeless
- Gravel tires on road bike: A genius move or a misguided choice?
- Schwalbe tires recycling
- Everything about the tire size of your bike
Breaks
Pedals
Saddles
- Best MTB saddles: saddle up for the trails
- Best road bike saddle: the seats that can’t be beat
- How to calculate your ideal saddle height
Bags
Electronics
- The best bike gadgets 2024
- The buycycle bike computer test
- Everything about road bike gears
- The bicycle power meter
Bike Maintenance
Others