
Everything you need to consider when your disc brake pads need replacing.
If your bike is not braking efficiently or making funky noises when braking, it probably means your brake pads are worn out or contaminated and need replacing.
In this blog post, we'll give you a step-by-step guide on how to replace your disc brake pads to get you back on the road as quickly as possible. Of course, Nic's your go-to guy for advice here, too.
1. What you need
To replace your disc brake pads, depending on the brand, you will need:
- Either need a 2.5 or 3mm hex hey or a flat head screw driver
- Needle nose pliers for the retainer pin
- Use disc brake cleaner or isopropyl alcohol
- a paper towel or lint-free rag
- a digital caliber or ruler to gauge the wear of the disc pads
- a piston separator (in most cases, we would opt for a plastic tire lever)
- A brake fluid funnel (or syringe for SRAM riders) – not entirely necessary but great to have
- Lastly, you need new brake pads that are compatible with your rotors and calipers. The best way to check this is to remove the pads and then either take them to your local bike shop or look at the code on them and search for them online.
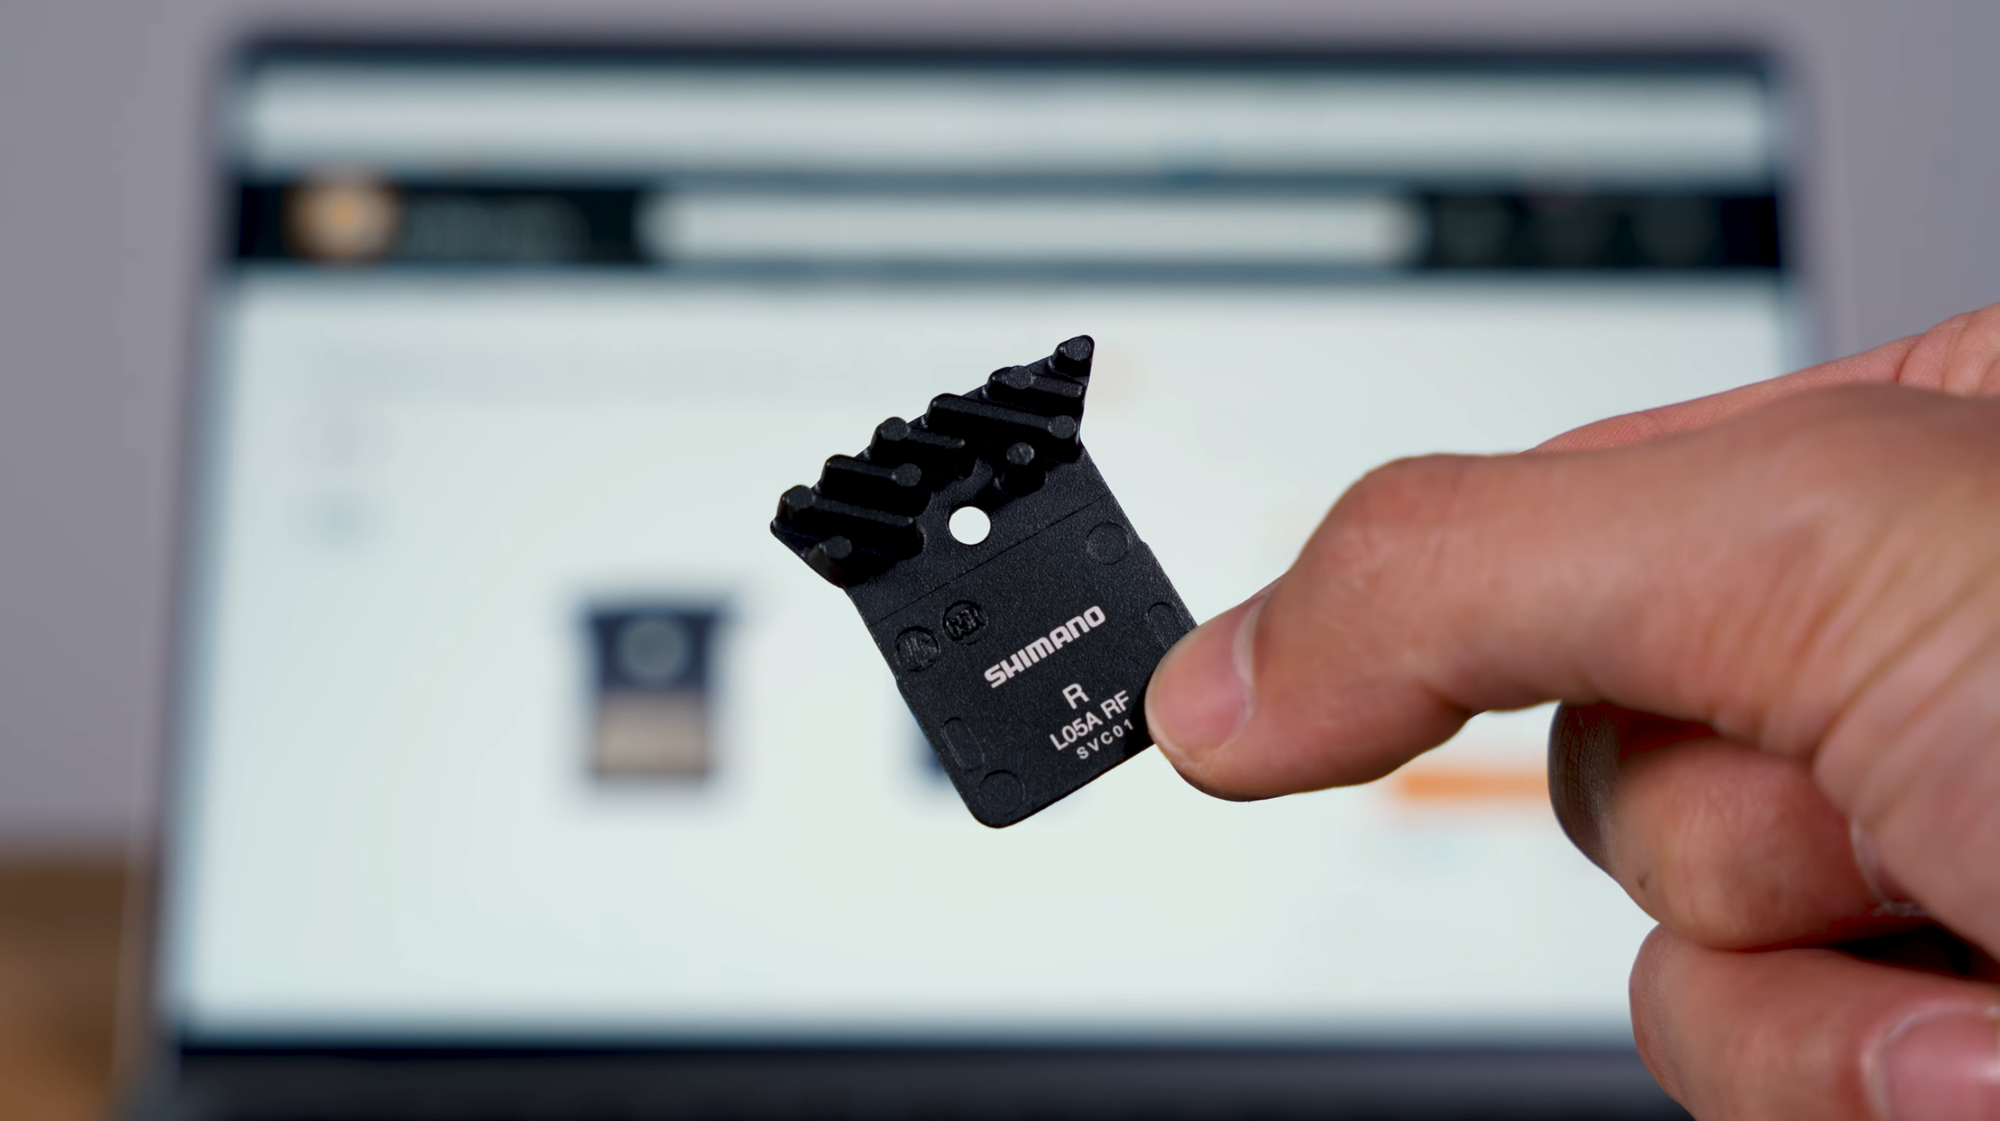
Most brake pads online will usually state which model or series they are compatible with. Also note that brake pads are available in different materials, including organic (resin), semi-metallic, and metallic. They will differ in terms of braking performance, noise, heat dissipation, etc. Some brake rotors are only compatible with certain materials, so make sure to double-check that as well.
2. When and how to remove your disc brake pads
For most models, when the brake pad material has worn down to about 0.5 mm or has gotten contaminated with oils, it is time to replace the pads. You can check this visually from above and roughly gauge how much material is left. The best way to check is to take them out and check the thickness using a digital caliper.
To remove the brake pads, you will first need to remove the wheel. Then, get out your needle nose pliers and remove the retaining clip on one end of the retaining bolt. Make sure you don't miss it!

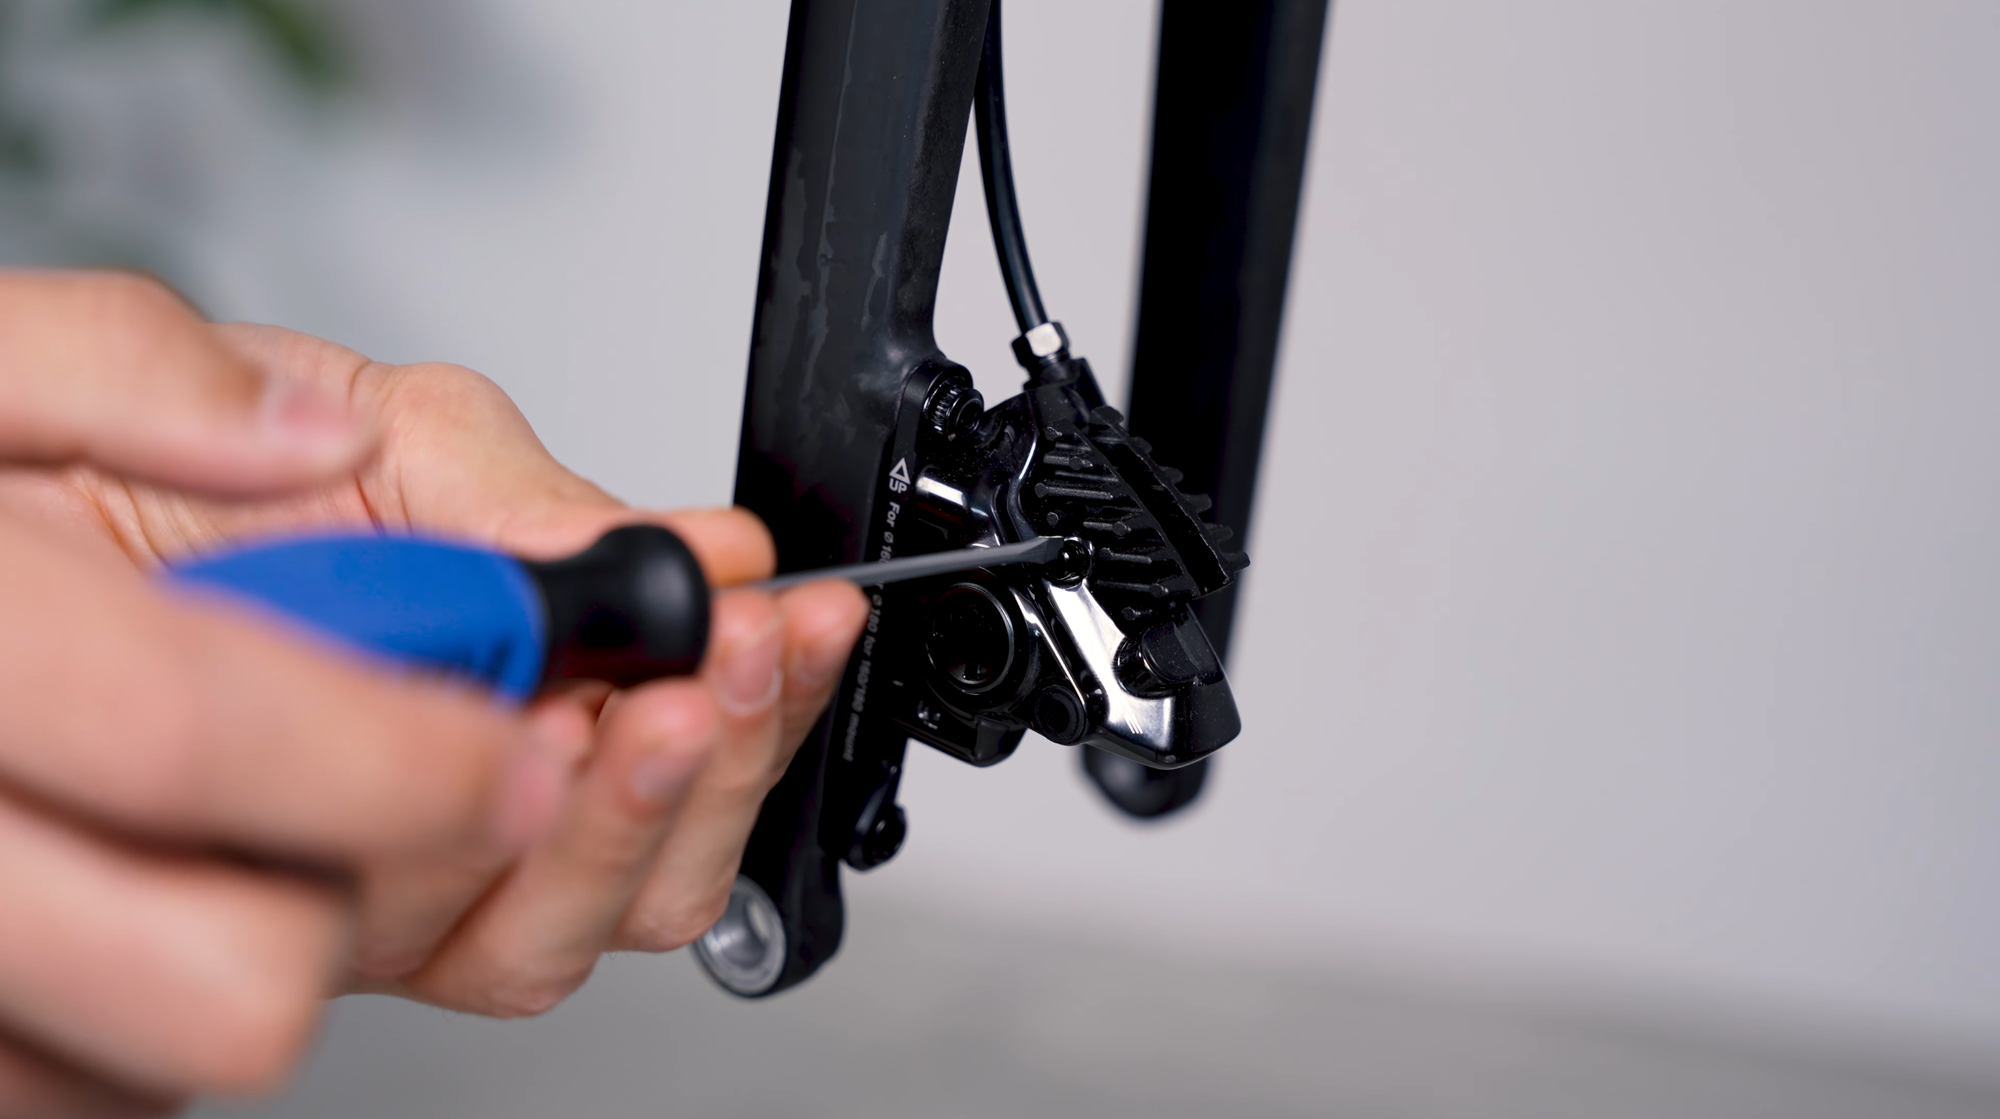
Then remove the retaining pin using the appropriate hex key or flat head screw driver and set the bolt aside. The new pads will usually come with a new pin and clip, but you can reuse the old ones if they don't.
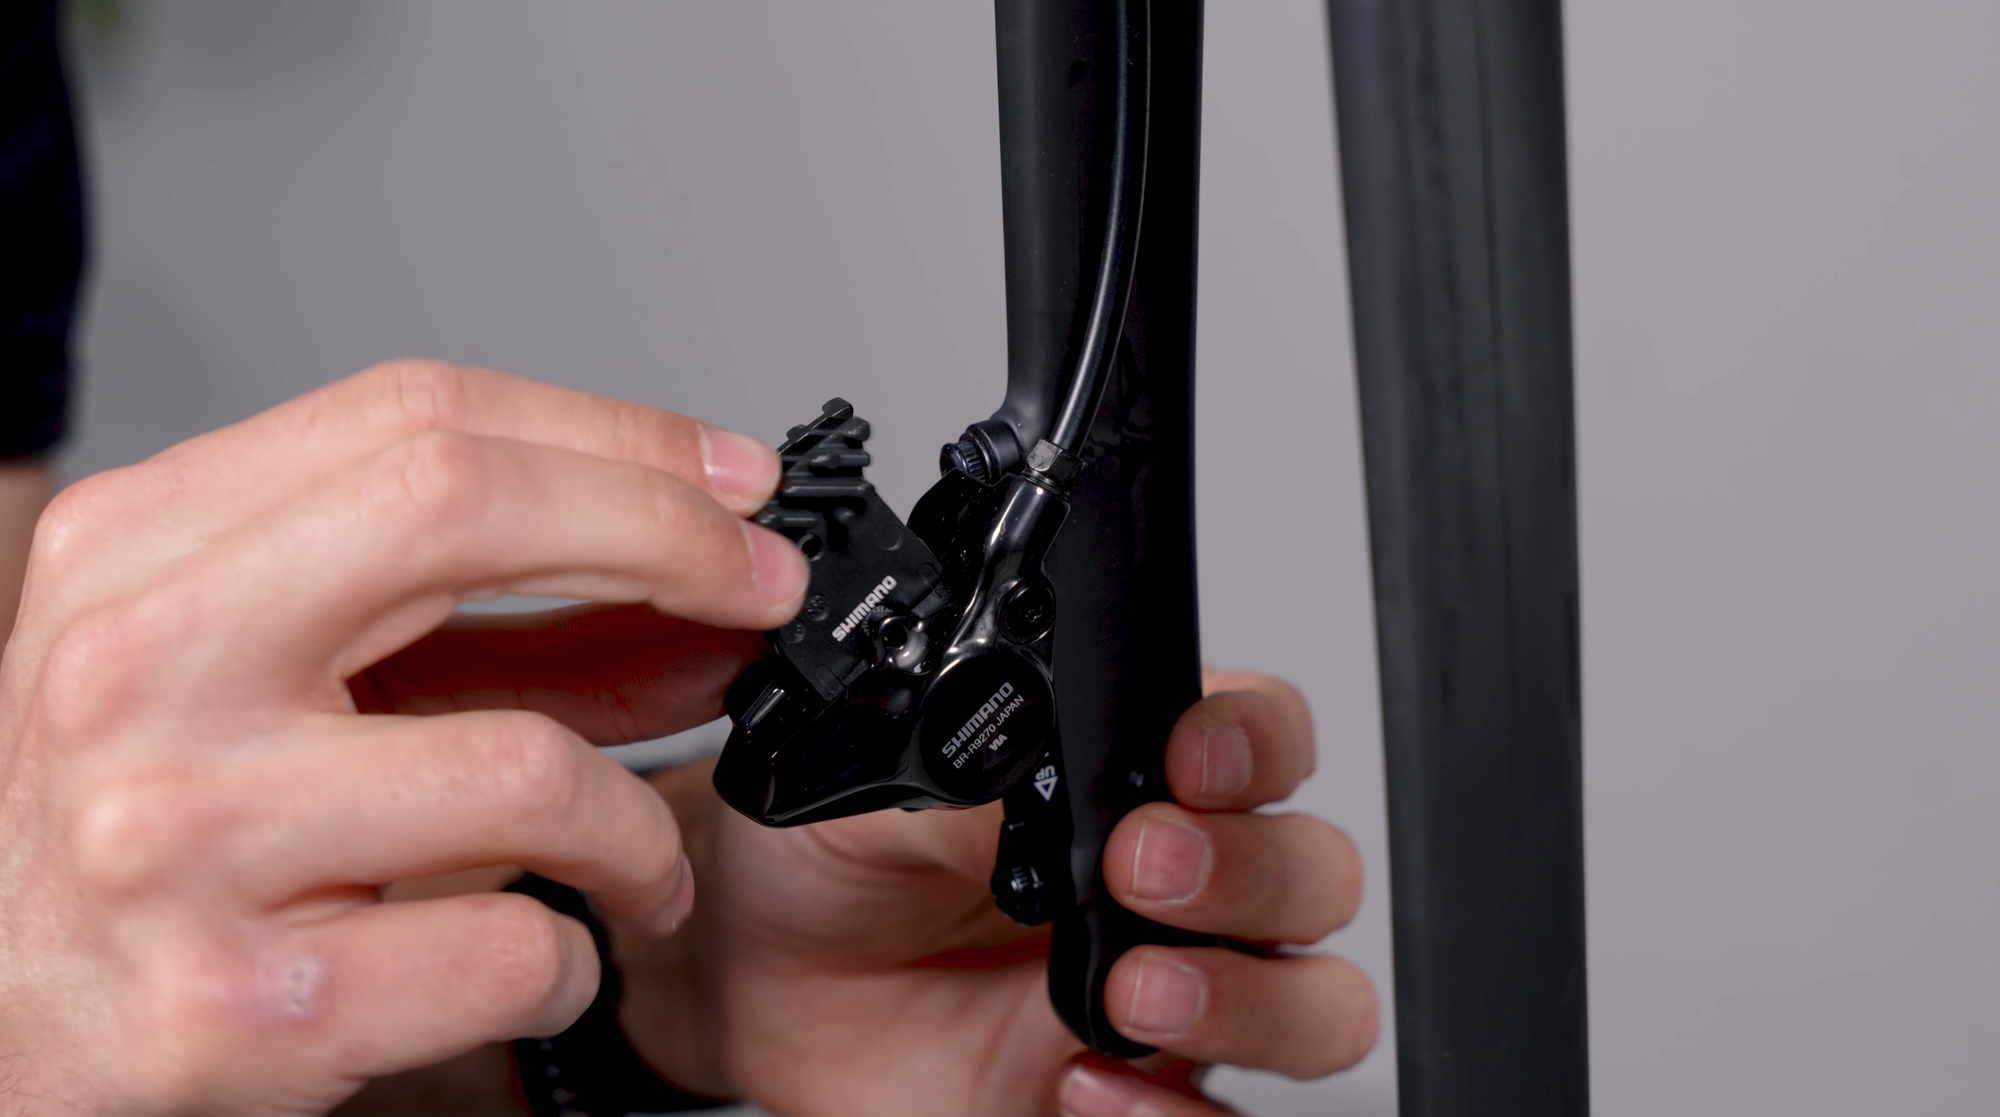
Now, from the non-rotor side, you can simply slide out the old brake pads. At this point, you can double-check the pad wear and also find the code on the back of the brake pad. From this point on, do not press the brake levers, as that will push your pistons out.

3. Cleaning and resetting the pistons
Before we install the new brake pads, we need to clean and reset the brake caliper pistons. The pistons push the brake pads against the rotor. Over time, as the brake pad wears, the pistons will extend out further to compensate for the wear. Therefore, they need to be pushed back in so there is enough space for the new pad.
Before pushing them back in, remove your isopropyl alcohol or brake cleaner. Pour some on a paper towel and feed it through the caliper to wipe off any grime on the pistons. This step is not always necessary, but it is good practice: When pushing the pistons back, it will force fluid up to the reservoir chamber in the lever, create pressure and potentially damage it, especially if there is too much fluid in the hydraulic line. To avoid this, go ahead and open up the lever cap bolt (make sure the lever cap is parallel to the ground so that no fluid drips out), then screw on the bleed funnel or syringe.
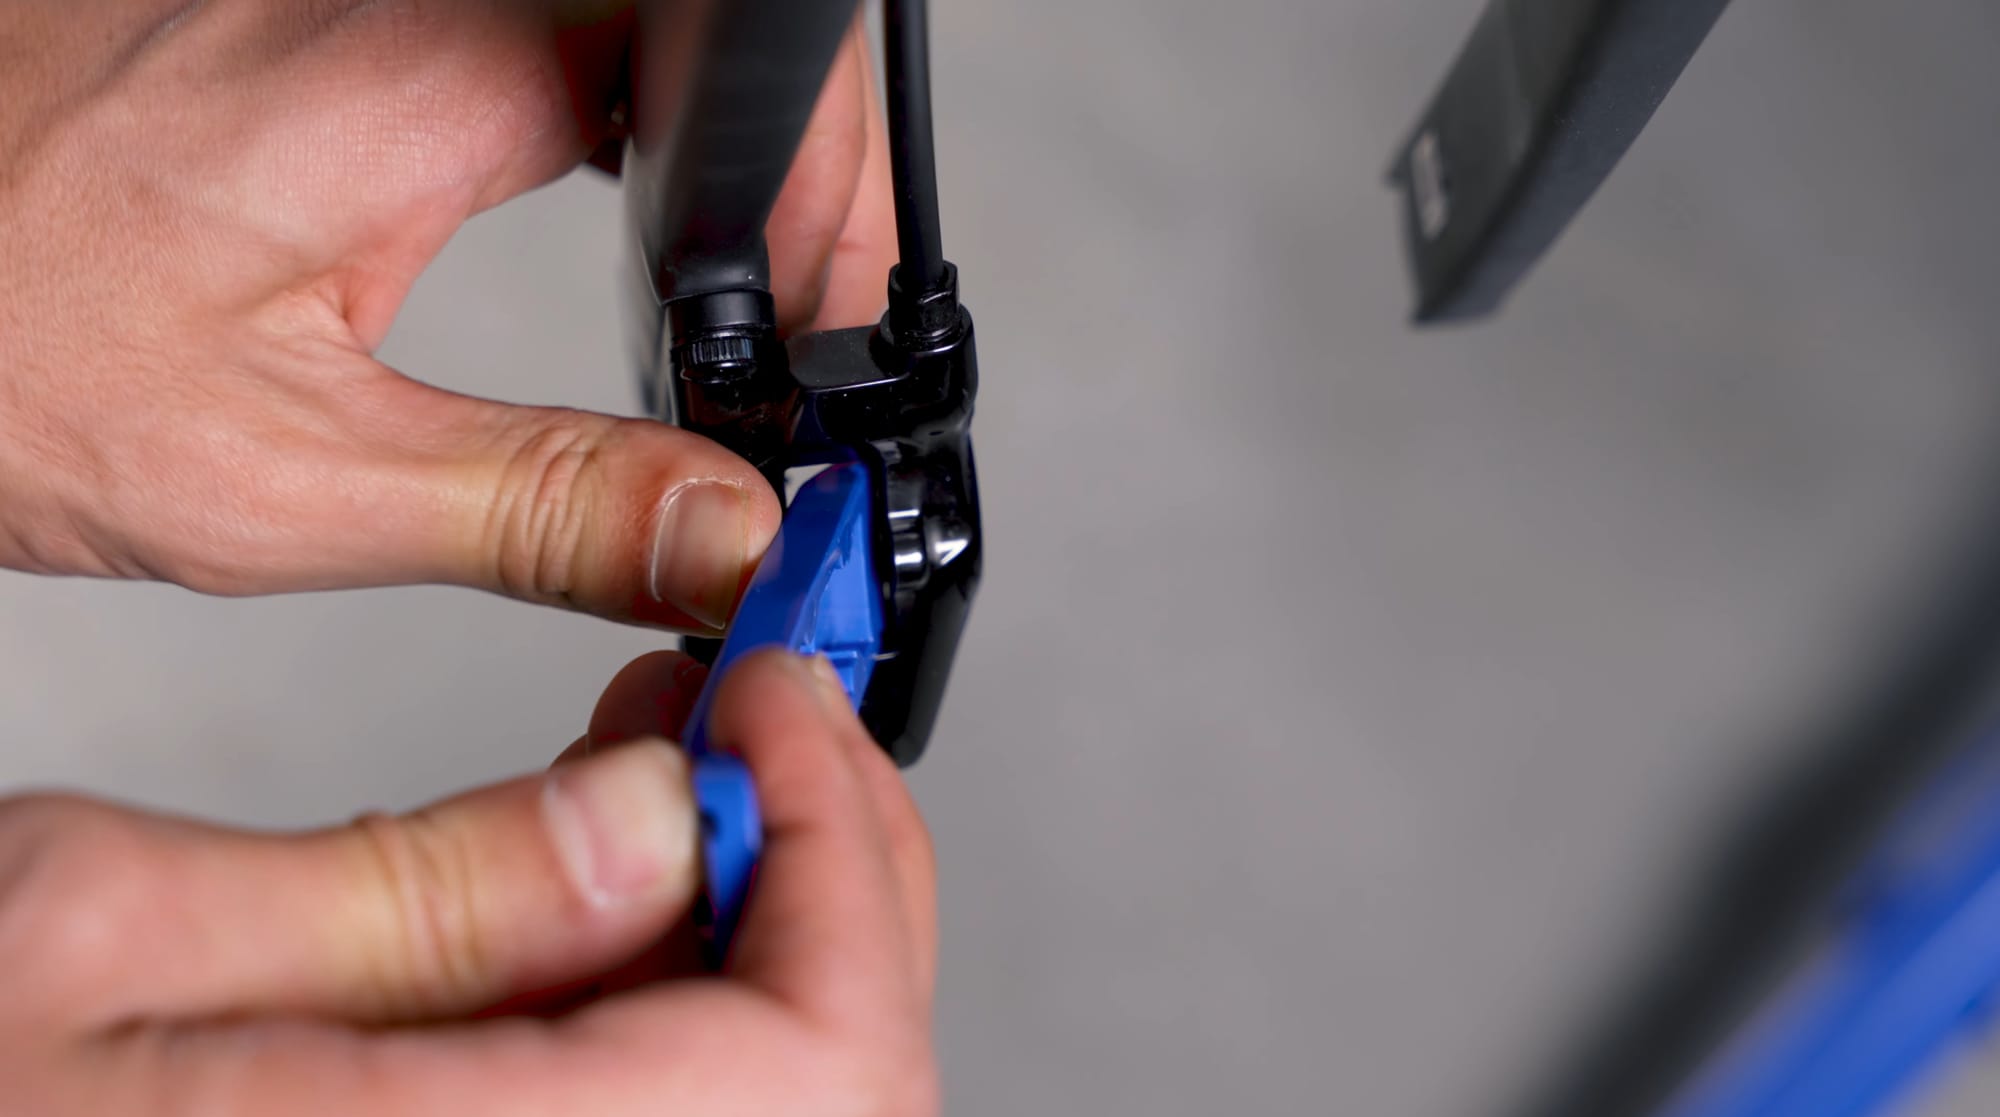
If you have some on hand, pour a bit of brake fluid into the funnel. If you do not have a funnel, wrap a paper towel around the lever to catch any oil that might come out. Now, carefully remove your plastic tire lever, firmly and evenly, and push back the pistons on each side to flush with the caliper wall. Don't push too quickly, because the fluid will spray out. Once they are fully backed up, we can move on to the next step.
4. Installing the new brake pads
Now you can get out your new pads, only touching them from the back to avoid contamination. Place the return spring between the pads. This will help the pads to return and back off the rotor plate. Then, if they have any, pay attention to the direction indicators marked on the pads (left and right side). Push the pair together and slide them into the calliper body.
Now, get out the new retaining pin and clip (or the old ones), feed it through all the holes, including the return spring, and thread it in using the appropriate tool. Lastly, put the clip back on. Before you put your wheel back in, wipe the rotors with brake cleaner or alcohol to remove any contaminants.
5. Aligning the brakes and doing a quick bleed
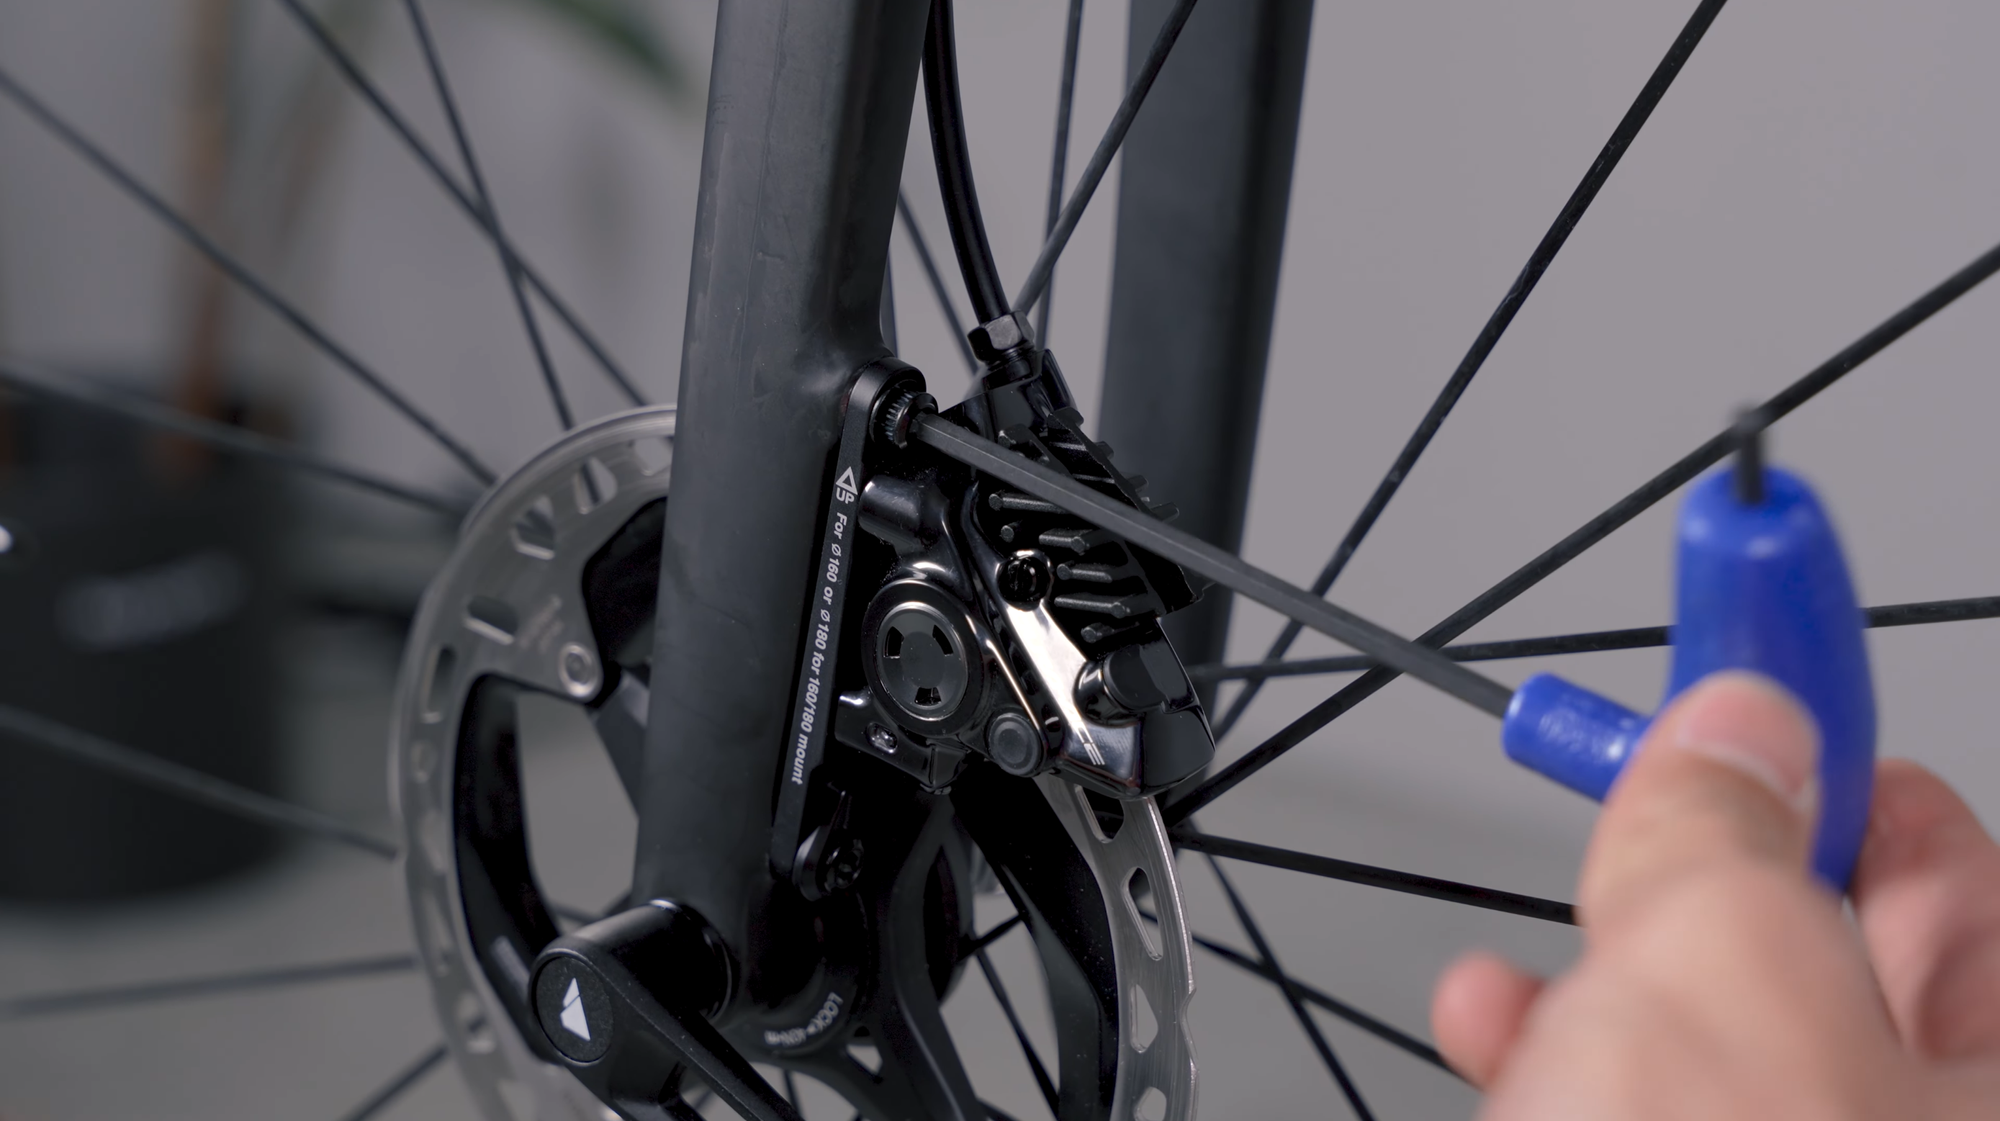
If you had the funnel on but without fluid inside, or you did not have the funnel on at all, you can now close up the fluid cap bolt. If the funnel is still on, leave it on for now. Then, we are going to loosen up the caliper mount bolts so that we can get it aligned with the brake rotor, as 90% of the time, it will be out of place when you change the pads.
Now, squeeze the brake lever 5-8 times to set the pistons. If the funnel with fluid is still on, this will also give you a quick brake bleed. If you notice dirty fluid coming out, you will need a full brake bleed soon. On the 8th squeeze, hold the lever down and retighten the caliper mount bolts.
The rotor should now be aligned with the pads. When you spin the wheel, it should not rub. If the funnel is still on, plug it up and remove it. If the brake lever is still feeling sluggish, you will need to bleed your brakes.
6. Bed in the new pads
Lastly, before going out on a proper ride, you must bed in the pads to ensure they deliver their full braking power. To do this, take your bike outside, bring it up to some speed, and then brake firmly about 10 times. Brake until you’re at walking speed, making sure not to come to a full stop. This will get rid of the top layer on the pads and wear them into the rotors.
And there you have it! Now you can hit the roads and trails with your fresh brake pads. If you don’t want to replace your disc brake pads yourself, book one of our service checks the next time you buy a bike on buycycle.com. So check out buycycle.com for your perfect bike, and stay on the blog a little longer if you want to learn more about road bikes or all things cycling. Our team's always got your back whenever a question pops up, but until then, we wish you, as always: Happy browsing, happy cycling!
Components guide
- Bike components guide: what are the parts of a bike?
- What bike parts to upgrade first?
- How much do bike parts cost?
- Where to buy bike parts?
- What are the main gravel bike parts? Check out our guide to gravel bike components!
- What are the main mountain bike parts? Check out our guide to mountain bike components!
- What are the main road bike parts? Check out our guide to road bike components!
- How to convert a road bike to a gravel bike? Is that even a good idea?
- All things suspension travel
Gearing system
- Everything you need to know about the Shimano Di2
- Shimano Claris review: lifting the lid on the Shimano’s most accessible road bike groupset
- All about the Chinese L-TWOO eRX shifting group
Wheels and tires
- Tubeless tires - What are the advantages?
- Going Tubeless
- Gravel tires on road bike: A genius move or a misguided choice?
- Schwalbe tires recycling
- Everything about the tire size of your bike
Breaks
Pedals
Saddles
- Best MTB saddles: saddle up for the trails
- Best road bike saddle: the seats that can’t be beat
- How to calculate your ideal saddle height
Bags
Electronics
- The best bike gadgets 2024
- The buycycle bike computer test
- Everything about road bike gears
- The bicycle power meter
Bike Maintenance
Others