Winter cycling training: Studded tires, giant fans, and tips to optimize your ride

Now that December has arrived, the holiday season is in full swing, bringing with it twinkling lights, festive decorations, and the promise of cozy gatherings. Neighborhoods are transforming into winter wonderlands, streaming platforms are packed with holiday classics, and the aroma of spiced drinks fills the air. But for endurance athletes and outdoor enthusiasts, this time of year carries a different kind of challenge. Beyond the cheerful carols and sparkling decor looms the undeniable reality of winter—shorter days, plummeting temperatures, and icy conditions that can make staying active feel like an uphill battle.
Why winter cycling training matters
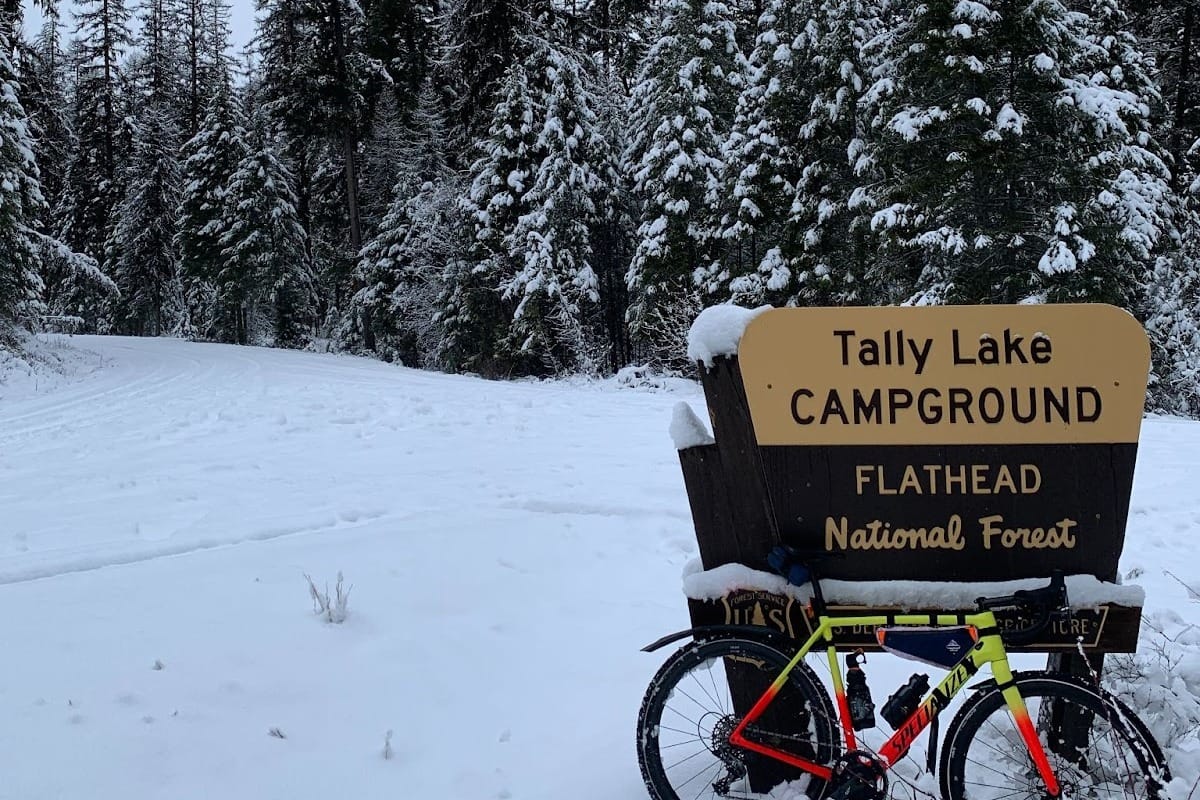
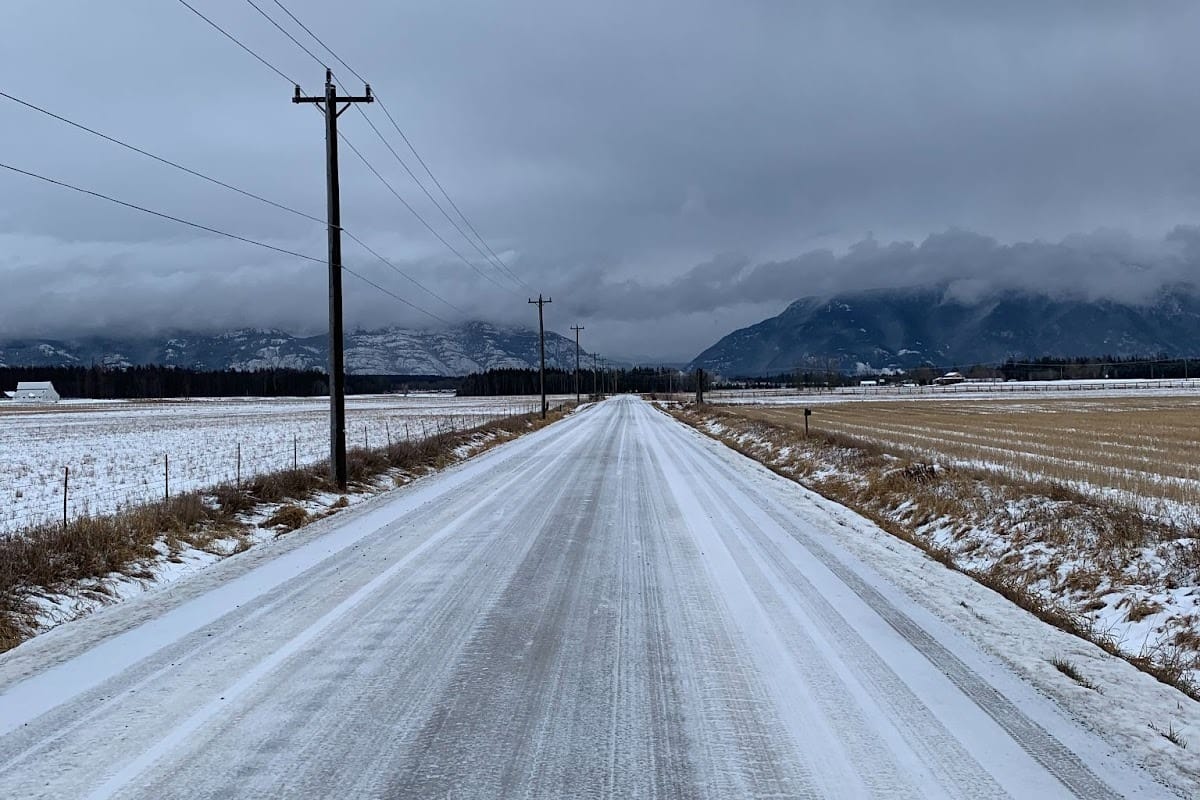
I was born and raised in the mid-atlantic region on the east coast of the U.S., so it’s not as though I am not privy to what cold, dank, and gray days look like for weeks on end. But after moving to Southern California to attend university and subsequently spending several years there after I graduated, my tolerance for anything that isn’t absolutely pristine, perfect weather all the time, every day, forever and ever has plummeted to just about zero and has been stuck there ever since. Consequently, my wife’s and my eventual relocation to her hometown in northwest Montana was a shock to my system and presented the daunting challenge of figuring out how to navigate winter again after successfully avoiding it for the better part of a decade. So, with that in mind, I wanted to take some time and share with you all some tips, tricks, and treats to help you stay active this upcoming off-season so that when the temperatures start to dip, your motivation doesn’t.
Winter cycling training - Best practices
You've heard the age-old adage: “there isn’t such a thing as bad weather, only bad clothing.” Personally, I don’t believe that at all. There is unequivocally such a thing as bad weather, and having had heaps of my own experiences navigating extremes ranging from excessive heat to sub-freezing blizzards, I can’t cite a single article of clothing in the world that would have made those specific instances any less miserable. Really, the phrase should read, “there’s bad weather, and then there’s bad choices,” and my first and foremost recommendation when learning how to ride in winter is to make sure that the conditions you wish to brave are, more or less, safe--i.e. there isn’t an active blizzard happening with winds that will sweep you away into field.
I know that winter cycling, specifically, loves to market itself as a sport whose participants love to suffer, and there are indeed times and places for that, but I want to emphasize that the sport should be, above all, fun! That’s why we get into it in the first place. How, then, can we make riding in winter as fun as it can be? Below are a few ways I’ve learned how to maximize the smiles and joy and minimize the shivering and jitters.
1. Planning for temperature
One app that I highly recommend for winter cycling training is called Epic Ride Weather, a weather-prediction app that allows you to choose routes you have created on Strava and get an hour-by-hour forecast for the entire route based on the speed you input and the start time. Here’s how it helps:
Epic ride weather key features:
- Predicts temperature, precipitation levels, cloud cover, and wind direction/speed.
- Customizable based on your input speed and ride start time.
- Perfect for routes with significant elevation changes, like mountain summits.
- Helps you prepare for temperature differences between the base and peak of a climb.
Why is it essential?
There’s nothing worse than sweating during a climb and arriving at the summit, only to feel freezing cold without proper gear. If there’s any chance of sweating during your ride, it’s always wise to carry a bar bag with essentials like a spare jacket, base layer, and gloves to stay warm.
Being soaking wet at the summit and freezing on the descent can quickly turn a great ride into an unpleasant experience—something no winter cycling training enthusiast wants to endure.
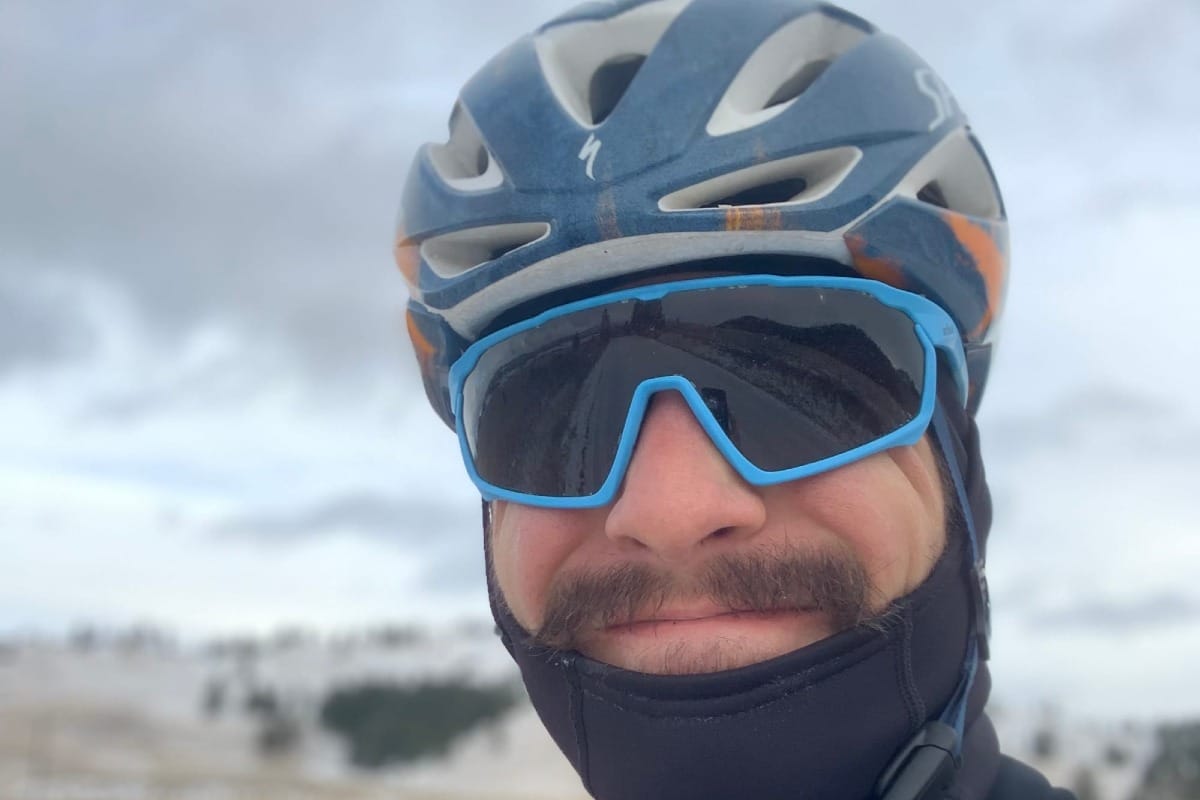
2. Choosing the right fabrics
When it comes to winter cycling training, the type of fabric you wear can significantly impact your comfort and performance. Each material has its strengths, but understanding when and how to use them is key to making your winter cycling training plan effective.
Wool: Ideal for dry and cold conditions
- Why choose wool?
- Often advertised as “sweat-wicking,” wool (or merino wool) efficiently removes moisture from your skin.
- Reduces evaporative cooling, helping you stay warm for longer.
- Best use:
- Great for base layers and gloves in winter training cycling sessions during cold, dry conditions.
- Pro-tip:
- Wool is water-resistant, not waterproof. In rainy conditions, it will eventually soak up water, reducing its insulating properties.
- Solution: Carry a spare pair of wool gloves in a plastic bag to swap out if needed.
Gore-tex: For wet and sloppy rides
- Why choose gore-tex?
- A trademark fabric designed to be waterproof yet breathable.
- Often used in jackets or outer layers during winter cycling training camps or rainy rides.
- Best use:
- Keeps your core warm and dry in rain or mud.
- Ideal as an outermost layer during challenging weather conditions.
- Pro-tip:
- With the PFC ban, Gore-Tex's highly water-resistant “Shakedry” technology is becoming harder to find, so stock up if you rely on it.
Neoprene: For extreme warmth
- Why choose neoprene?
- A synthetic rubber neoprene is waterproof and retains heat exceptionally well.
- Commonly used in gloves and booties for winter cycling training in extremely cold or wet conditions.
- Best use:
- Excellent for keeping extremities (toes and fingers) warm.
- Pro-tip:
- Does not allow moisture to escape, making it tricky if your hands get sweaty.
- Wet neoprene gloves are almost impossible to put back on.
- Not touchscreen-compatible unless designed with special pads, so plan your music or audiobook beforehand to avoid taking off gloves mid-ride.
3. Finding the right gear
Thermal bottles for sub-freezing rides
- Why use them?
- In sub-freezing temperatures, regular bottles can freeze, turning your drink mix into an undrinkable slushie. Thermal bottles, like those made by Bivo, are designed to retain heat and keep your drink in liquid form throughout the ride.
- Pro-tip:
- Fill your bottle with a hot beverage for an extra warming effect during your winter training cycling sessions. This keeps your core warm and helps maintain body temperature.
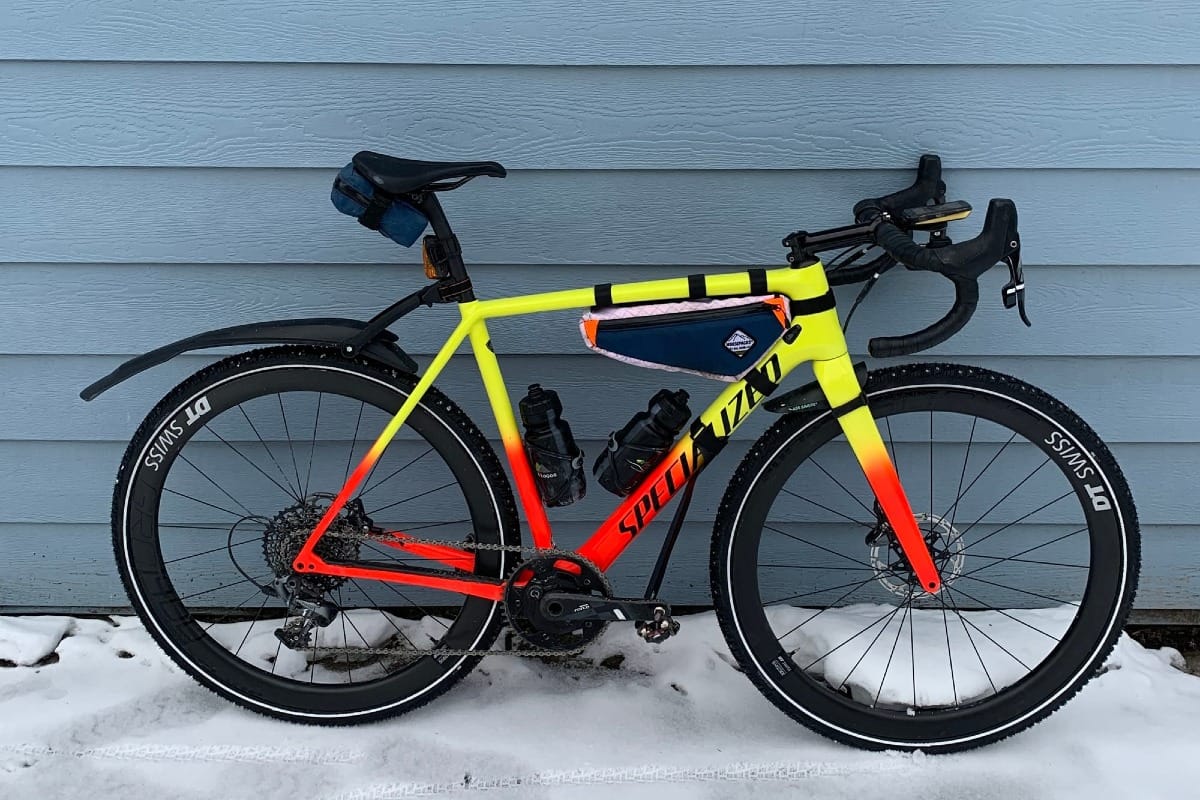
Cargo-style bags or top-tube bags for food
- Why use them?
- Cold weather and thick gloves can make accessing jacket pockets difficult. Using a cargo bag or top-tube bag ensures quick and easy access to your food during your ride.
- Your body burns more calories in the cold to stay warm. Having food within easy reach helps you stay fueled and energized during winter cycling training camps or long training rides.
- Pro-tip:
- While these bags might not win fashion points, they’re practical and essential for keeping your "engine" running hot!
Insulated insoles for cycling shoes
- Why use them?
- Companies like Sidas offer insulated insoles designed for ski boots but work excellently in cycling shoes for winter training cycling.
- Pro-tip:
- Standard insoles in carbon-plated cycling shoes can poorly conduct heat. Insulated insoles with aluminum film in the toe section help keep your feet warm.
Winter-specific cycling shoes
- Why use them?
- These shoes are designed with complete insulation and excellent heat retention, making them ideal for your winter cycling training plan or frigid training rides.
- Pro-tip:
- If cold feet are a persistent issue, consider investing in winter-specific cycling shoes like 45NRTH’s Ragnarok or Giro’s Blaze.
Adjusting your bike for winter cycling
Okay, so you’ve filled your thermal bottles, you’ve insulated your feet, and you’re properly bundled up like Randy from A Christmas Story. You are ready to go. But wait! Is that a bit of rain? Could there be snow on the ground? And now there might be ice too?! Not to fear because there are still ways to get outside and ride your bike if you’re looking to have a real adventure?
My first ever winter in Whitefish, Montana, I wanted to try to be the tough bike rider, so, along with all of the aforementioned options that I just laid out that would deal mostly with keeping me warm, I took the time to invest in small items that would optimize my bike for riding in sloppier and colder conditions. Here are my top two recommendations:
Fenders (or mudguards):
Fenders might not win aesthetic awards, but they’re incredibly functional. In many rainy climates, group rides require them to protect fellow riders.
- Benefits:
- Keep road spray off your shins and backside.
- Keep your clothing drier, allowing you to stay warmer for longer rides.
- Pro-tip: Explore options from Planet Bike and SKS for durable and effective fenders.
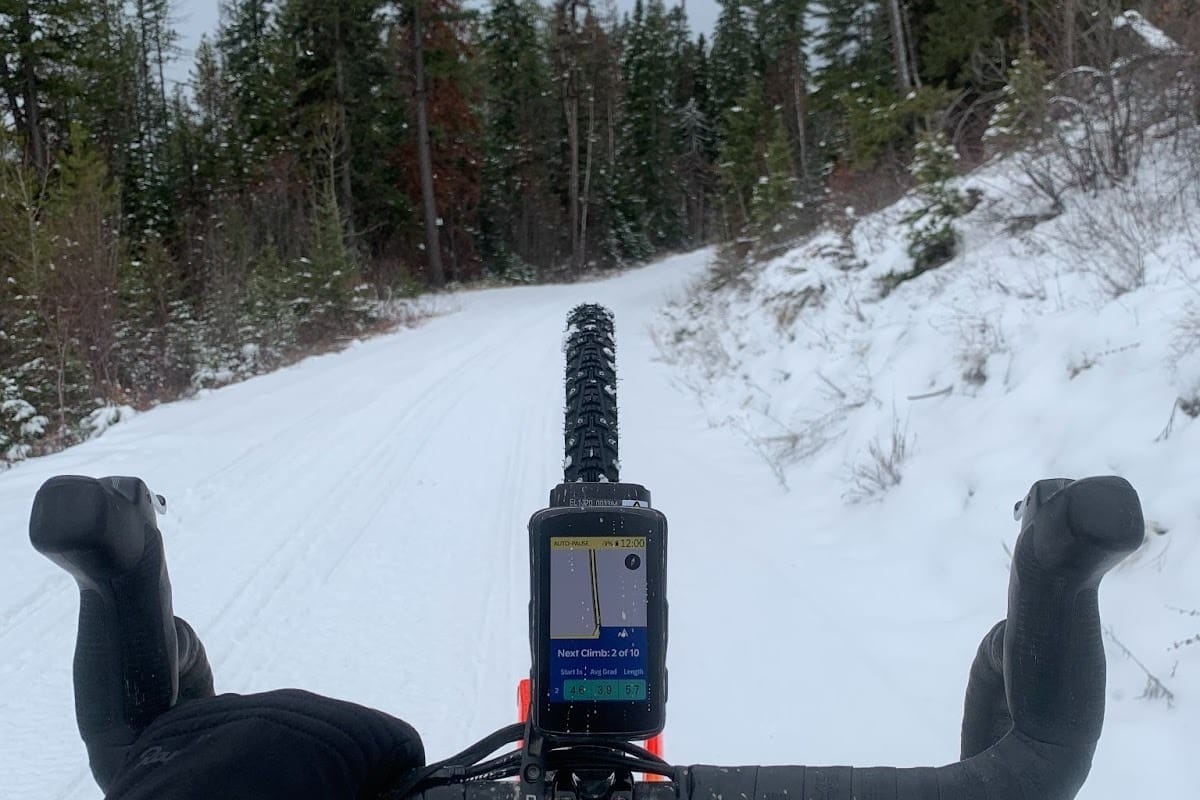
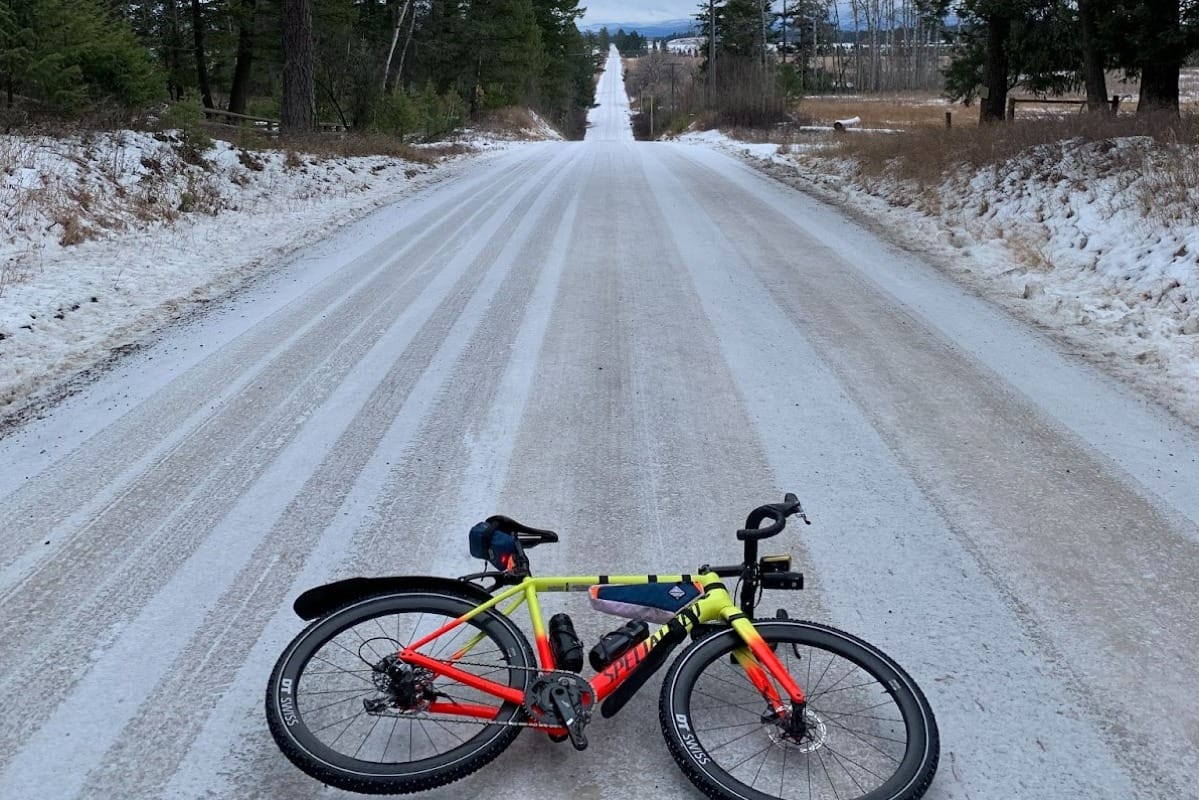
Studded tires:
If you're tackling snow-covered or icy roads, studded tires are a game-changer.
- Benefits:
- Perfect for gravel roads covered in “Icephalt” (snow compacted into icy sheets by traffic).
- Provide grip and confidence on icy surfaces, making winter cycling training camps or solo adventures safer.
- Pro-tip:
- Studded tires are ideal for experienced riders who are comfortable navigating slick surfaces.
- Avoid sharp cornering or aggressive riding to maintain control.
- Check out the studded tire range from 45NRTH for reliable performance on ice.
- Bike size chart: What size bike do I need?
- Everything about the tire size of your bike
- Wheel bike size chart
- Bike helmet size chart
- How to calculate your ideal saddle height?
All about frame height...
- All about frame height on a mountain bike
- All about frame height for a road bike
Biking indoors: An effective alternative
Alright, let’s say the weather is so bad and the road conditions are so poor such that no amount of thermal bottles, neoprene gloves, and studded tires could make it safe or smart to go out and ride. If that is the case, then there is always the option of riding indoors. Here’s how you can make the most out of your winter training cycling sessions indoors:
1. Prepare your content in advance
Before starting your ride, queue up your content—TV shows, movies, sports games, or playlists. For example, sometimes, if I have a workout, I’ll watch an episode of something short and funny to keep me loose while I warm-up, and then I will throw on a replay of a race I love to watch (maybe Tour of Flanders or Paris-Roubaix) so I can get my head in the mindset of going hard during my intervals, and, finally, during my cool down, I’ll turn off the screen and just chill out to a playlist I have picked out as I slowly spin down and stop.
2. Incorporate group rides online
If you subscribe to platforms like Zwift or the equivalent, and have access to their group rides, use access to group rides as a way to split up your ride. Sometimes it’s nice when you don’t need to think about pushing power on the pedals, but rather think about holding the wheel in front of you. Just make sure that the intensity of the group ride makes sense for the goals of the session. Don’t do a super hard race if the objective is just a steady zone 2, and vice versa.
3. Ginormous fans are your friend
I cannot stress this enough. I don’t care how freezing cold you make the room in which your indoor trainer set-up is located, if you don’t have a fan, you will be sweating a mess all over your floor in ten minutes’ time when you get warmed up. Giant fans make winter cycling training so much more pleasant and prevent you from swimming in your own sweat when you get into the session. Fans can be loud, so just make sure that you schedule your rides when they won’t disrupt others.
4. Wireless headphones and ear muffs
This combination has been one of the most revolutionary ones I have discovered when trying to maximize my enjoyment on a stationary bike. With the incessant buzz of the flywheel on the trainer, the whirring of a loud fan, and my own huffing and puffing as I complete a session, I can barely hear the content that I want to watch. To combat this, Pair wireless headphones (e.g., AirPods or Jaybird Vista 2) with lawn-mowing earmuffs for immersive audio. Just be aware that your earmuffs will get sweaty, so it’s best to clean the earmuffs after every session to avoid sweat buildup.
Make the most of your winter cycling training
Cycling in winter doesn’t have to be daunting. By investing in the right gear, planning effectively, and following a structured winter cycling training plan, you can continue to ride with confidence throughout the season. Whether you’re braving snowy paths or joining winter cycling training camps, the key is to stay prepared, stay safe, and, most importantly, enjoy the ride.
Are you ready to embrace the chill and elevate your winter cycling game? Let’s make this season one for the books!