Get your bike to the buyer safe and sound.
You have not received our typical buycycle box due to a delivery shortage — no problem, we have an alternative. Follow the steps below to pack your bike properly and get it to the buyer safely.
Bike packaging
Since this is a replacement box, the inlays may vary and some boxes may arrive without inlays. Here is everything you will need to safely pack your bike.
- Bike shipping box
- Tape
- Rim protection cardboard
- Accessory box(for small parts)
- Bubble wrap sheets
Assembling the box
Learn how to assemble the box before packing your bike.
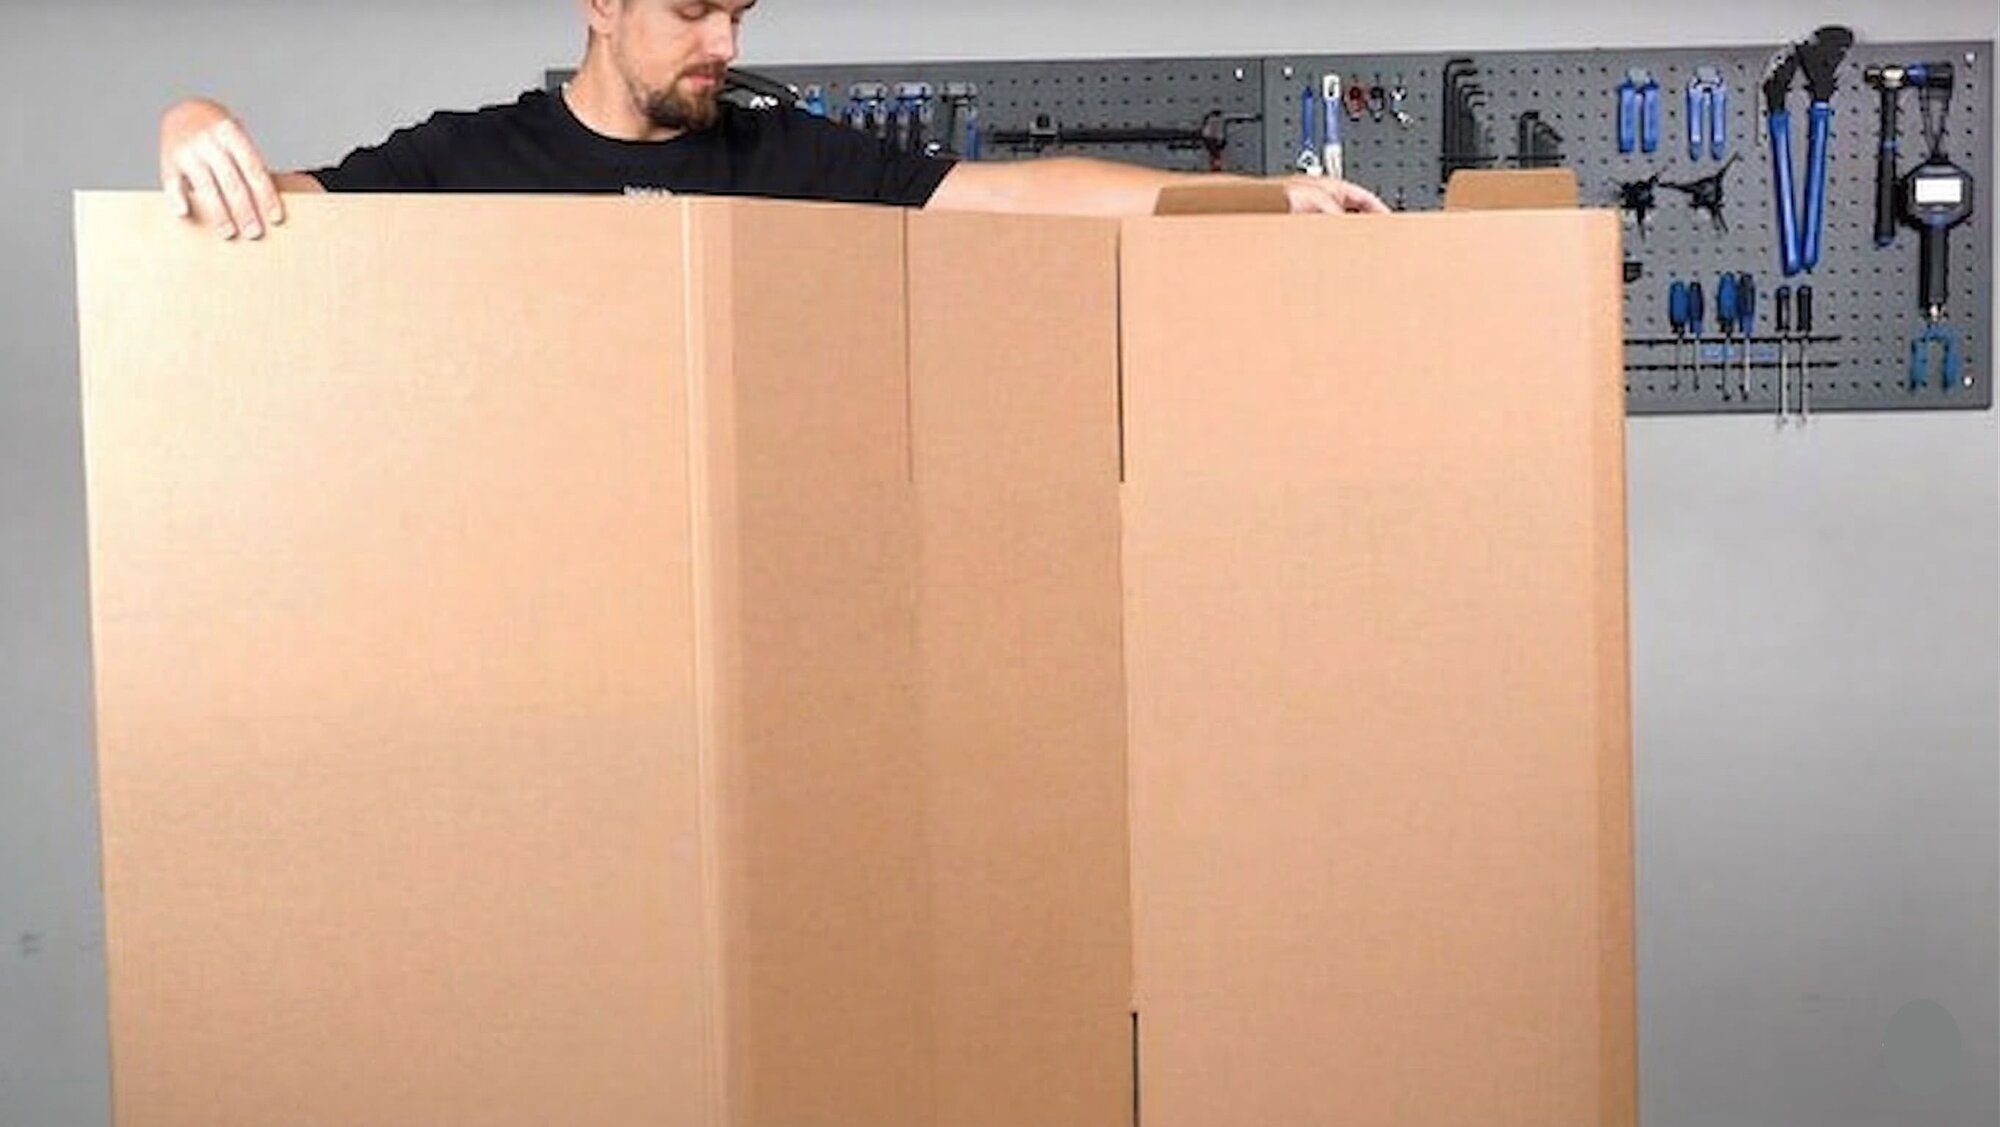
Unfold the box
Take the buycycle box out of the transport box and unfold it. The pre-marked folding lines will guide you through the shape.
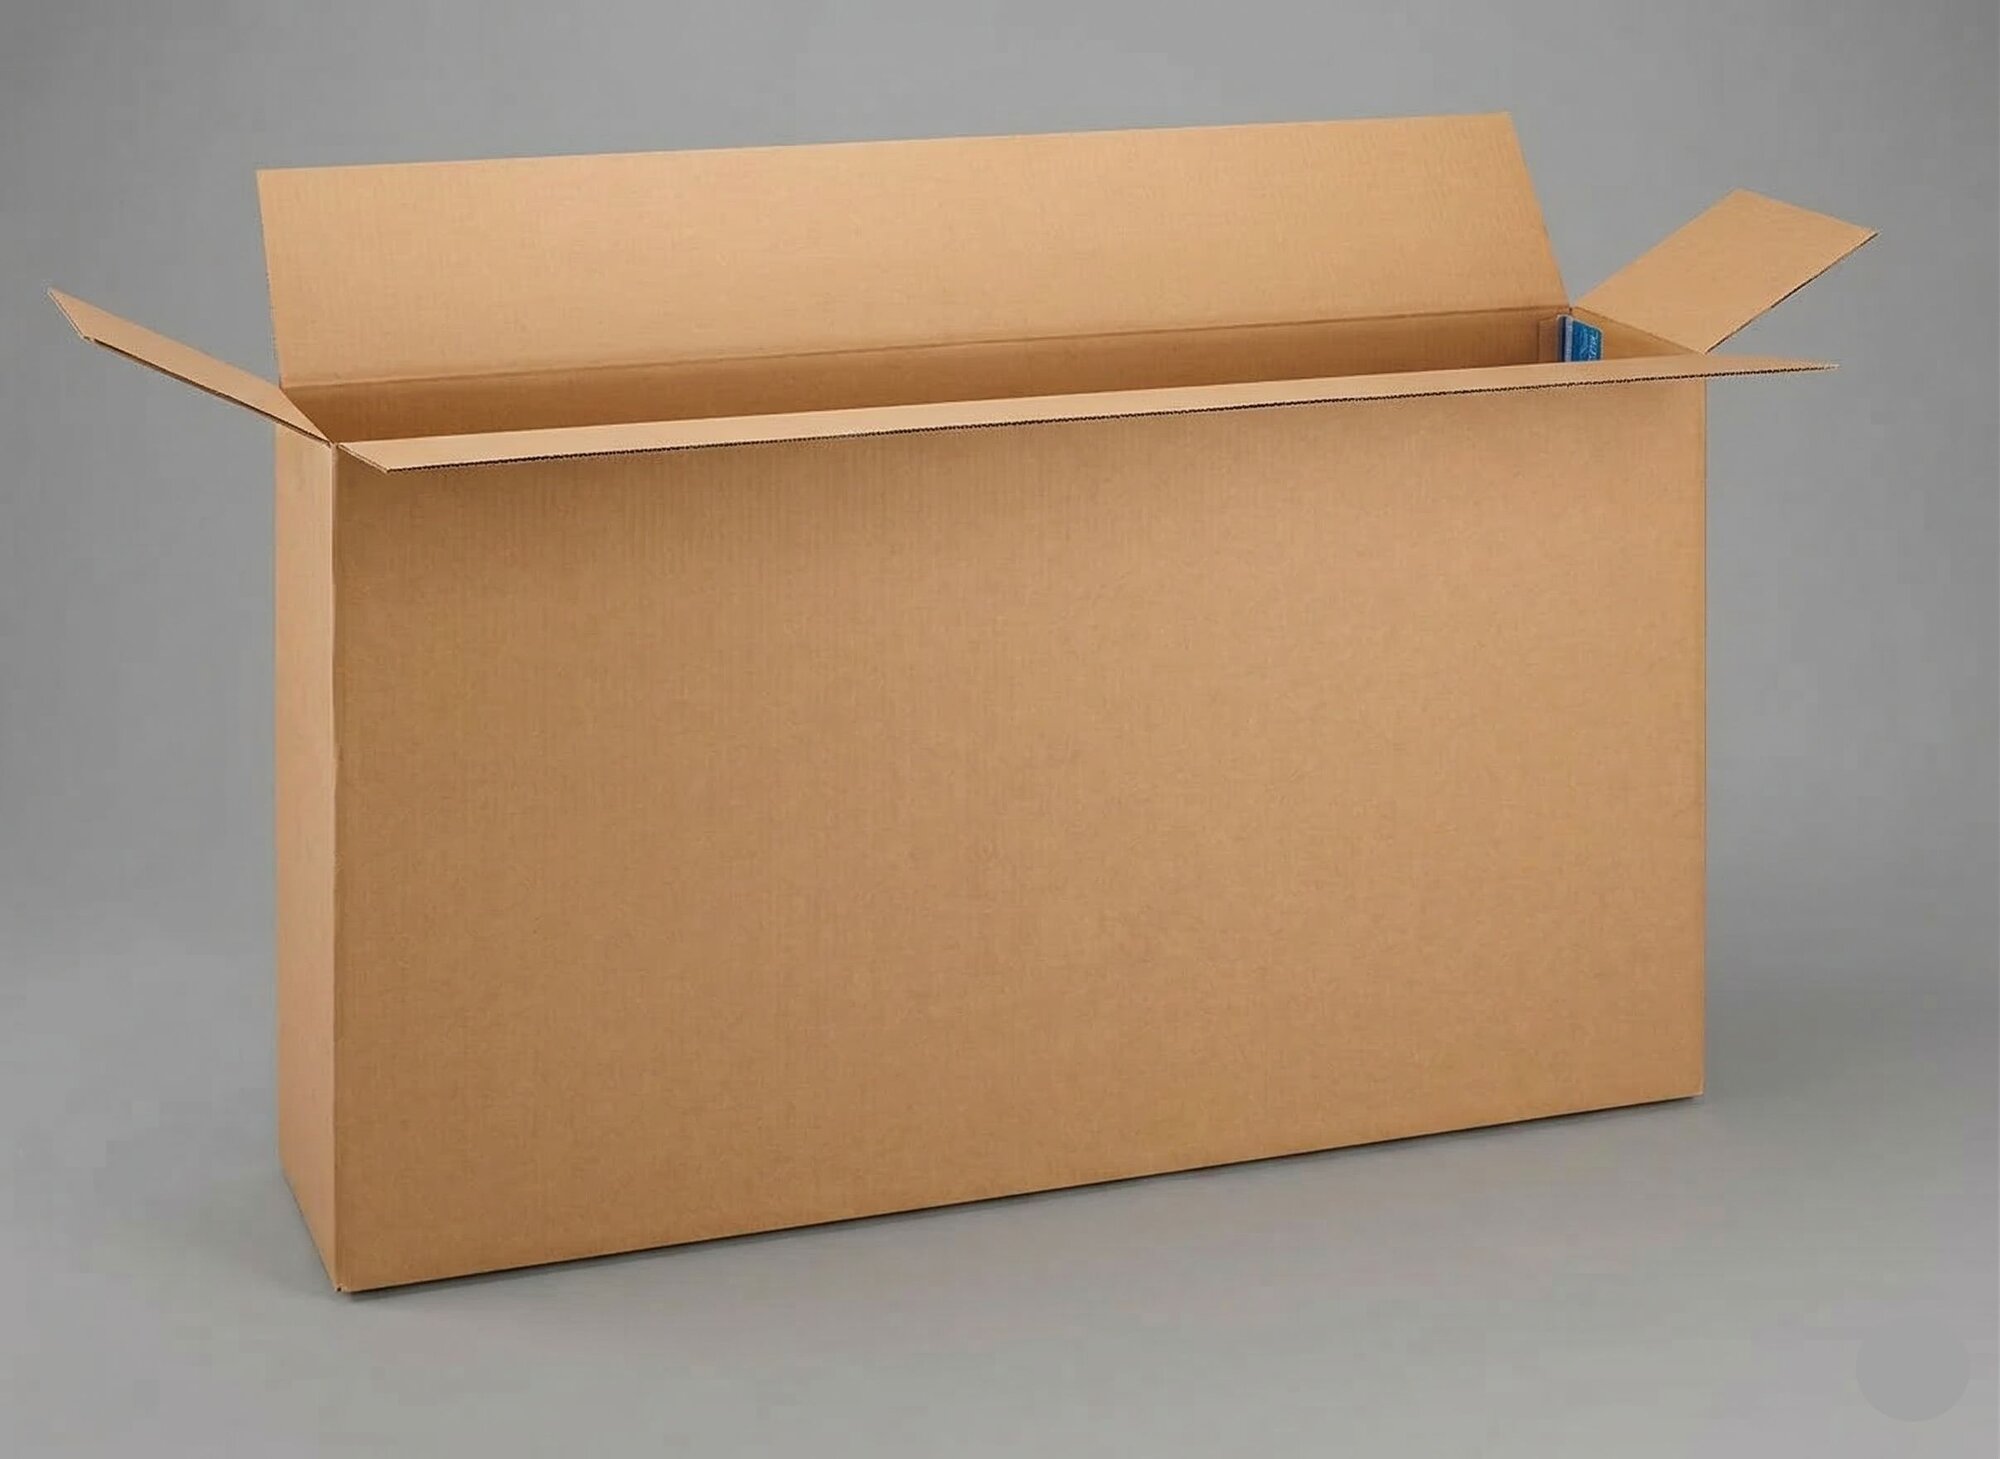
Seal the bottom
Secure the flaps to close the bottom of the box. Reinforce with tape to keep it firmly sealed before adding any weight.
Preparing the bike
Disassemble your bike carefully to get it ready for shipping.
Pedals & front wheel
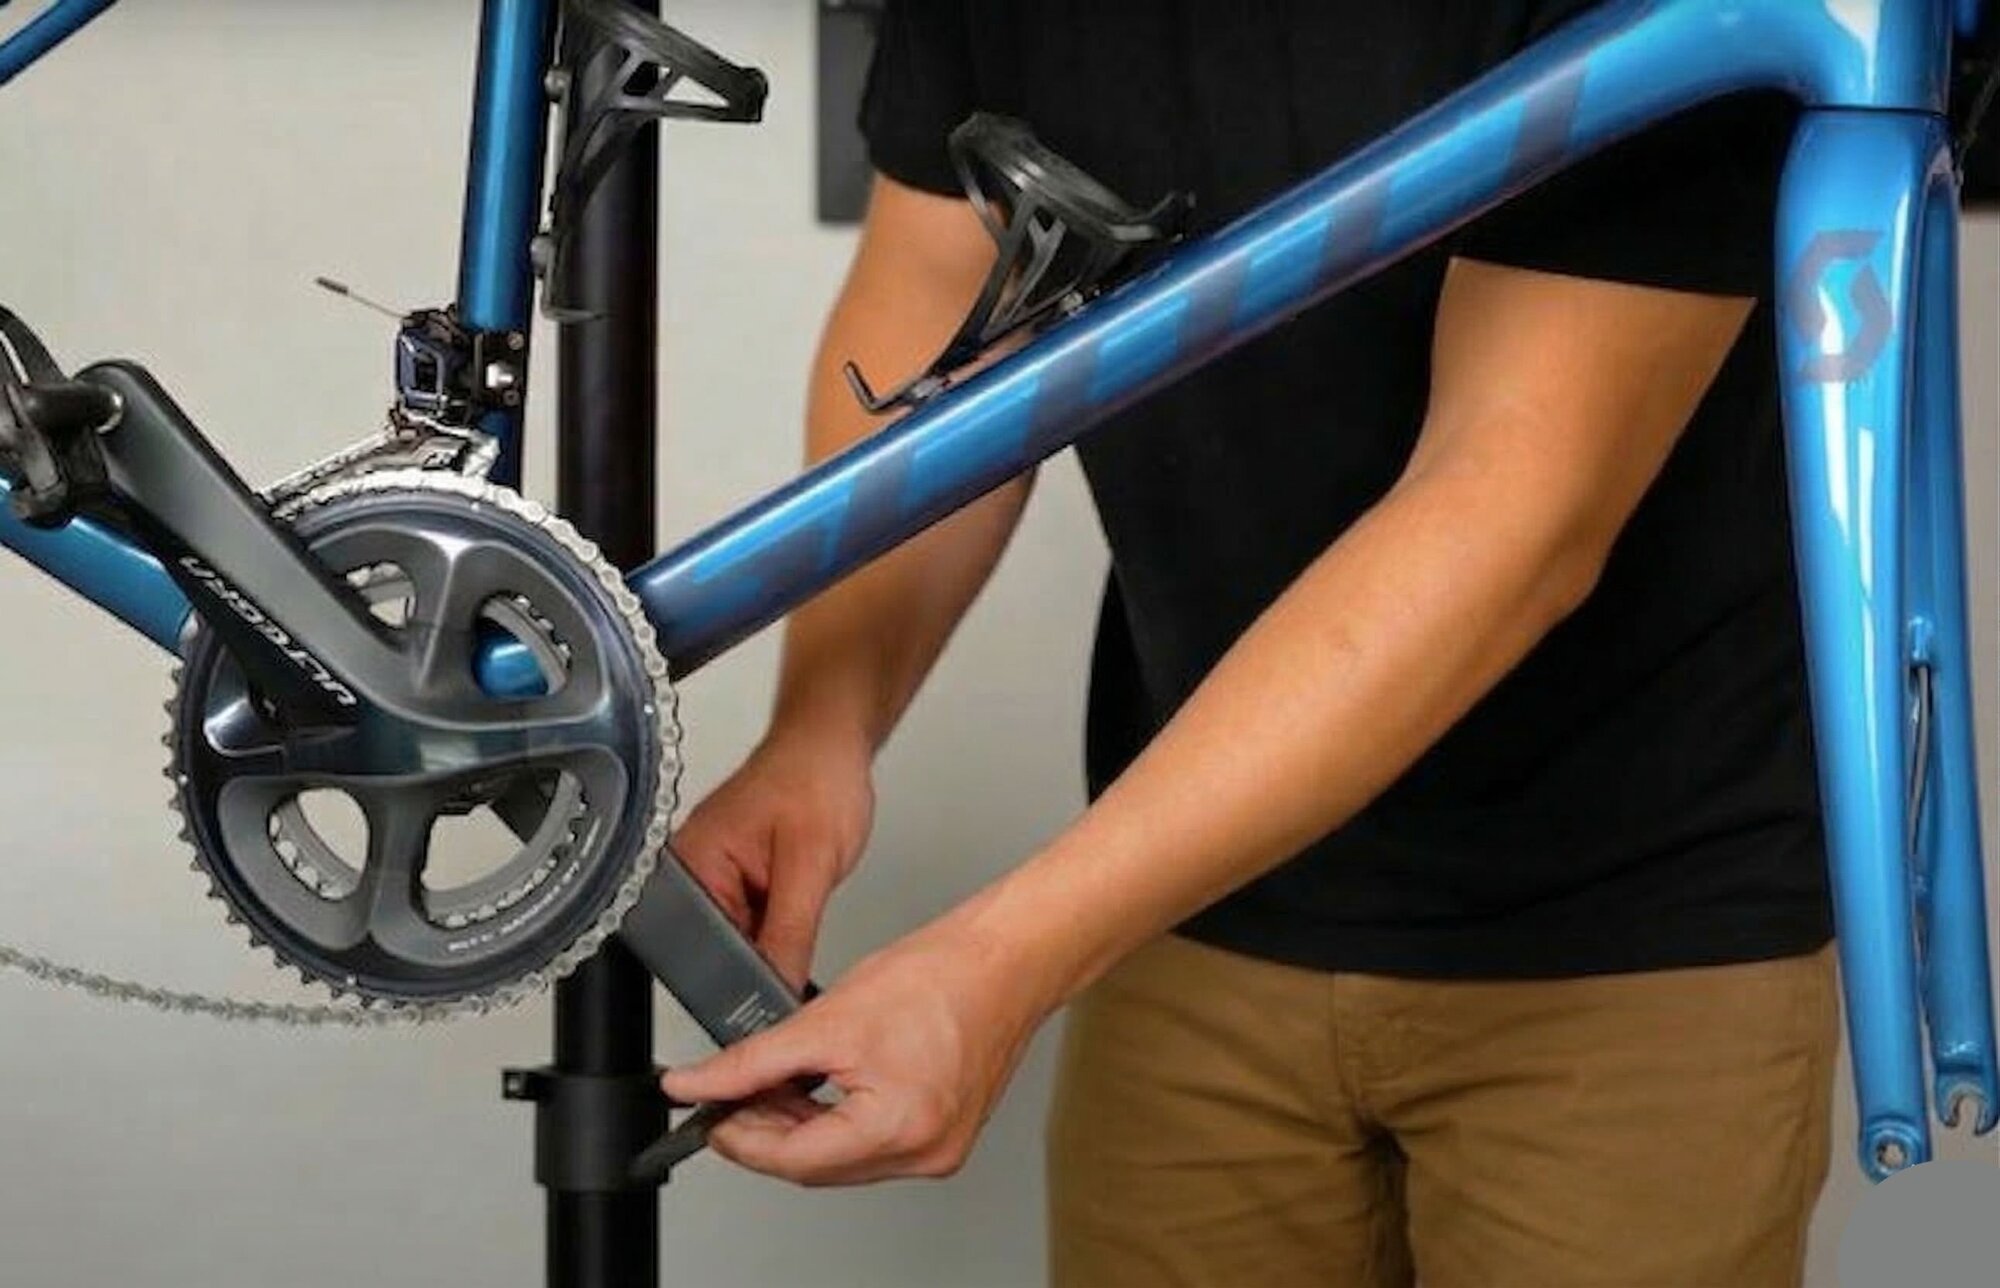
Remove the pedals
Use an Allen key or pedal wrench to remove both pedals. Store them in the accessory box.
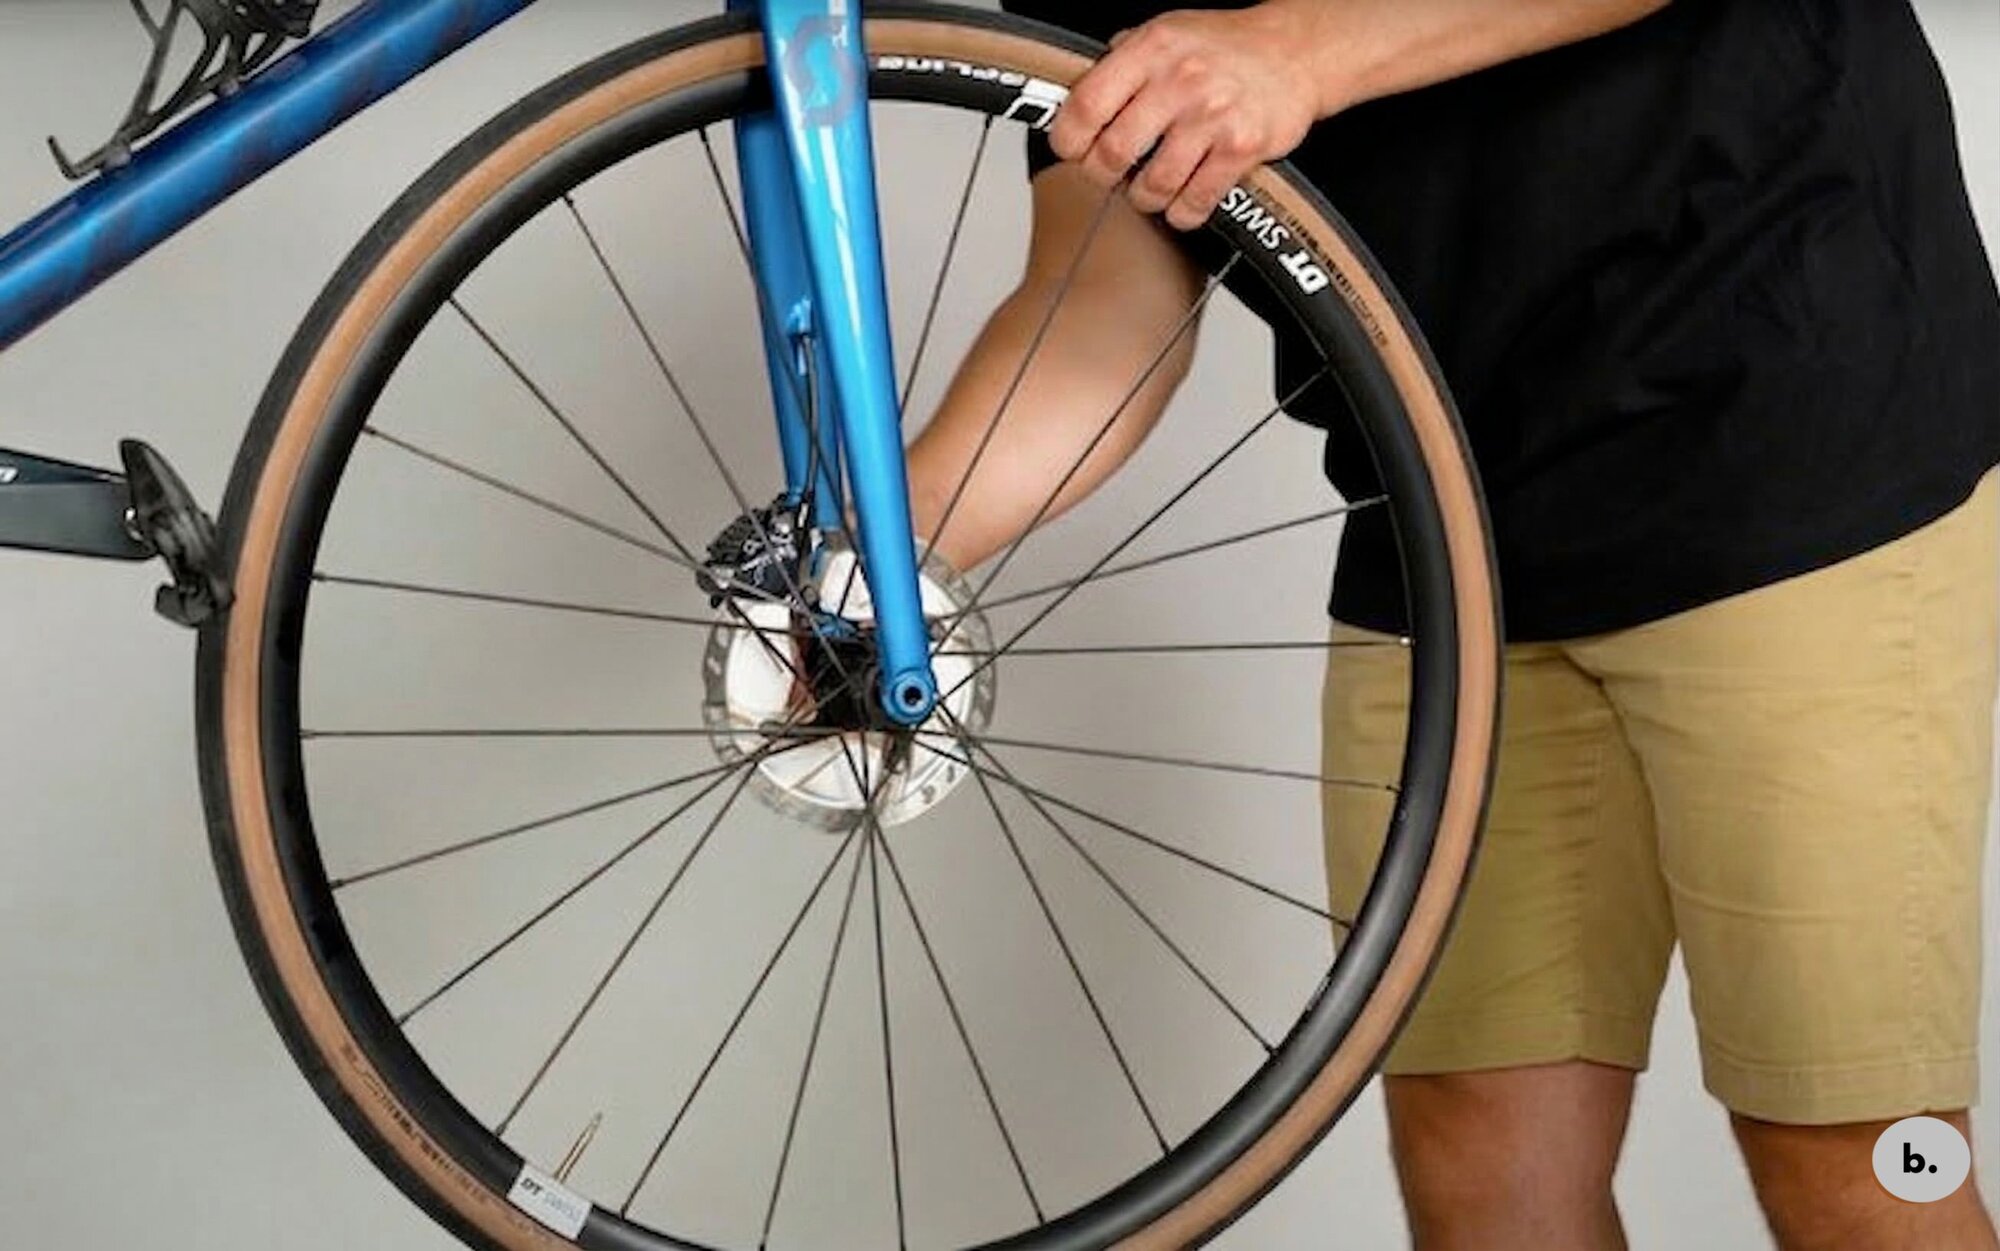
Remove the front wheel
Detach the front wheel from the fork and set aside for separate packing with the wheel protector.
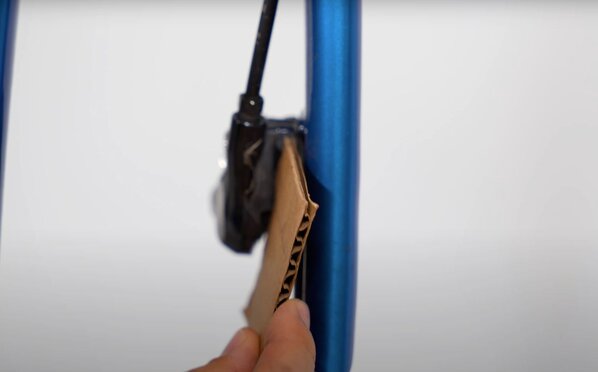
Disc brake spacer
For disc brakes, cut a small piece of cardboard and insert it between the brake pads to prevent accidental compression.
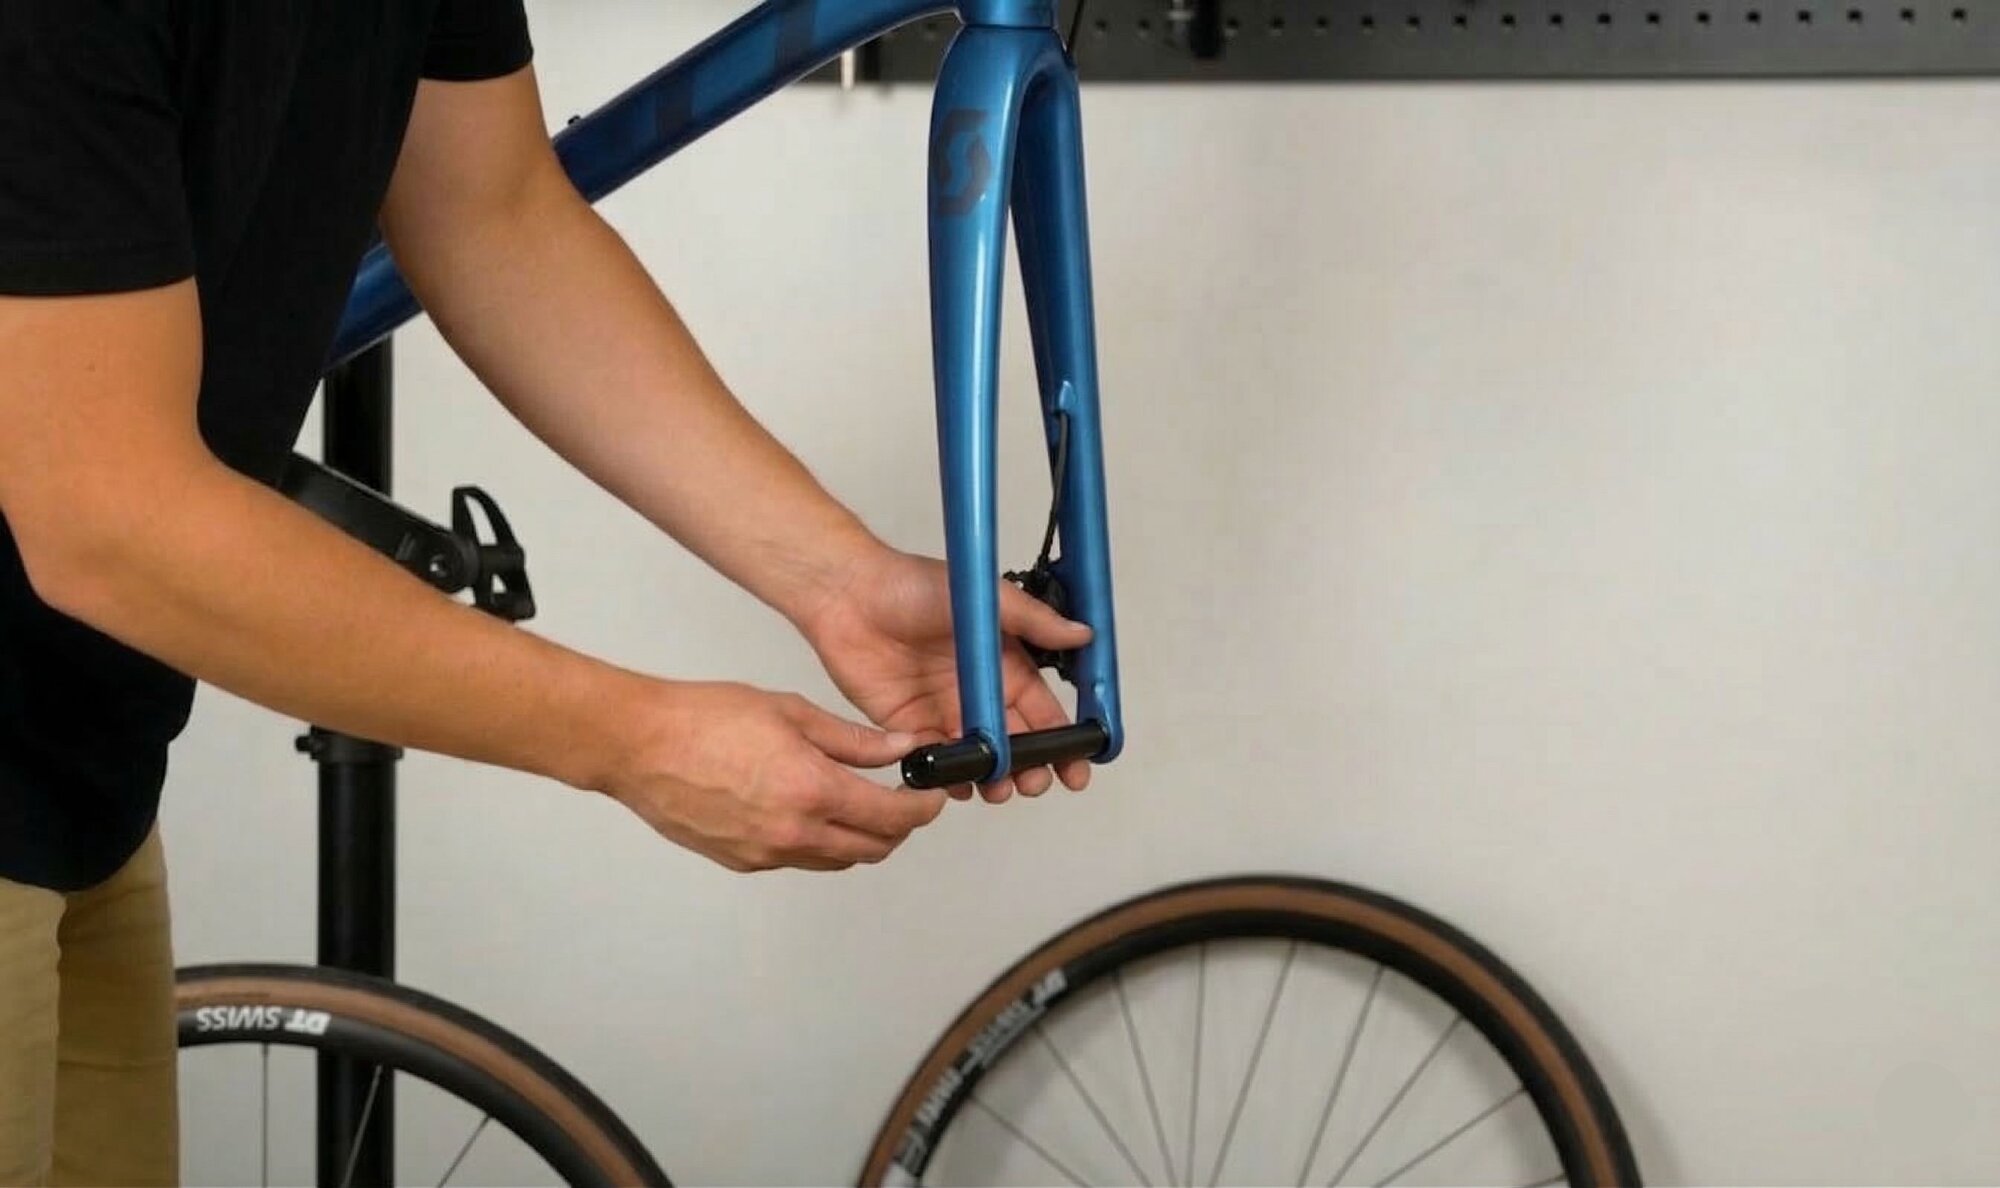
Attach front axle holder
Take the front axle holder and attach it securely to the front axle as shown in the picture.
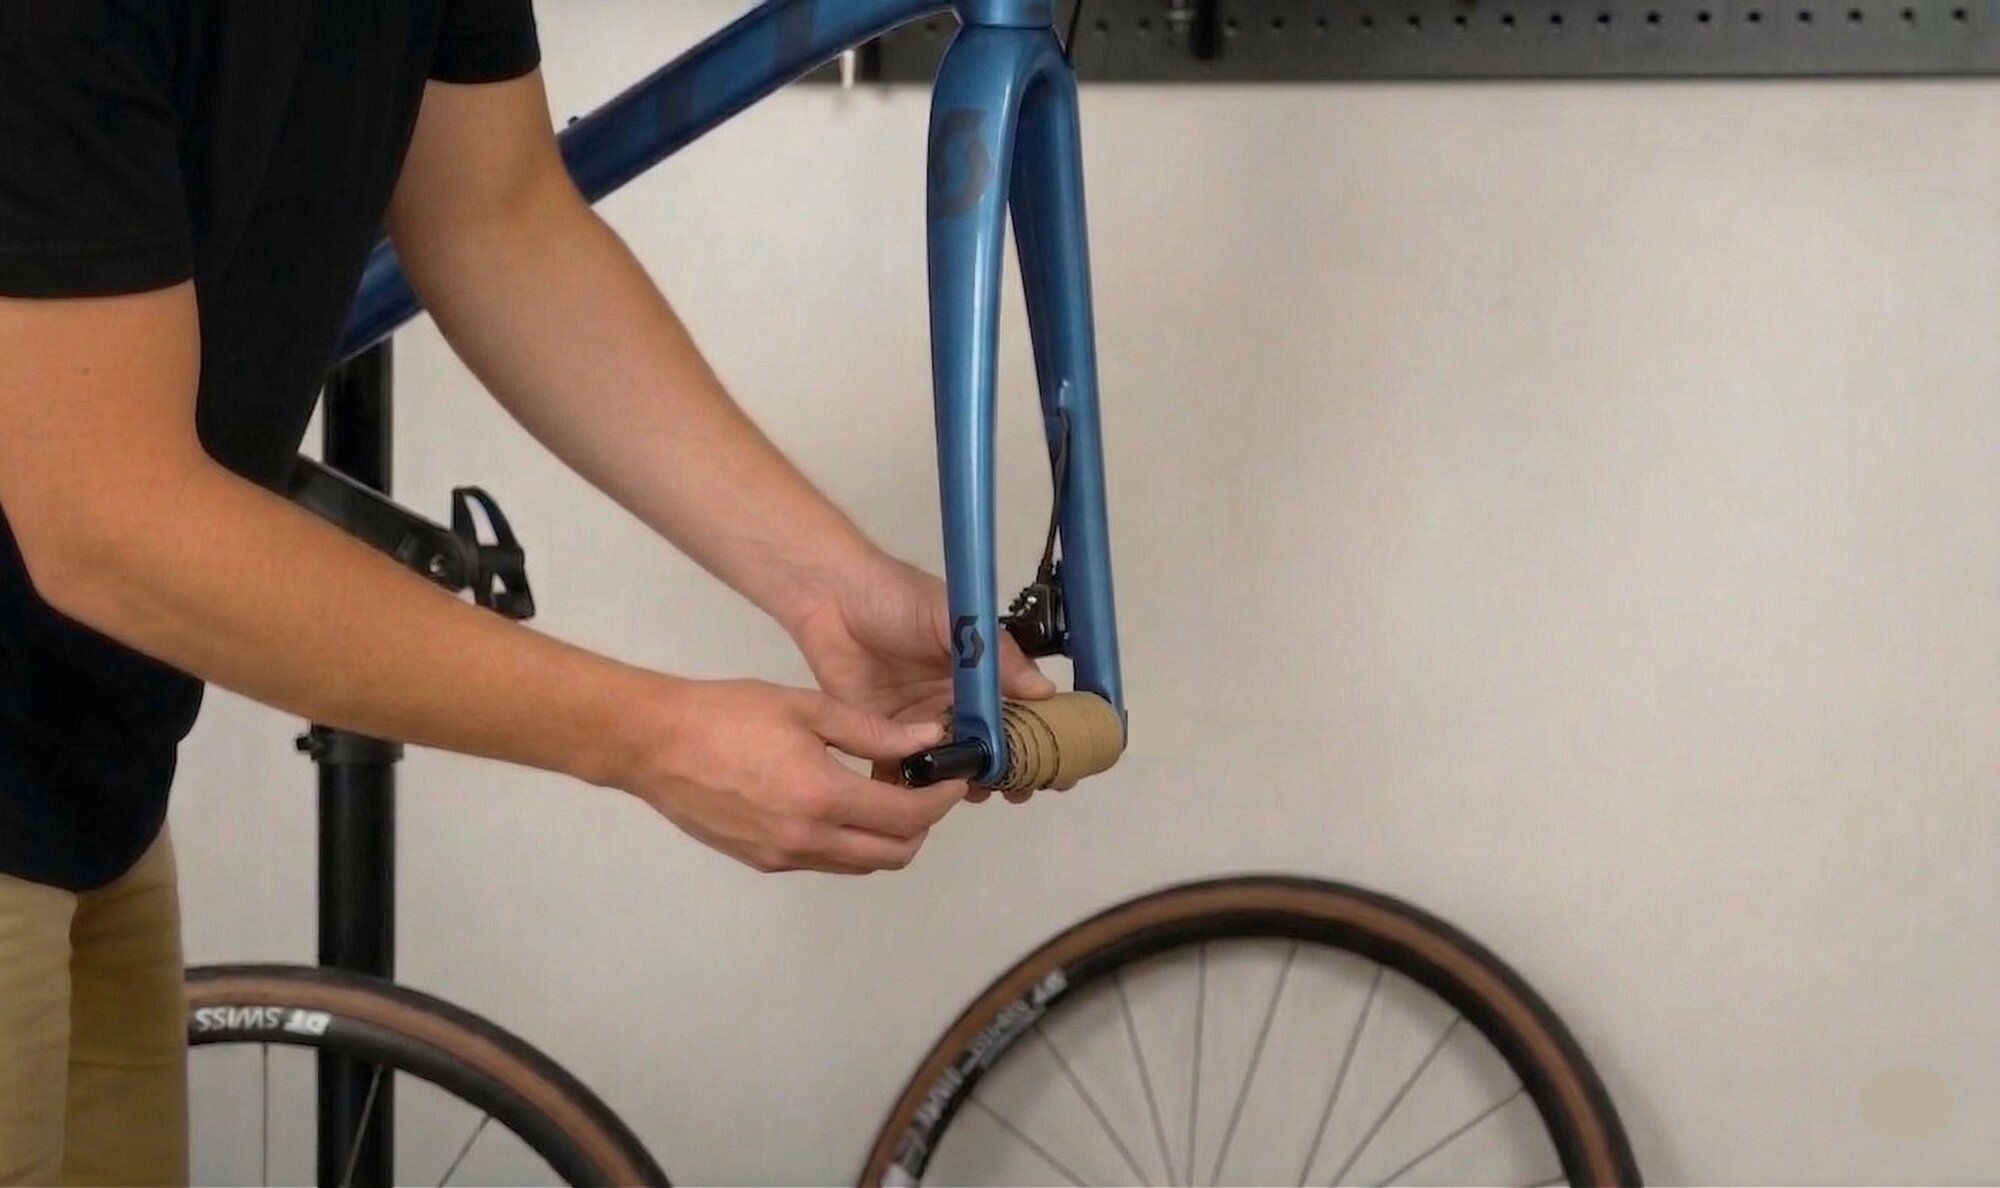
Prepare axle support
To protect the axle, cut a rectangular piece of cardboard that matches the length of your axle. Wrap it around the axle multiple times and secure it firmly with tape. For extra protection, wrap everything in bubble wrap before placing the bike into the box.
Rear wheel
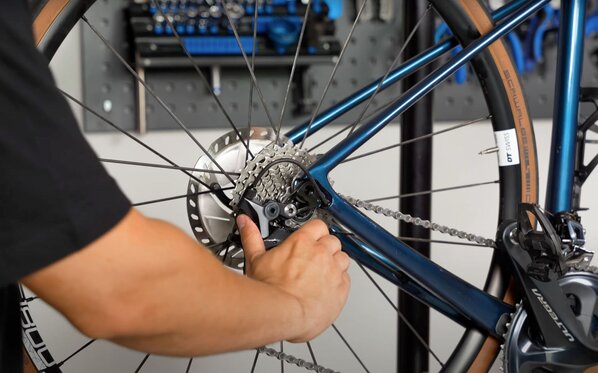
Remove the rear wheel
Shift to the smallest rear sprocket. Remove the rear axle and wheel, then insert a brake spacer if you have disc brakes.
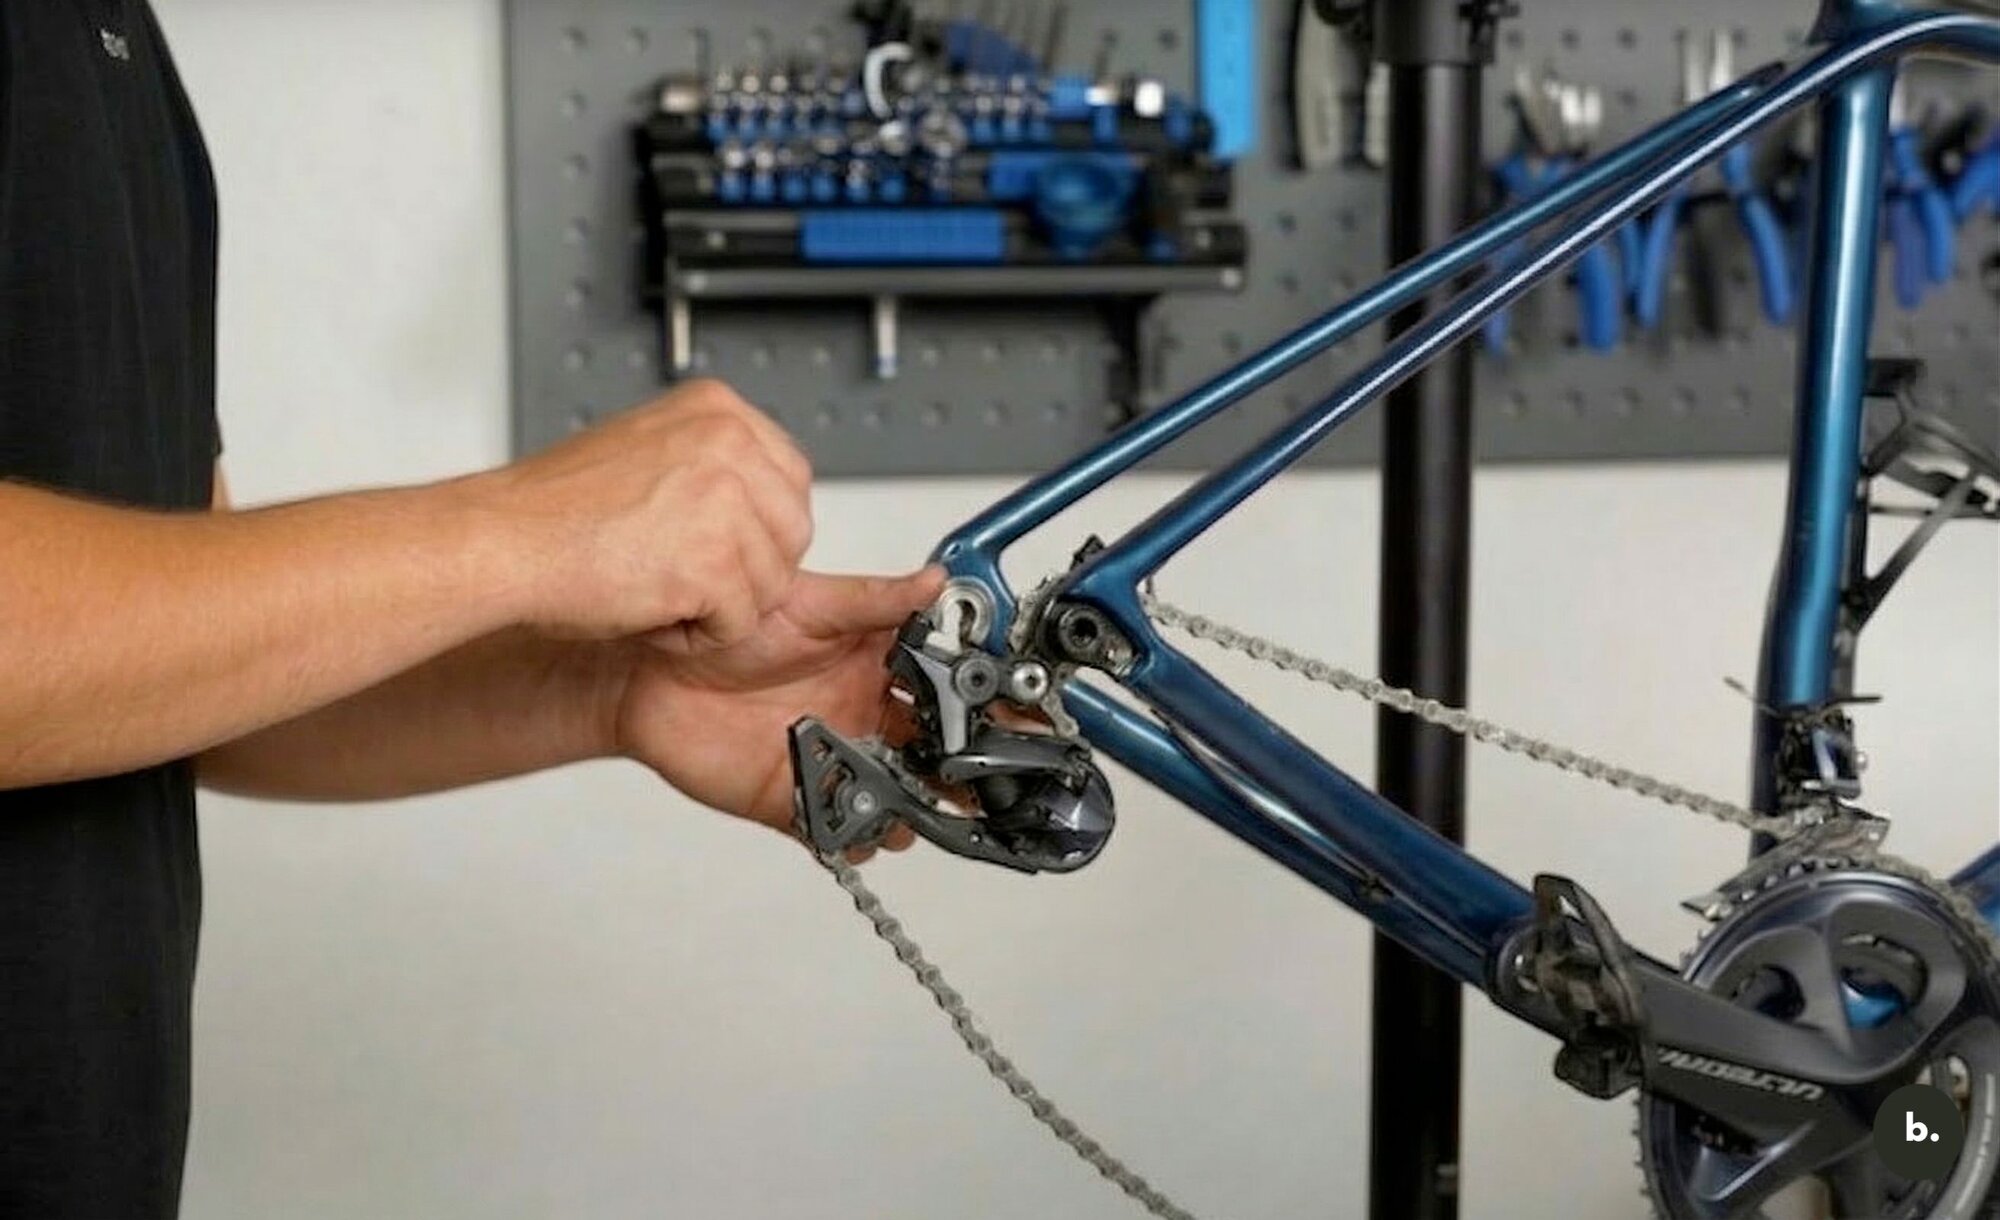
Protect the rear derailleur
Remove the rear derailleur, wrap it in bubble wrap, and securely attach it to the frame for transport.
Axle support
Follow the axle support steps from the front wheel.
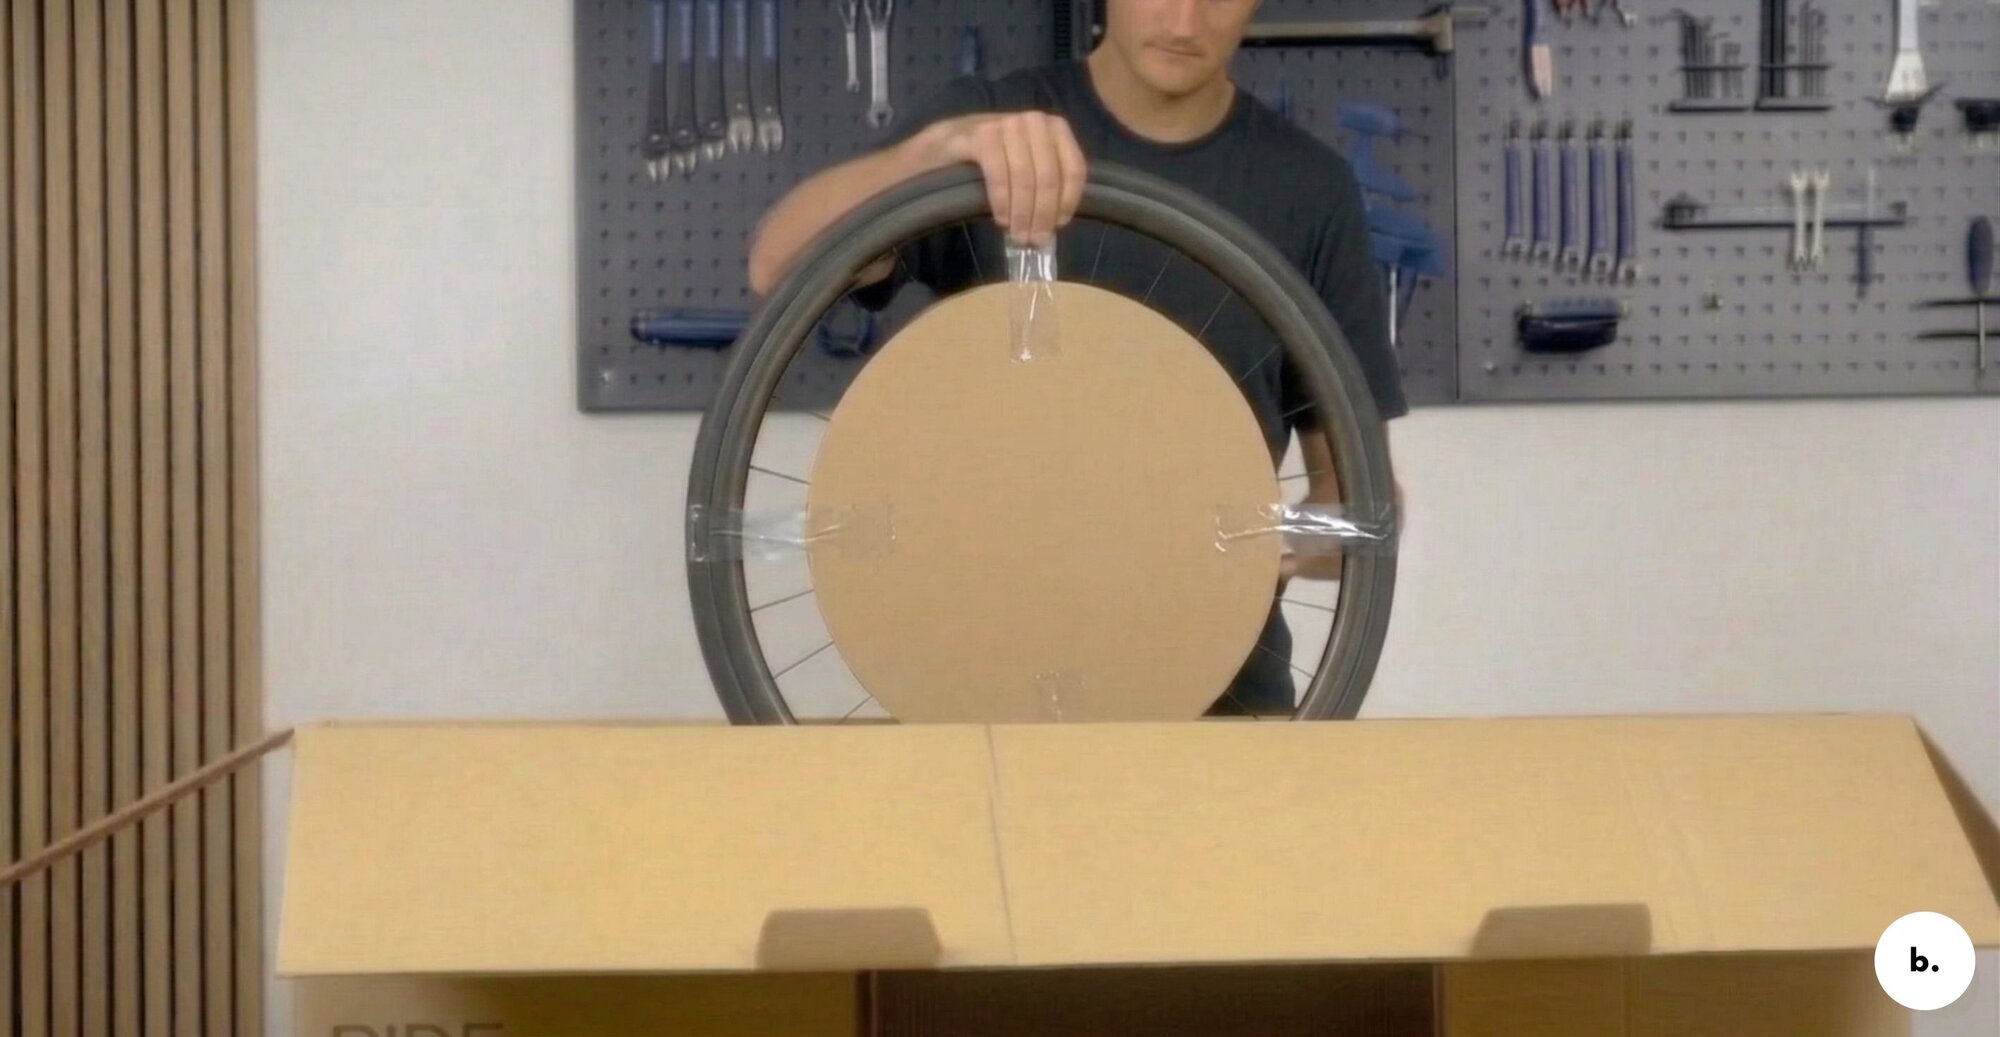
Wheel protectors
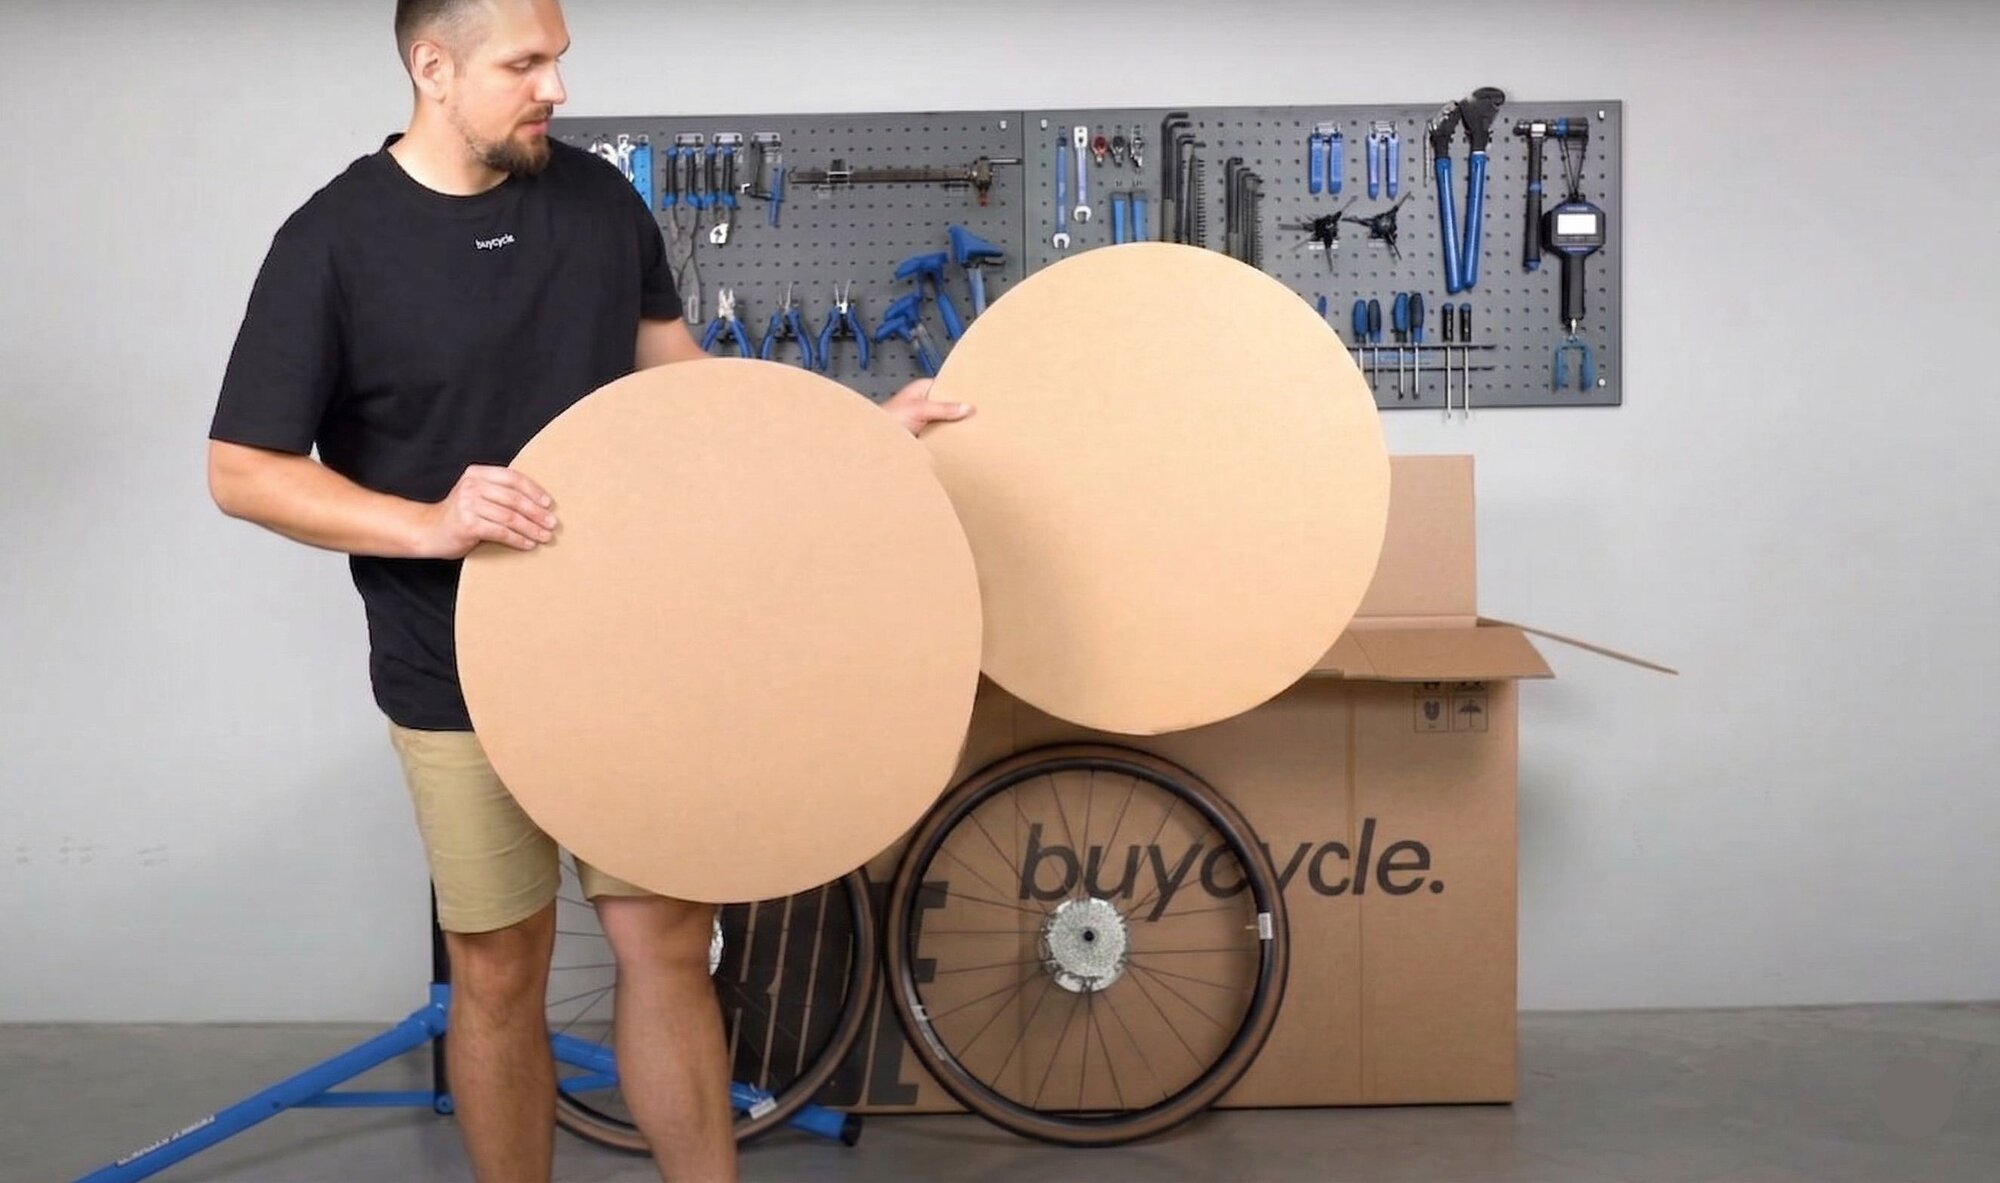
Attach the wheel covers
Attach wheel protectors with tape to front and back wheel.
If you have received a box without inlays, use the outer cardboard box that the bike box was wrapped in to cut out wheel protectors. They do not have to be round — you can also use square sheets to cover each side of the wheel.
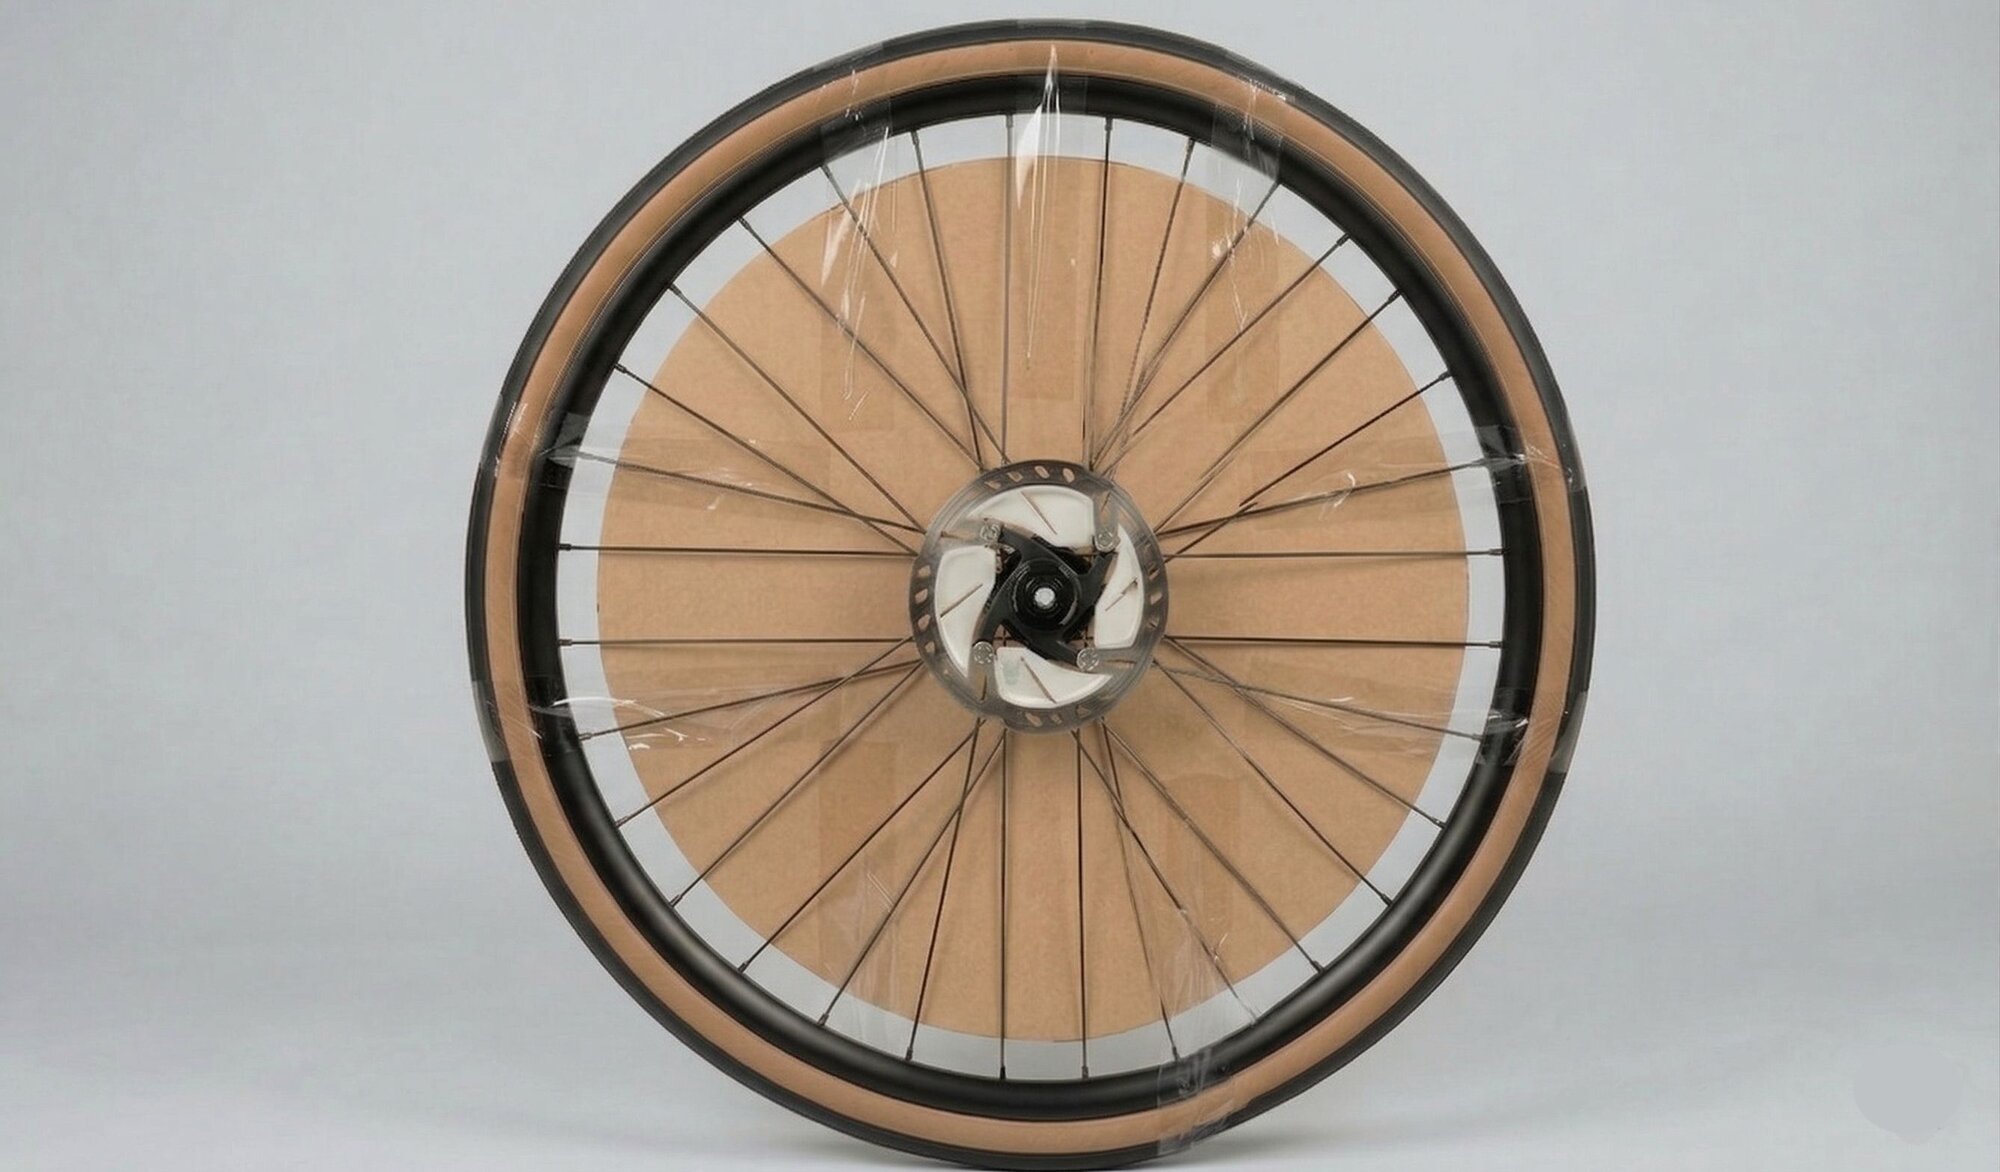
Protect the cassette
Wrap the cassette with bubble wrap for extra protection against scratches and impact.
Handlebar

Rotate the handlebar
Loosen the stem screws and rotate the handlebar 90 degrees to reduce the bike's width.
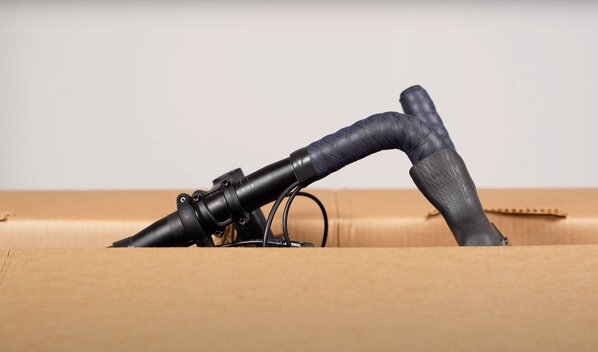
Tape to the frame
Secure the handlebar firmly to the frame with tape. Pad all contact points to prevent metal-on-metal contact.
Frame
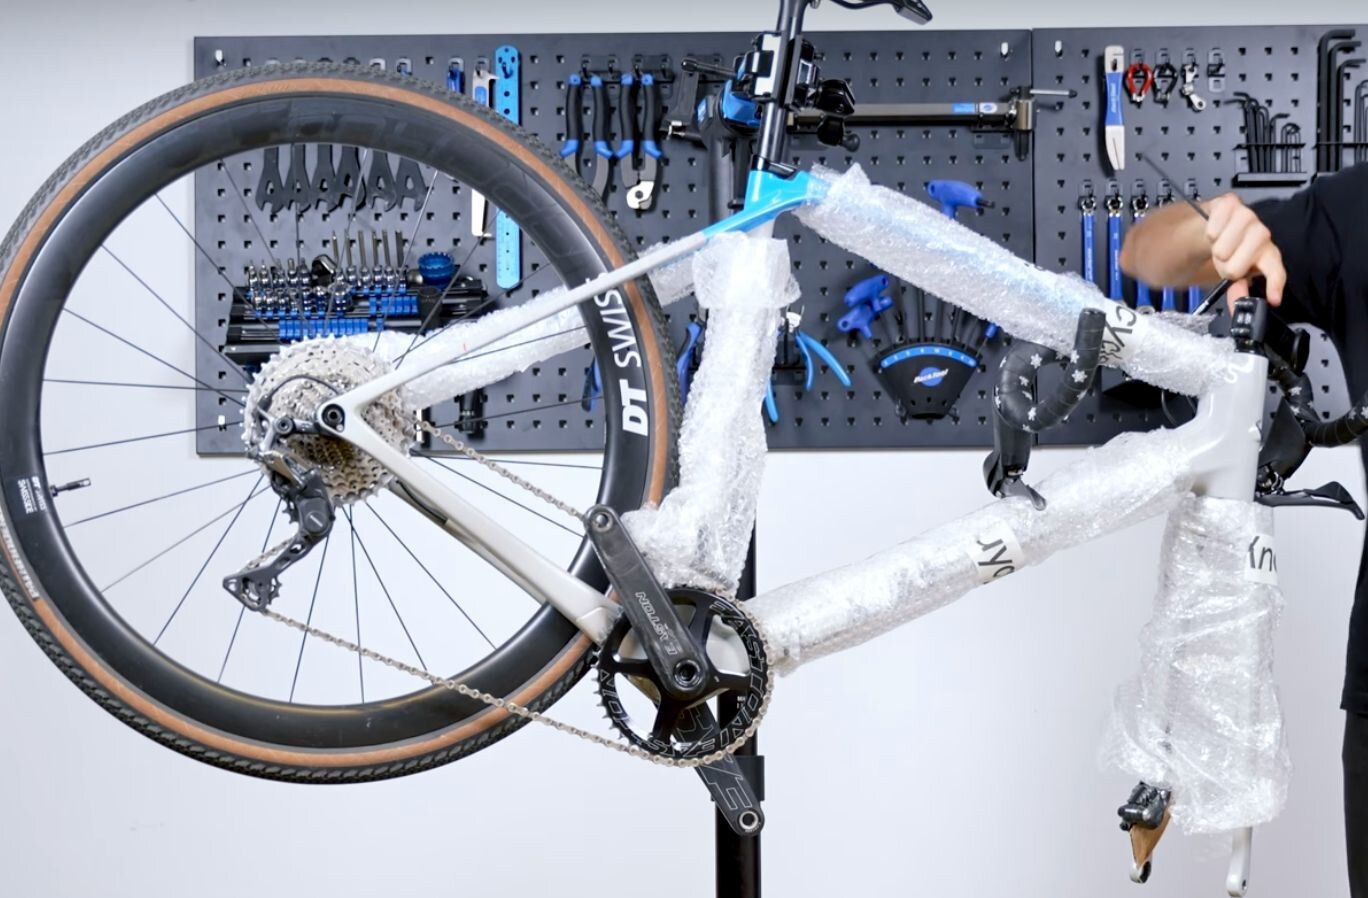
Wrap all frame tubes
Wrap every frame tube, the fork, and vulnerable parts with bubble wrap. Pay extra attention to the top tube, down tube, and rear triangle.
Packing the bike
Box the bike correctly and secure everything for transit.
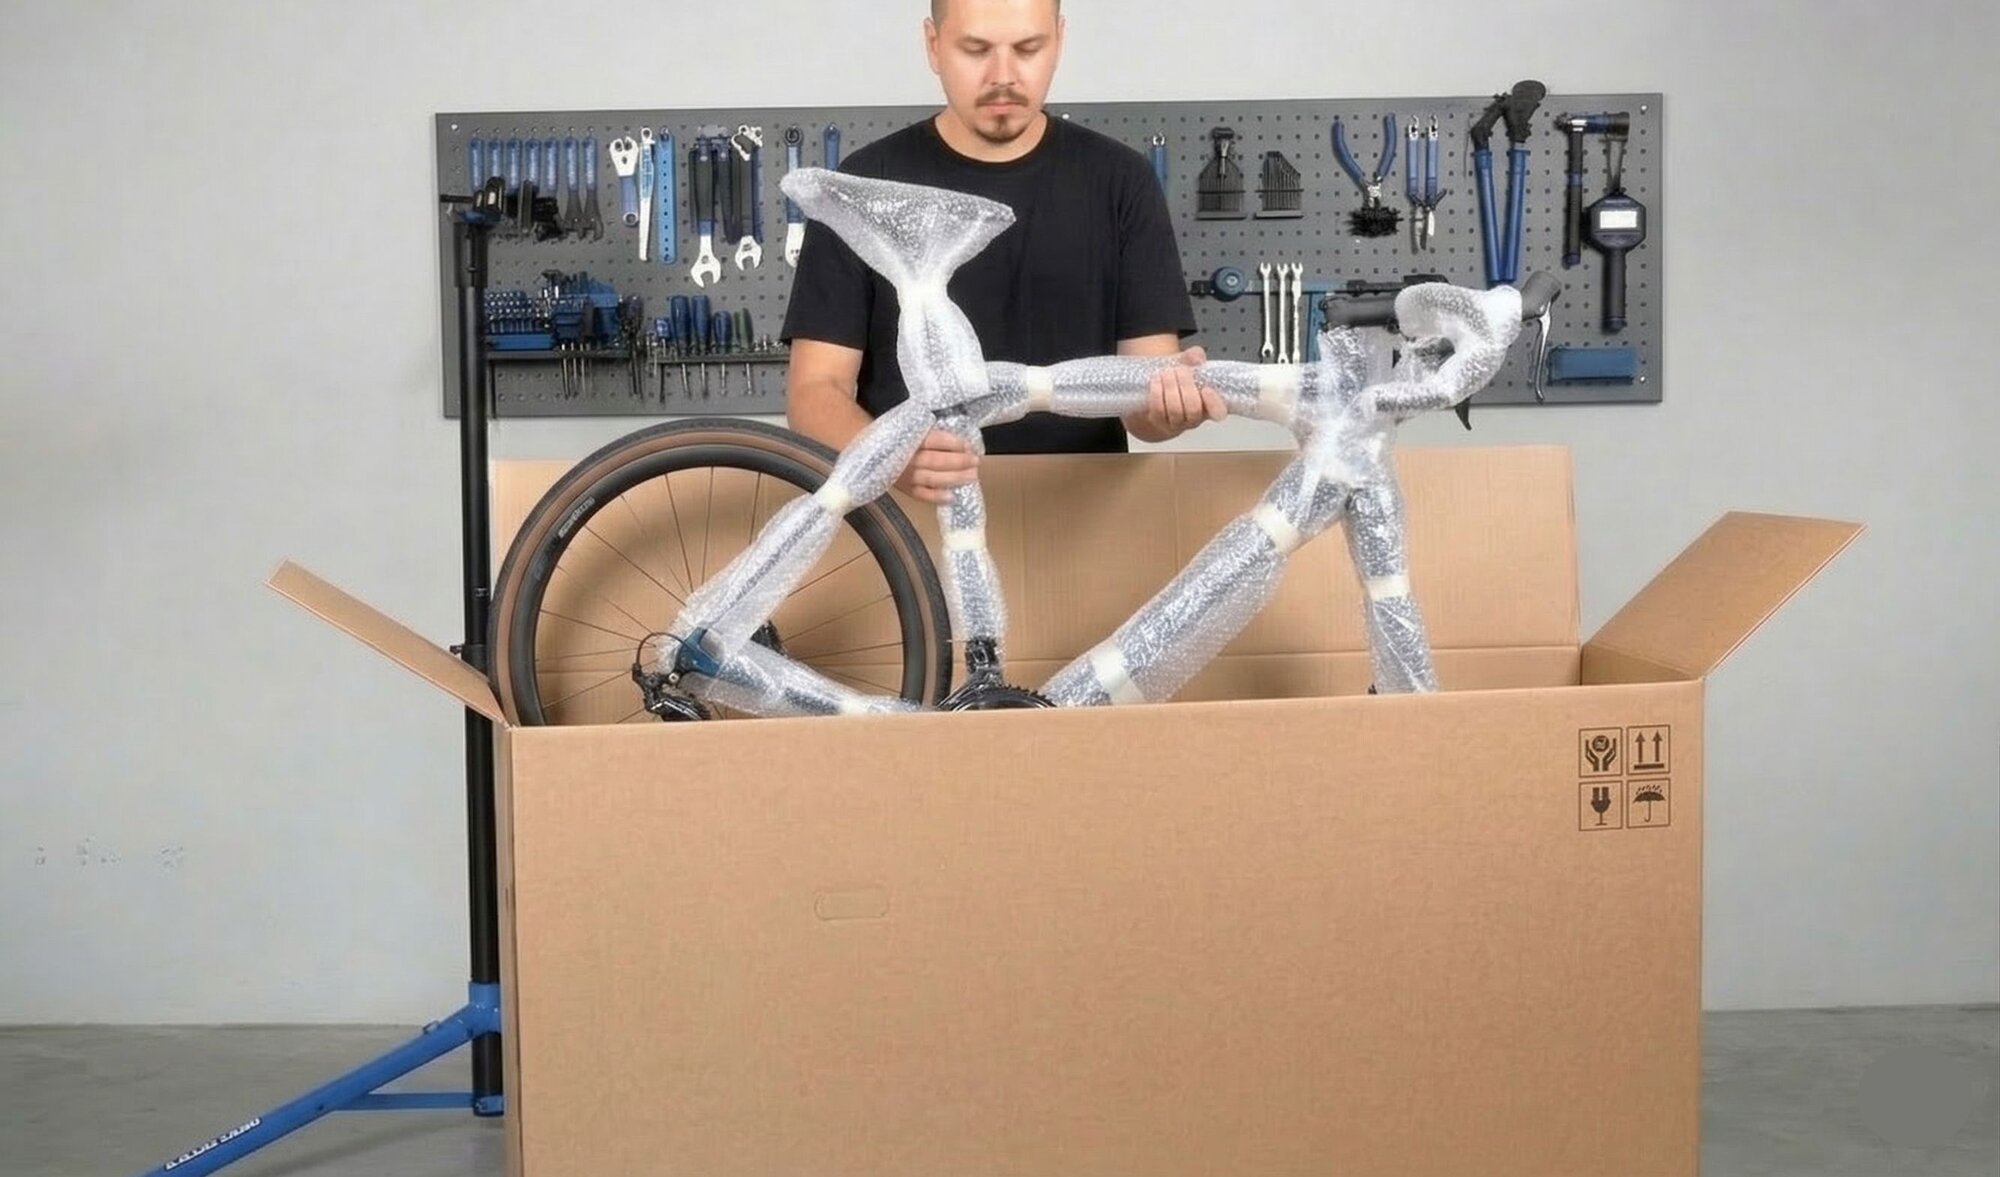
Place bike in the box
Lower the bike carefully. Ensure front and rear axle supports are stabilizing the bike and touching the box walls.
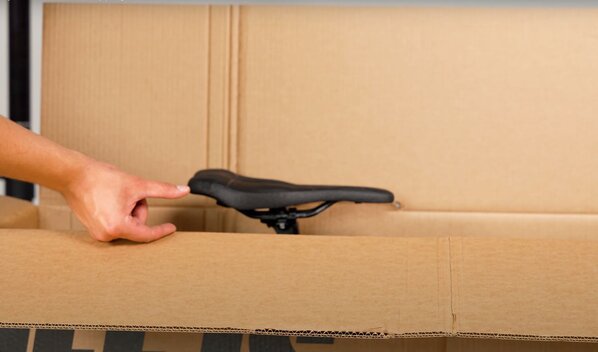
Lower the seatpost
Lower the seatpost to fit the box. Do not force it. If it still does not fit, remove it and wrap it separately.
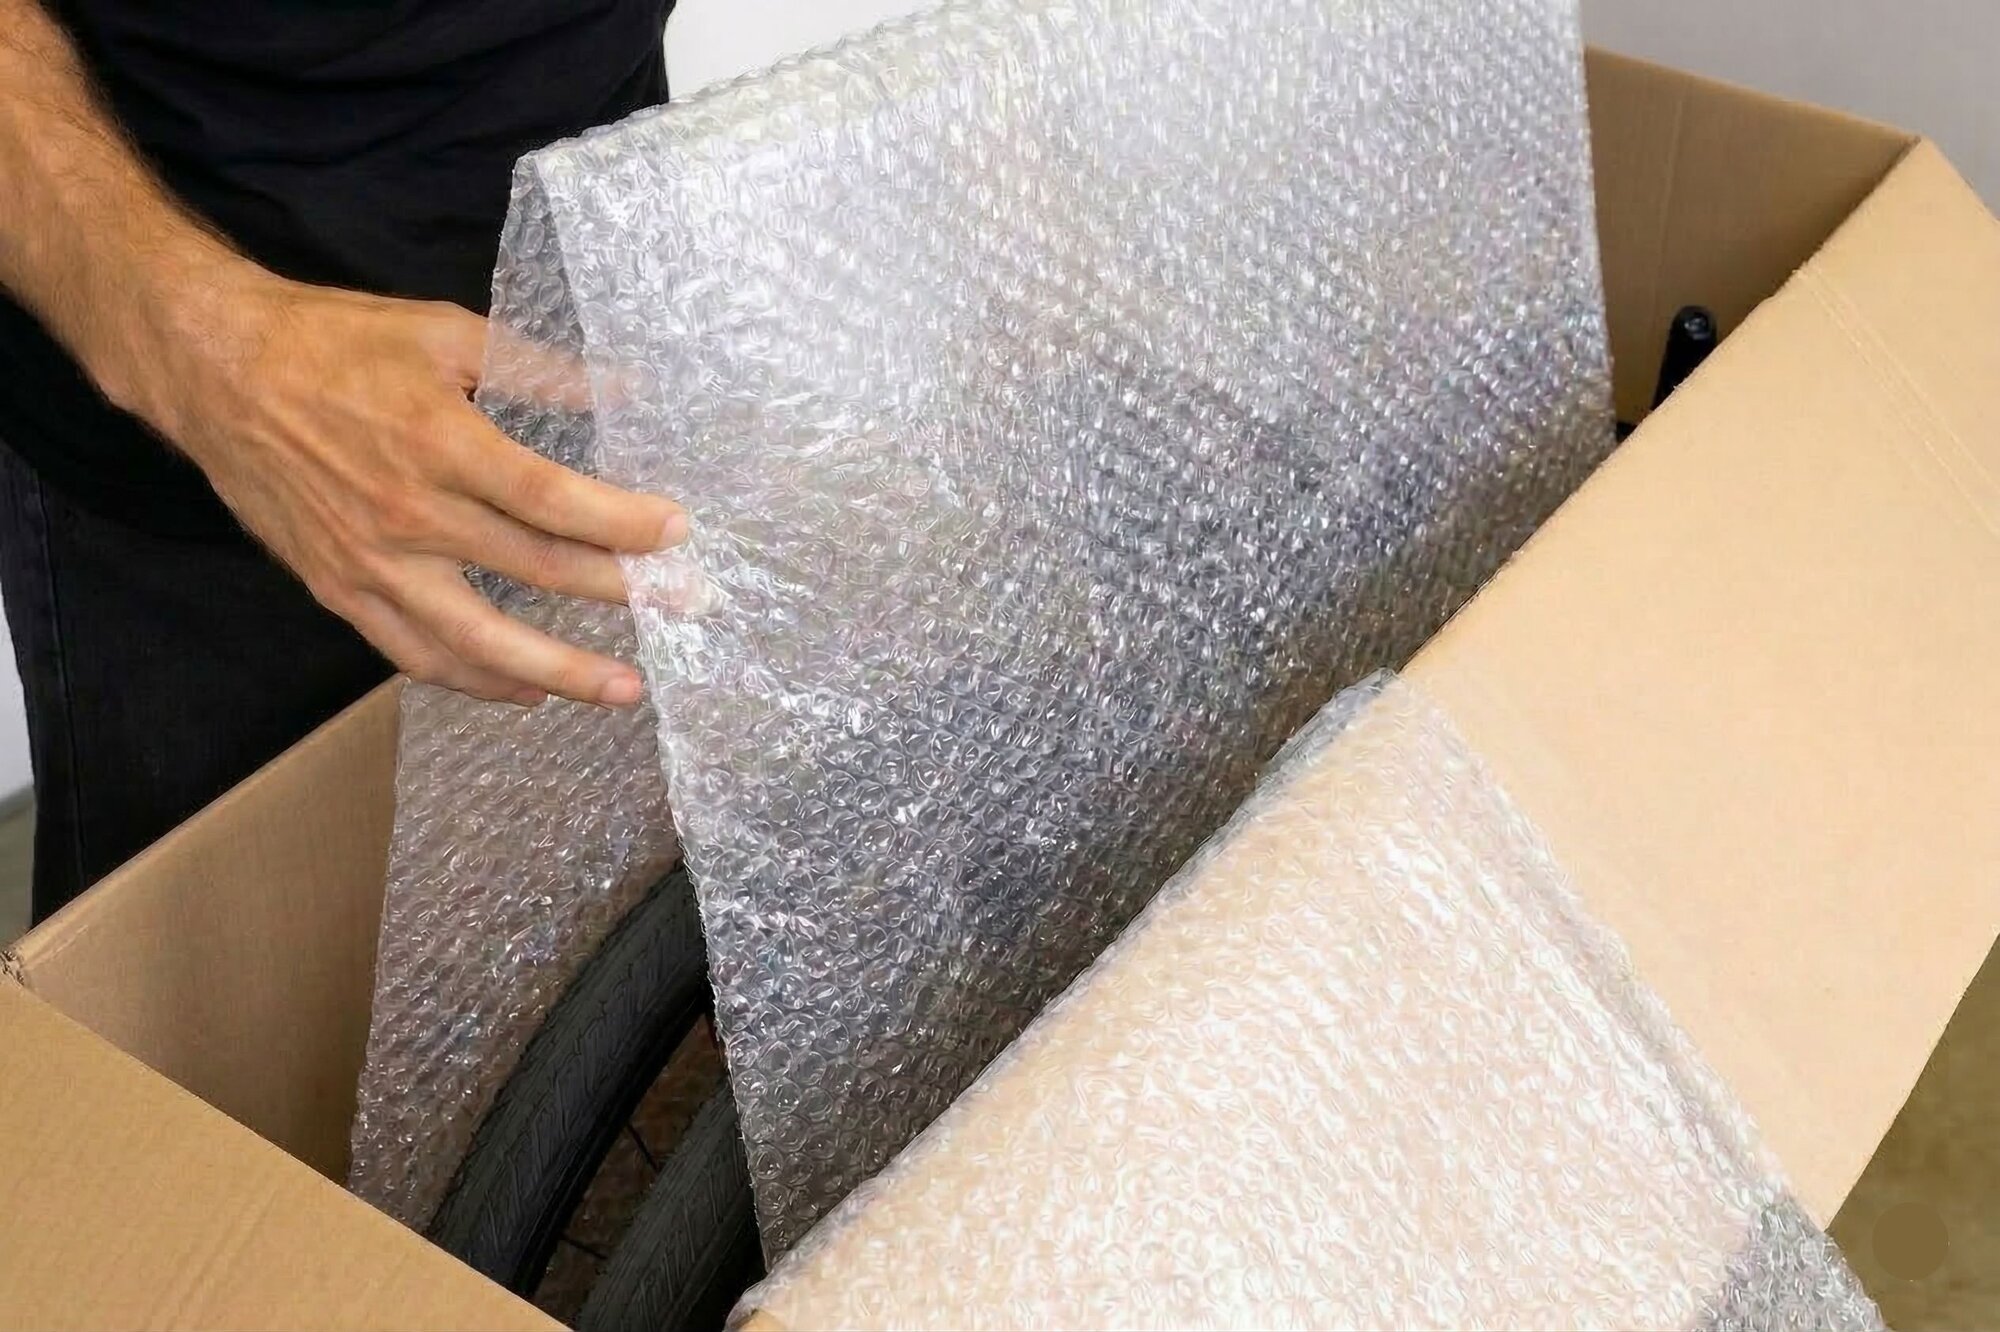
Add a cardboard divider
Use the transport box cardboard as a divider between the frame and other parts inside for extra protection.
Insert the wheels
Always place cardboard between wheels and the frame. Cassette must point away from the frame.
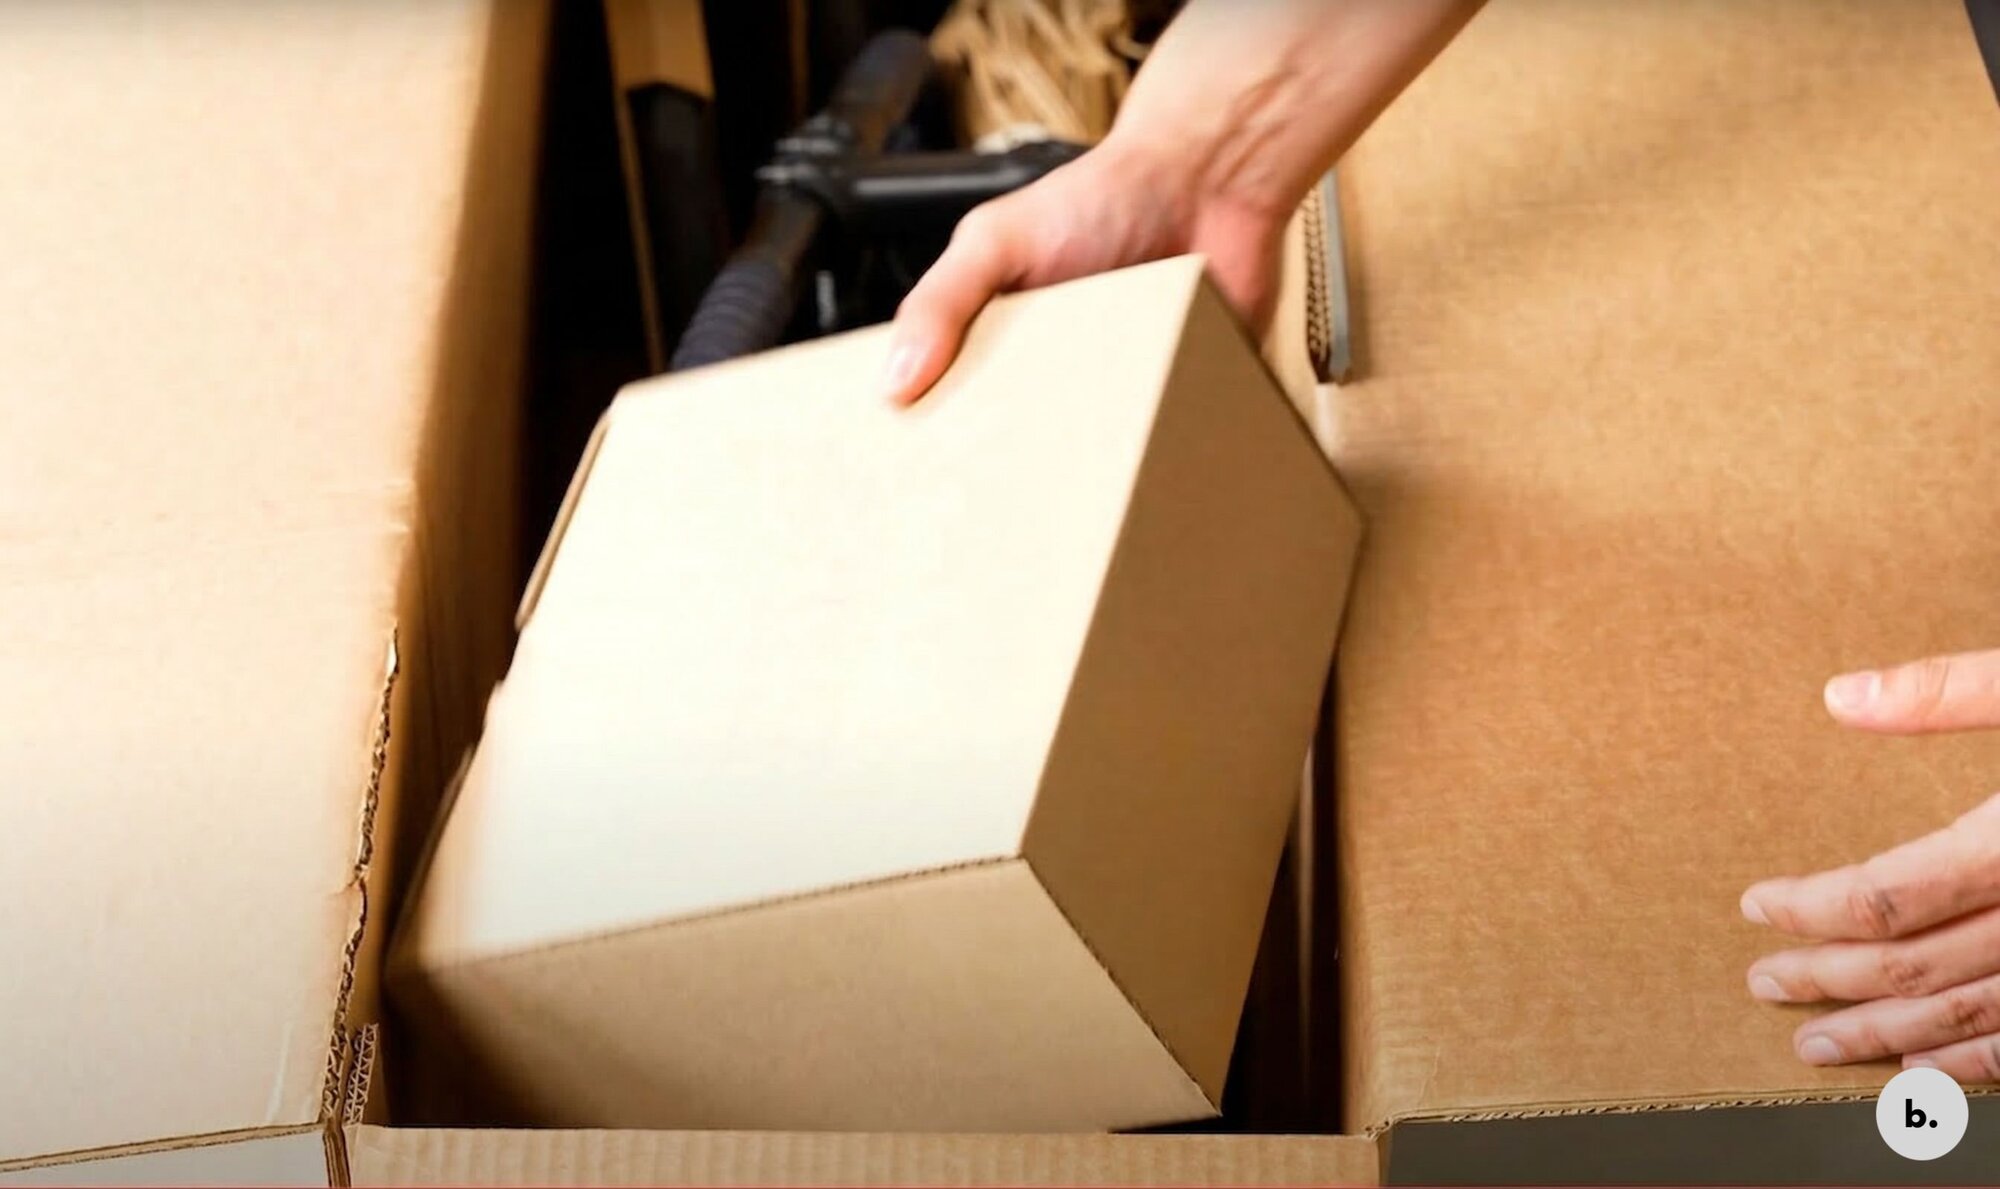
Pack accessories & close
Place all accessories in the accessory box. If your box did not come with inlays, you can use a shoebox or any other cardboard box you have at home. Put it inside the main box, then seal firmly with tape. Done!
Packaging do's & don'ts
The most common causes of transport damage — and how to avoid them.
Add padding between all contact points. No direct contact between wheels, frame, or components — this is the most common shipping damage.
Keep the rear wheel installed whenever possible for maximum frame stability.
Reinstall axles in the frame when wheels are removed, to maintain dropout integrity.
Use generous bubble wrap — especially on the fork, rear triangle, and all frame tubes.
No direct contact between parts. Scratches from wheel-to-frame contact are the top shipping damage claim.
No parts sticking out. No bulky modifications — the box must close flat.
Do not alter or cut the box. If your bike does not fit, contact buycycle support instead of modifying the packaging.
Don't let the cassette face the frame. Always point it outward to avoid gouging the paint.
Important reminders
Read carefully before sealing your package.
Your responsibilities
Packaging correctly protects your payout and the buyer's experience.
You are responsible for proper packaging. Use extra padding wherever needed and make sure the bike is fully secure with no parts touching.
Correct packaging prevents transport damage and ensures your payout is not delayed or reduced.
If you are unsure about anything, contact buycycle support before shipping — not after.
Photo documentation is required. You must upload photos of the packaging process to receive your shipping label — take at least 3 photos of the unpacked bike next to the materials, and 3 photos of the fully packed and closed box.