
Checking box & what you need
Check what’s in the box and what extra tools you need.
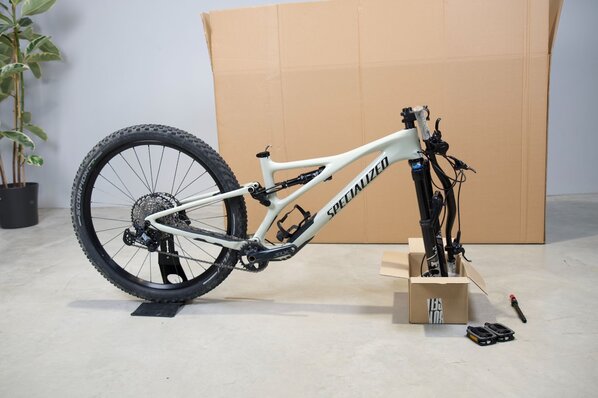
What’s in the box
- Main bike box
- 2 wheel covers
- 3 small boxes
- Wraps for frame protection*please note that some inlays may be different
What you’ll need in addition
- Scissors
- Tape
- Allen keys or pedal wrench
Assembling box & inlays
Learn how to assemble the box and inlays for safe bike packing.
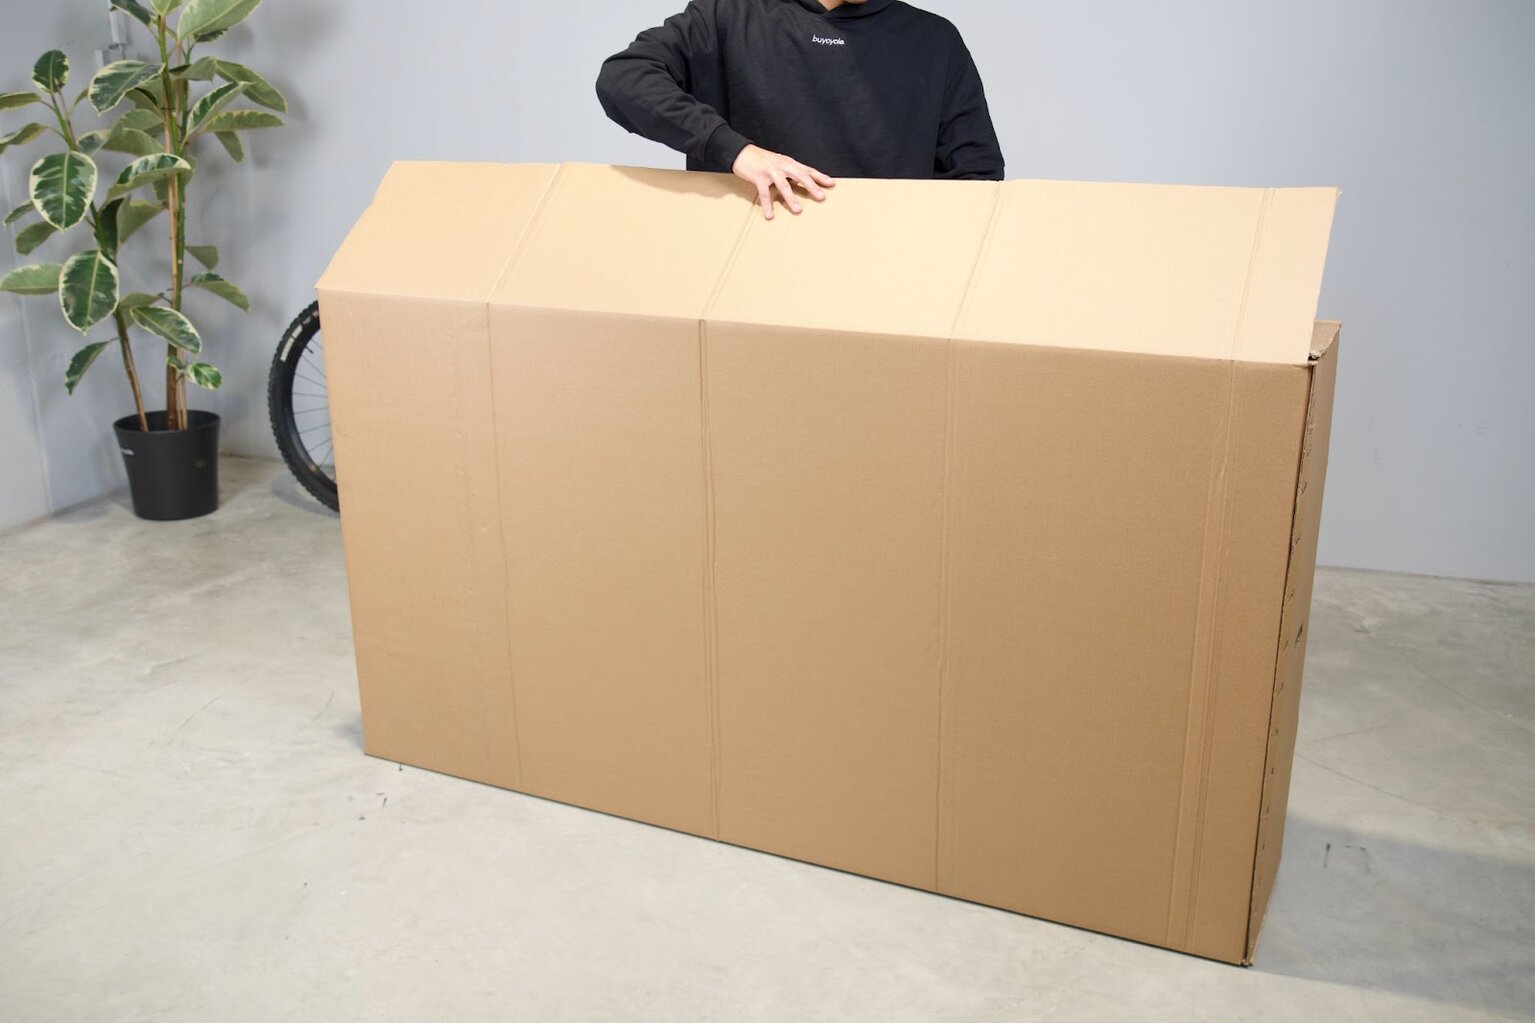
Unfold the large box
Unfold the large box. The pre-marked folding lines, as well as the arrows on the box, will guide you. Fold in the bottom flaps and secure with tape.
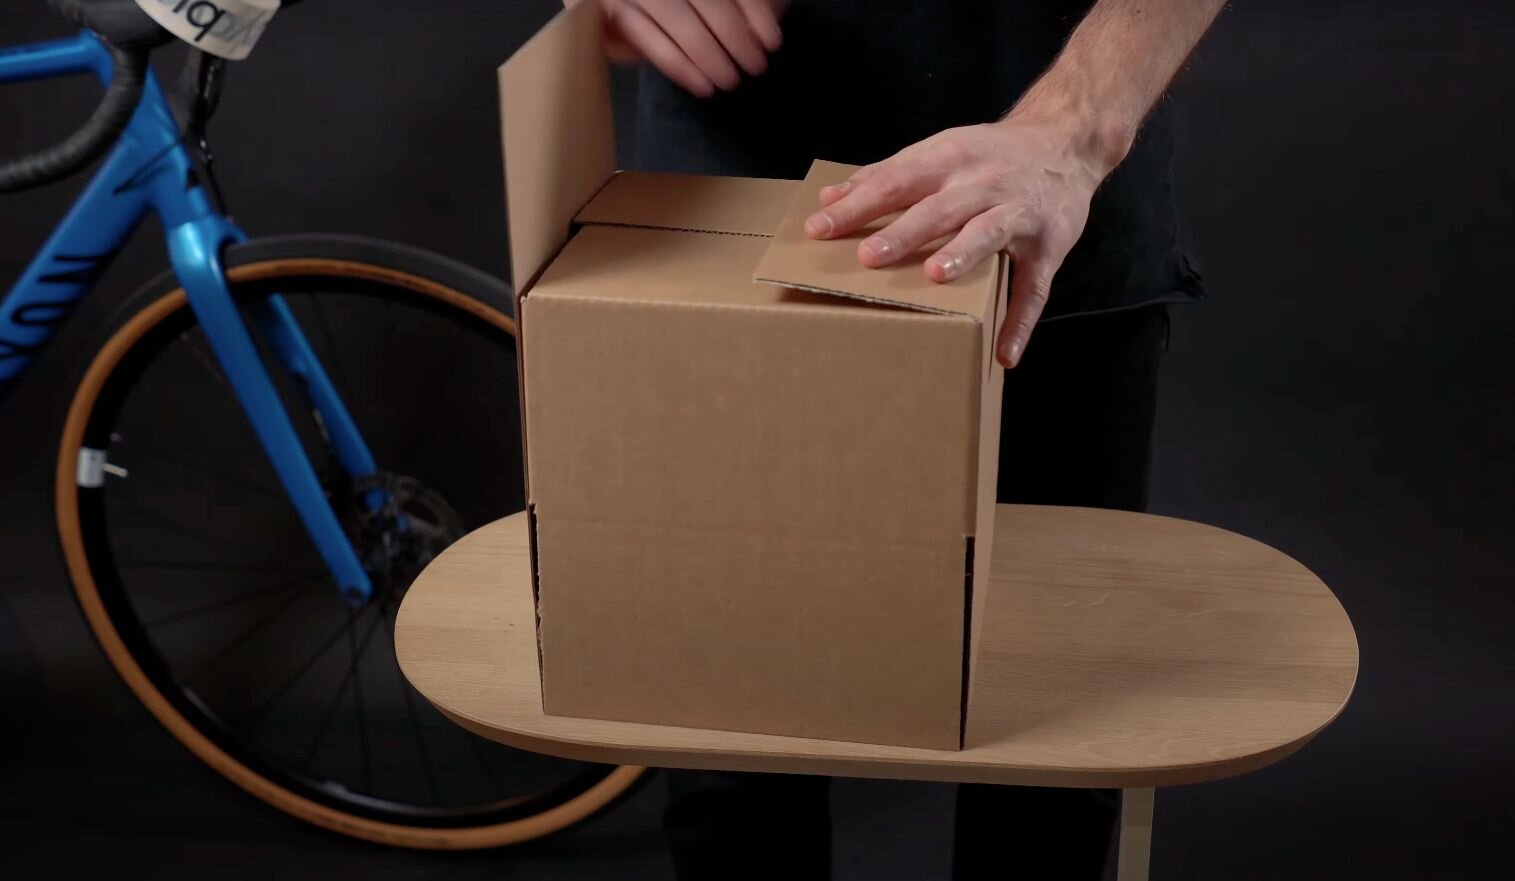
Fold the small support boxes
Fold the three small support boxes that will be placed inside the main box. Secure each one with tape.
Preparing the bike
Learn how to disassemble your bike to prepare it for shipping.
Seatpost & pedals

Remove the seatpost
Remove the seatpost and wrap it in bubble wrap or paper.
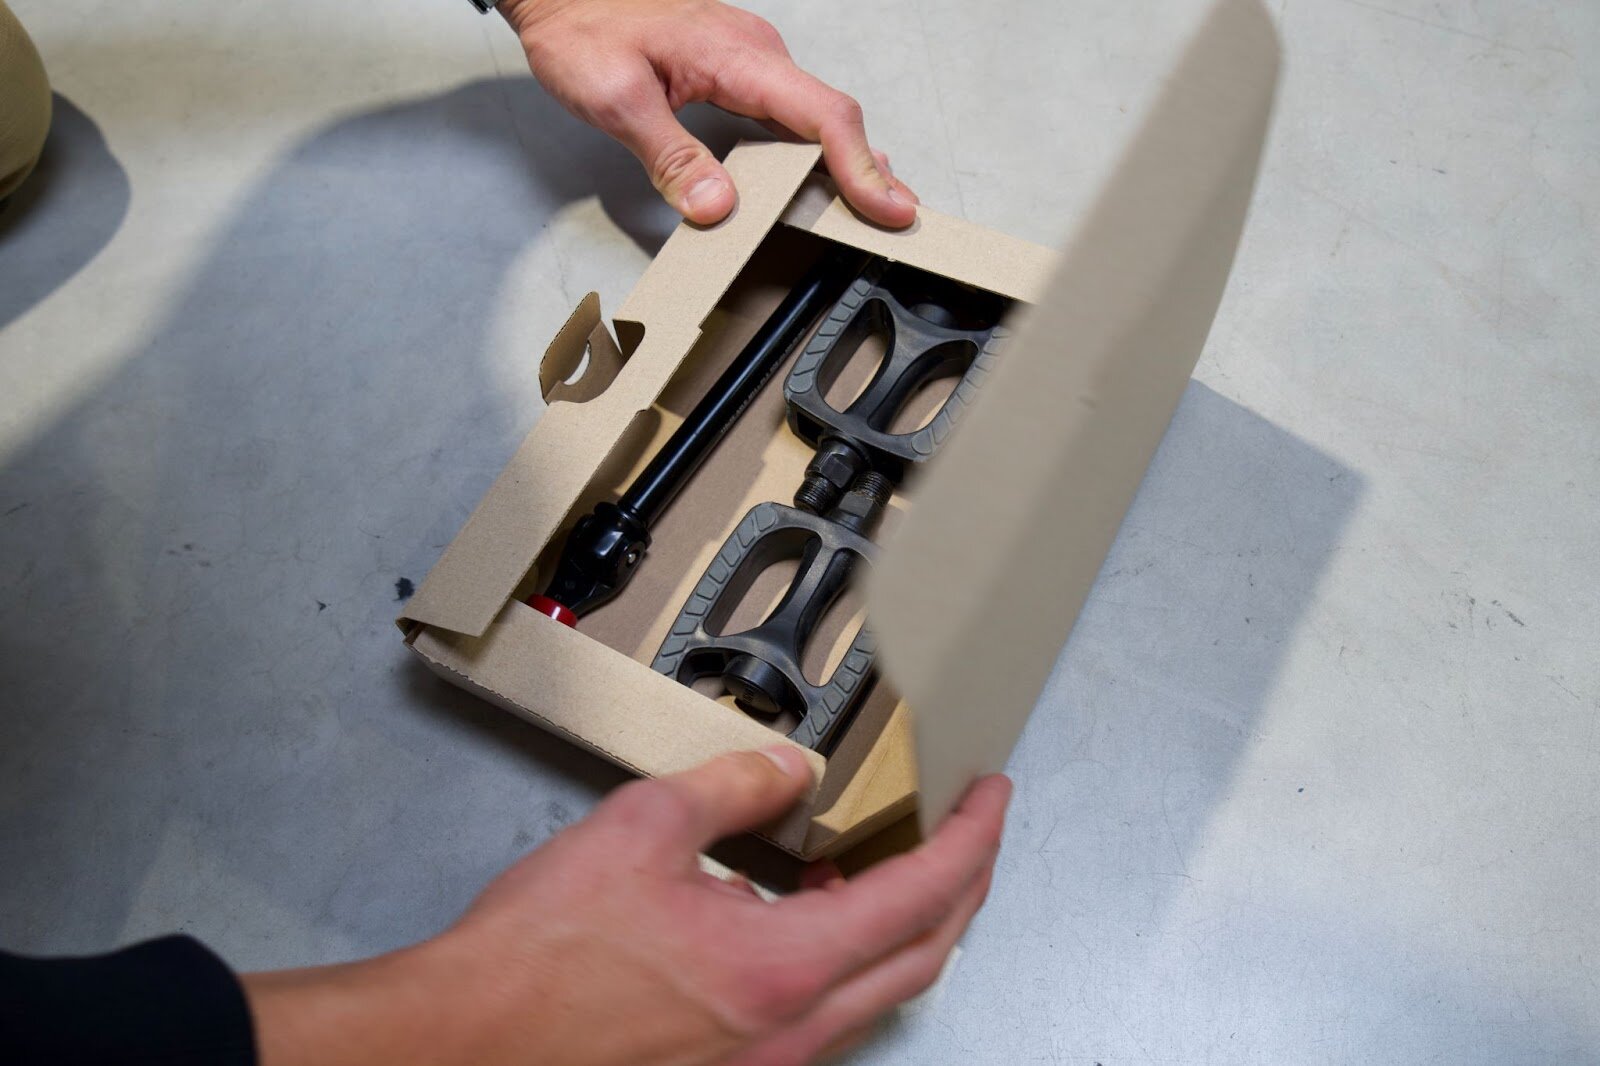
Remove the pedals & accessories
Remove the pedals and other accessories, and place them in the accessory box.
Rear derailleur & handlebar
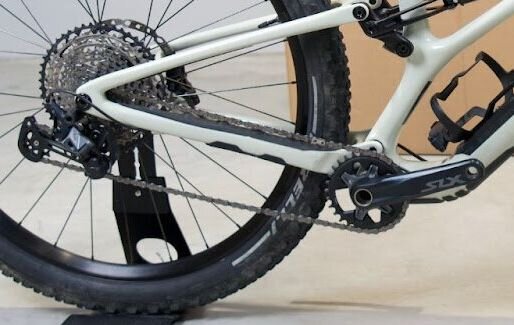
Protect the rear derailleur
To protect the rear derailleur, shift to the small chainring and the largest rear cog.
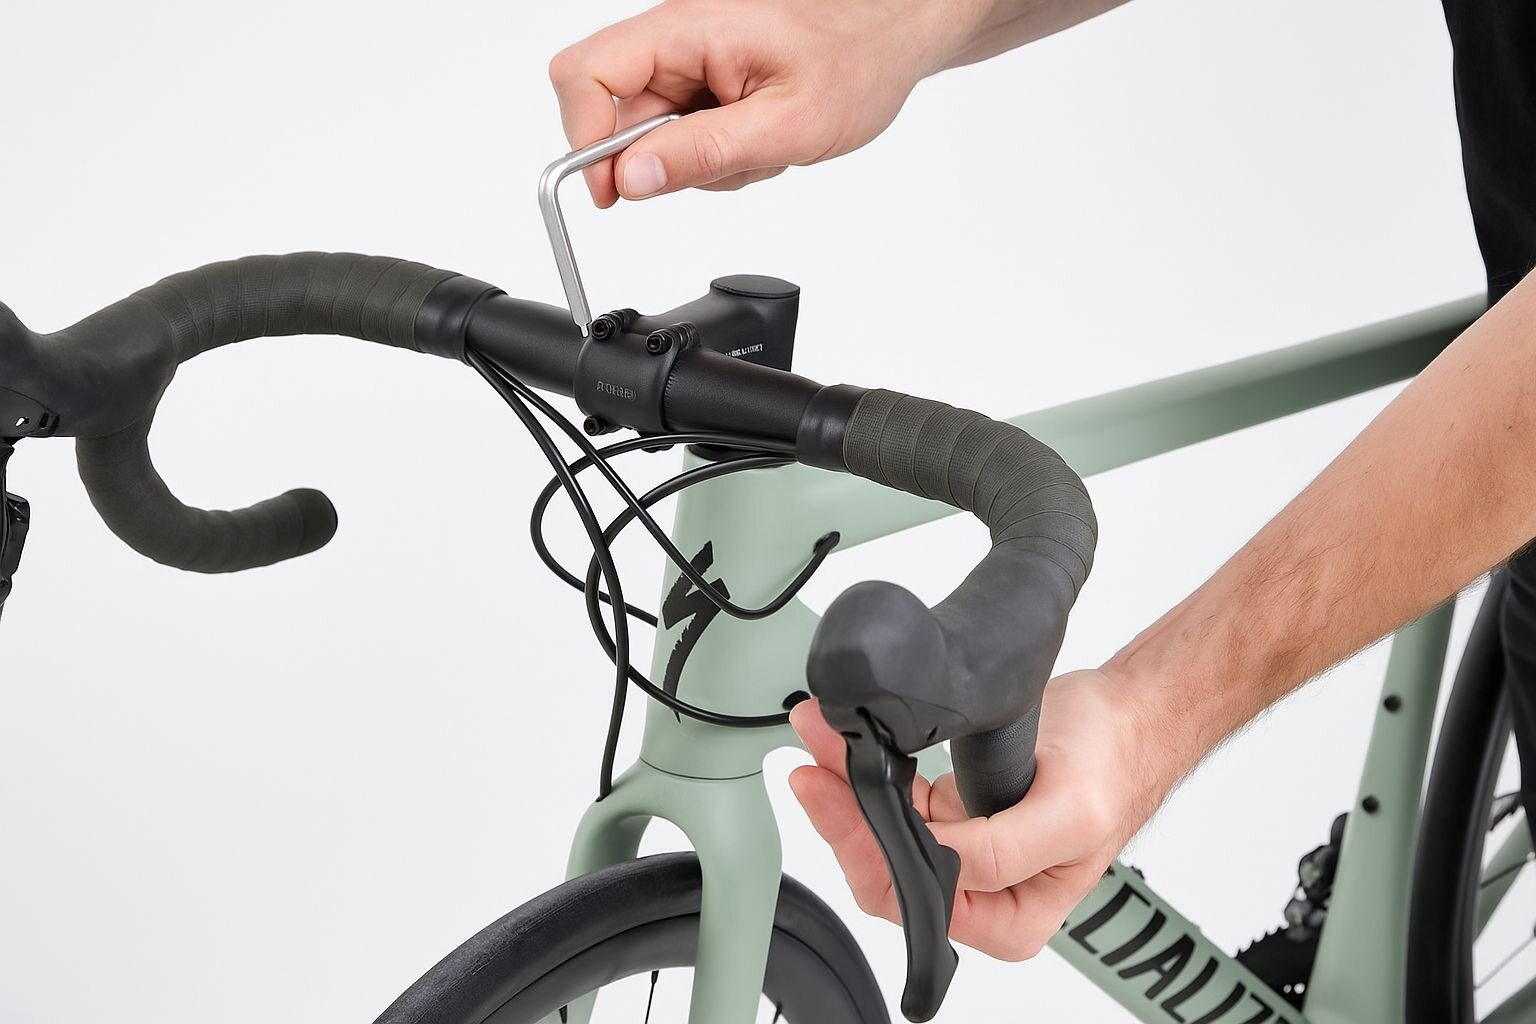
Adjust the handlebars
Loosen the stem cap screws to adjust the handlebars. Rotate to the side or remove, then wrap in bubble wrap or newspaper for protection.
Front wheel
Remove the front wheel
Take out the front axle to remove the front wheel.
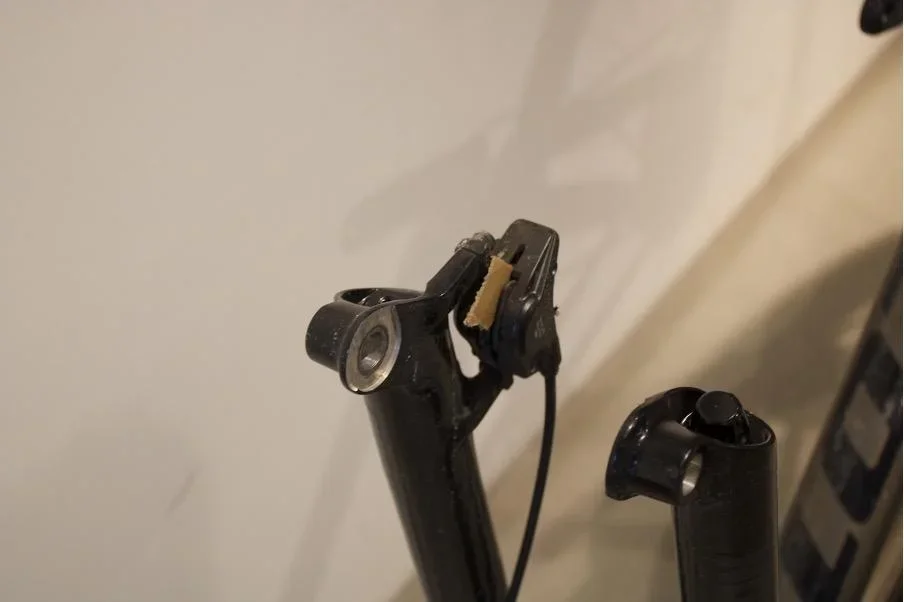
Disc brake spacer
If you have disc brakes, place a spacer or a piece of cardboard between the pads.

Secure with protective caps
Secure the wheel between the two protective cardboard caps.
Frame protection
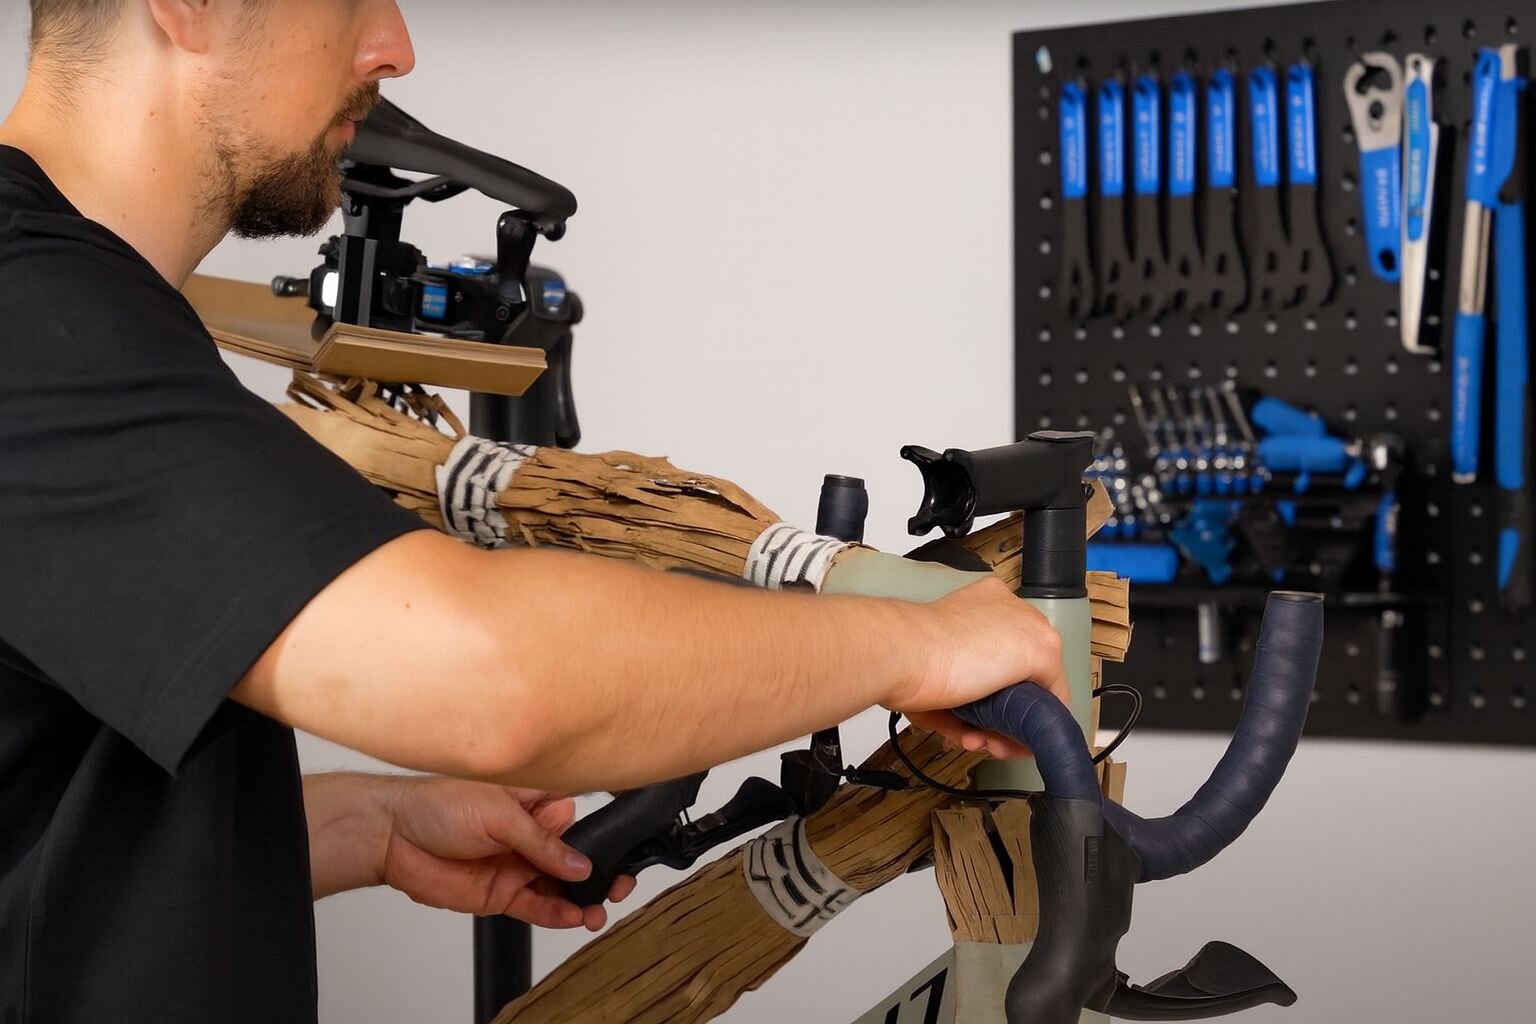
Wrap the frame
Add bubble wrap or protective material around the frame to protect it during transit.
Packing the bike
Learn how to box the bike and secure it.
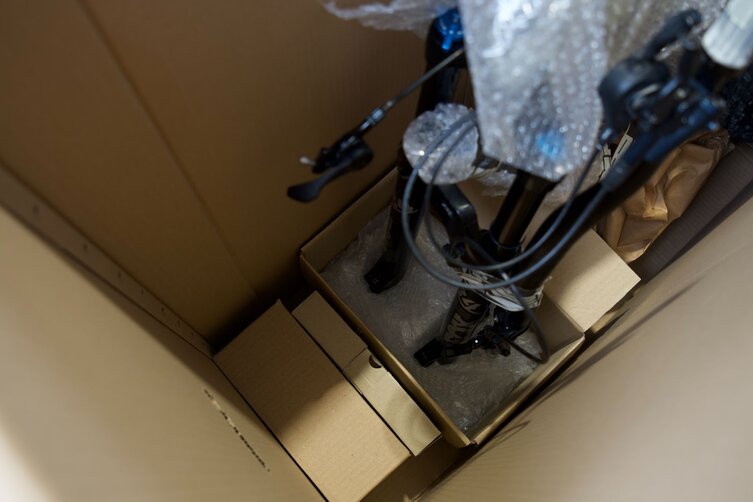
Place bike in the box
Carefully place the bike into the box, ensuring the fork rests on the small box.

Place the front wheel
Always place cardboard between wheels and the frame. Cassette must point away from the frame.

Add accessories & small boxes
Place the remaining small boxes with accessories and pedals inside the large box.
Add seatpost & seal
Place the seatpost and saddle next to the frame. Ensure they are properly wrapped and cannot damage the frame. Tape the box shut — and that’s it.
Packaging do’s & don’ts
The most common causes of transport damage — and how to avoid them.
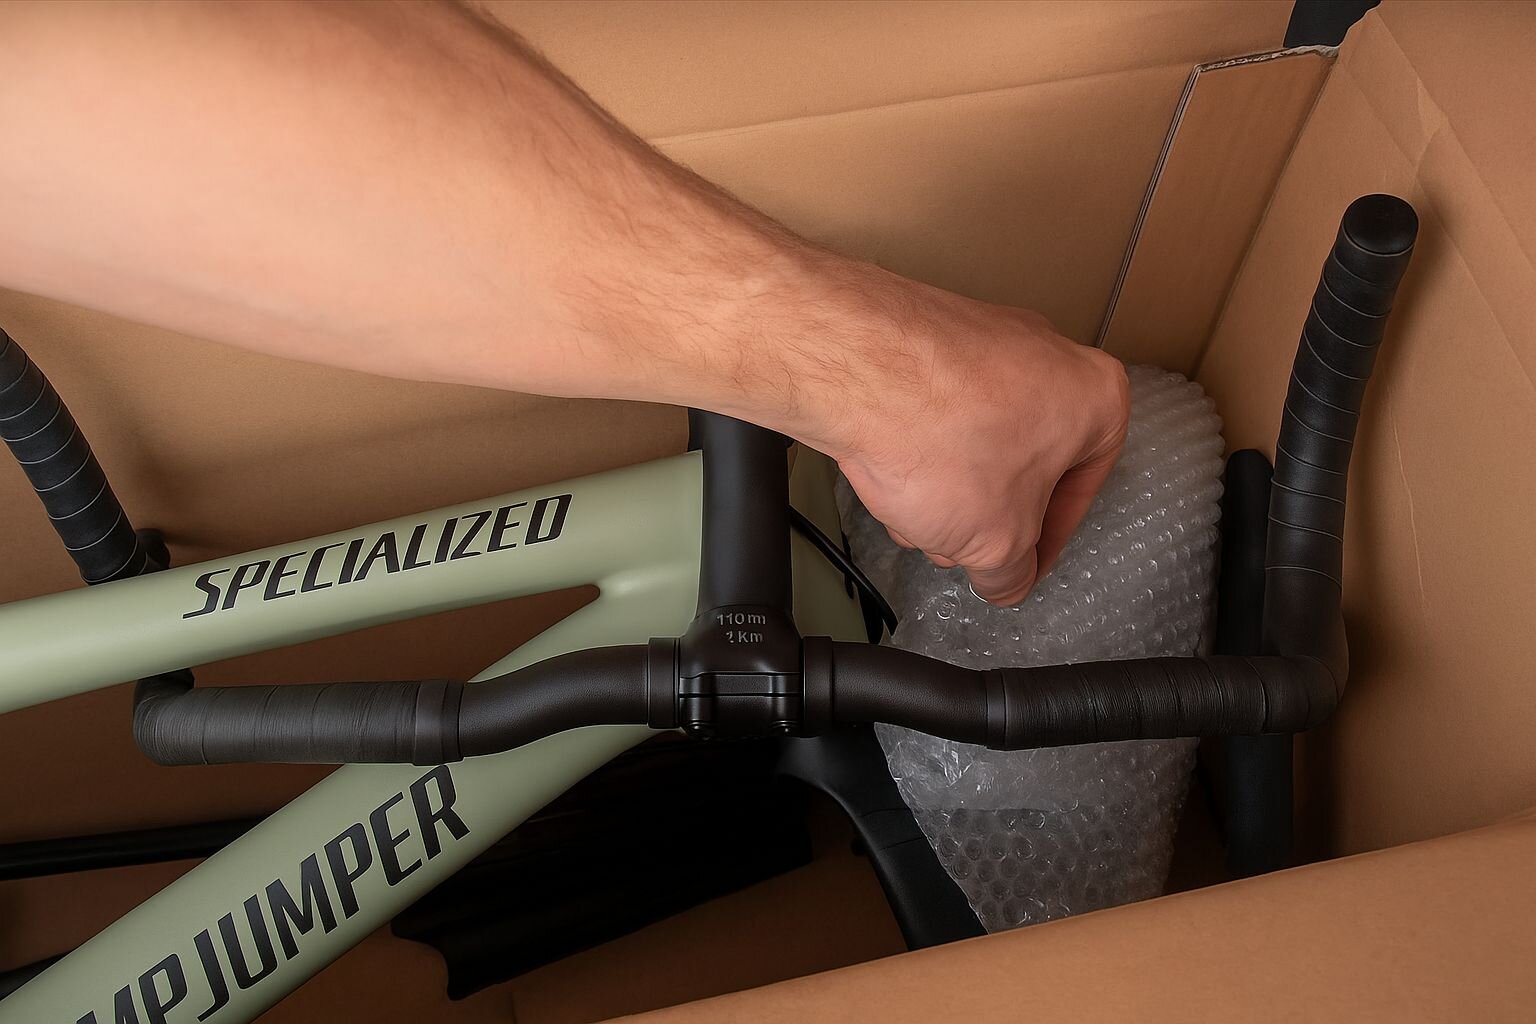
Add extra padding between wheels and frame. No direct contact between wheels, frame, or components — this is the most common shipping damage. The more protection the better.
Protect the fork and rear triangle from pressure and compression.
Contact support if your bike doesn’t fit instead of modifying the packaging.
No direct contact between wheels, frame, or components. Scratches from contact are the top shipping damage claim.
Avoid bulky or modified boxes. No parts should stick out of the box.
Do not alter the box. If your bike doesn’t fit, contact our support instead of modifying the packaging.
Important reminders
Read carefully before sealing your package.
Your responsibilities
Packaging correctly protects your payout and the buyer’s experience.
You are responsible for proper packaging. Use extra padding where needed and make sure the bike is secure and no parts are touching.
Correct packaging prevents transport damage and ensures your payout is not delayed.
Photo documentation is required. You are required to upload pictures of the packaging process to get the shipping label. Take at least 3 photos of the unpacked order next to the packaging material and 3 photos of the packed order.