

Congrats! You sold your bike on buycycle and are ready to ship it. Once you’ve gotten our packaging material, here’s how you proceed.
1. How to pack your bike with the medium buycycle box
How to pack your bike with the medium buycycle box
2. Checking the box
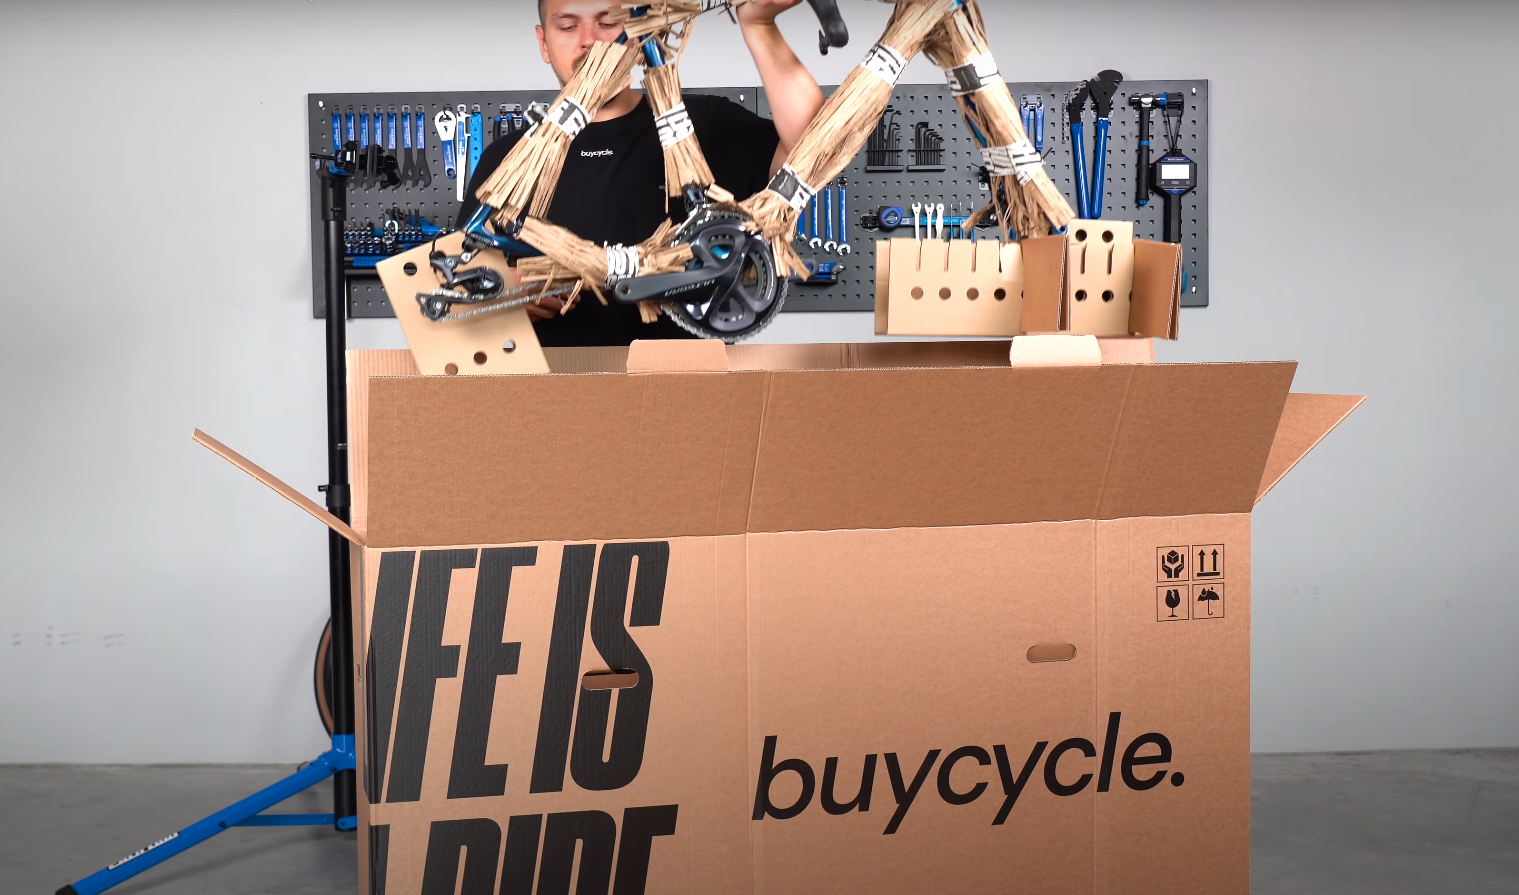
Before we start packing and wrapping, please make sure that you’ve got all the packaging material you need. This is what should be in the buycycle box you’ve just received:
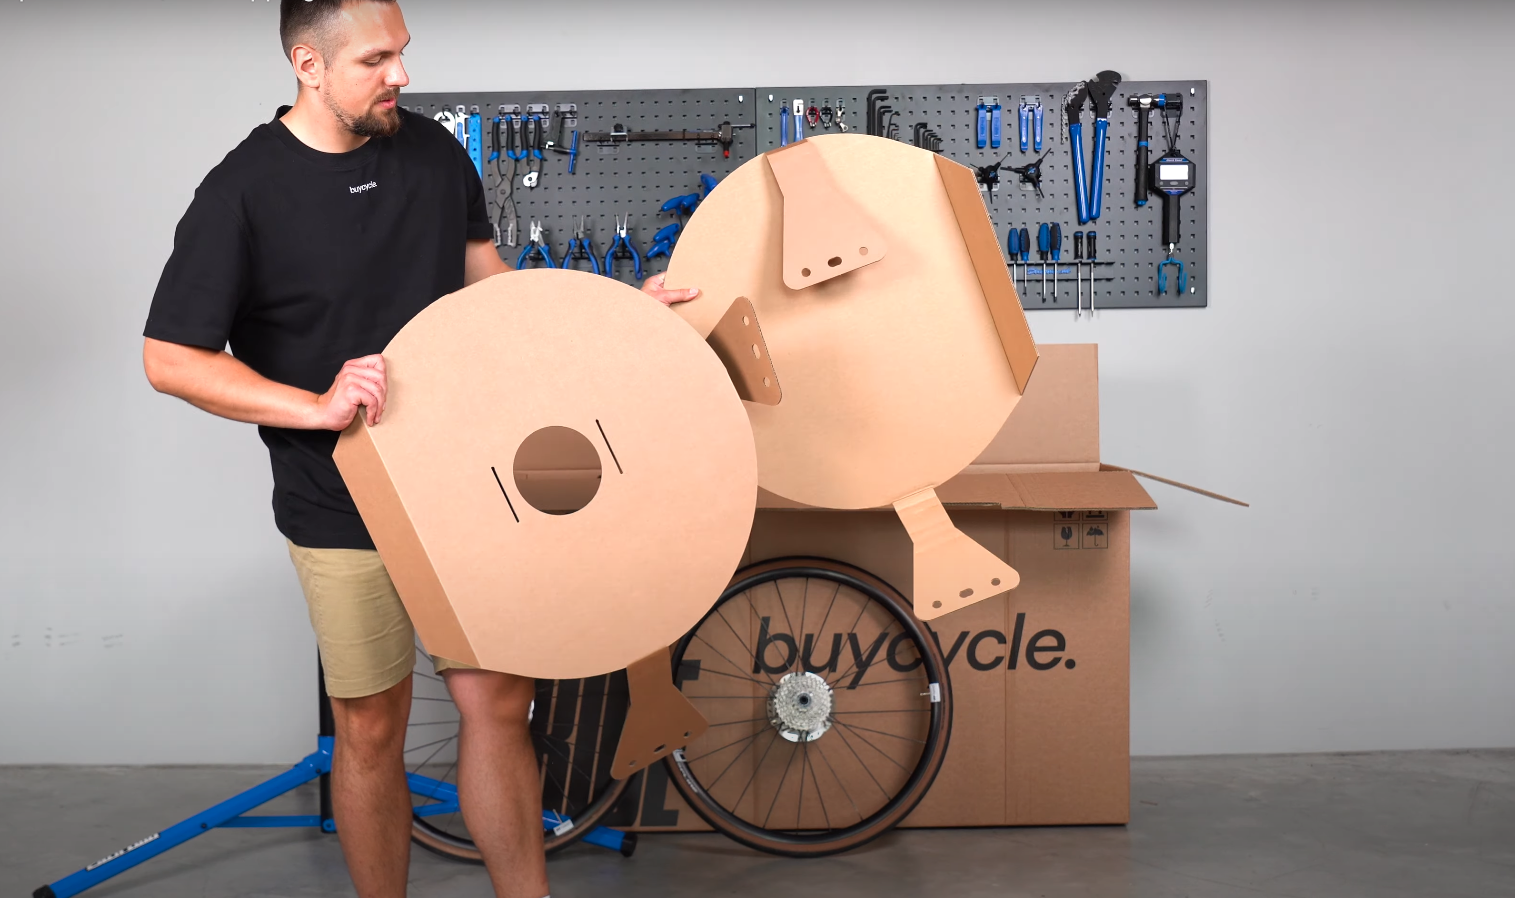
- main bike box
- support elements for your front axle: cardboard axle holder with six holes, a long adjustable rail, 2 pieces of cardboard blockers
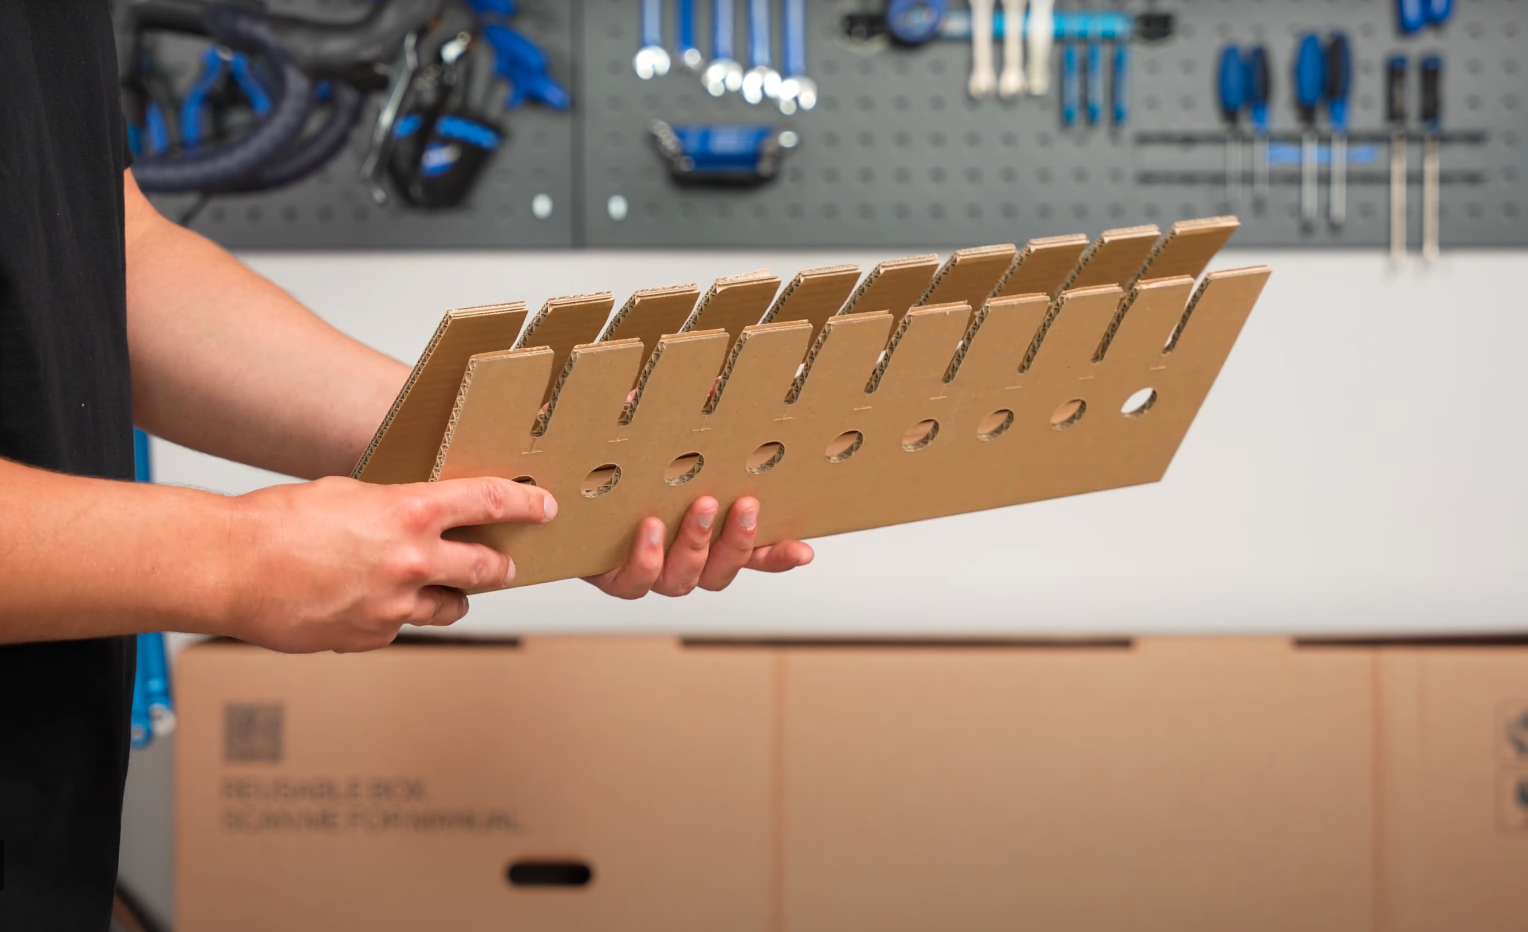
- protection elements for your rear wheel: rear wheel protector cardboard with one hole, cassette protector cardboard
- Seatpost stabilizer
- box for accessories
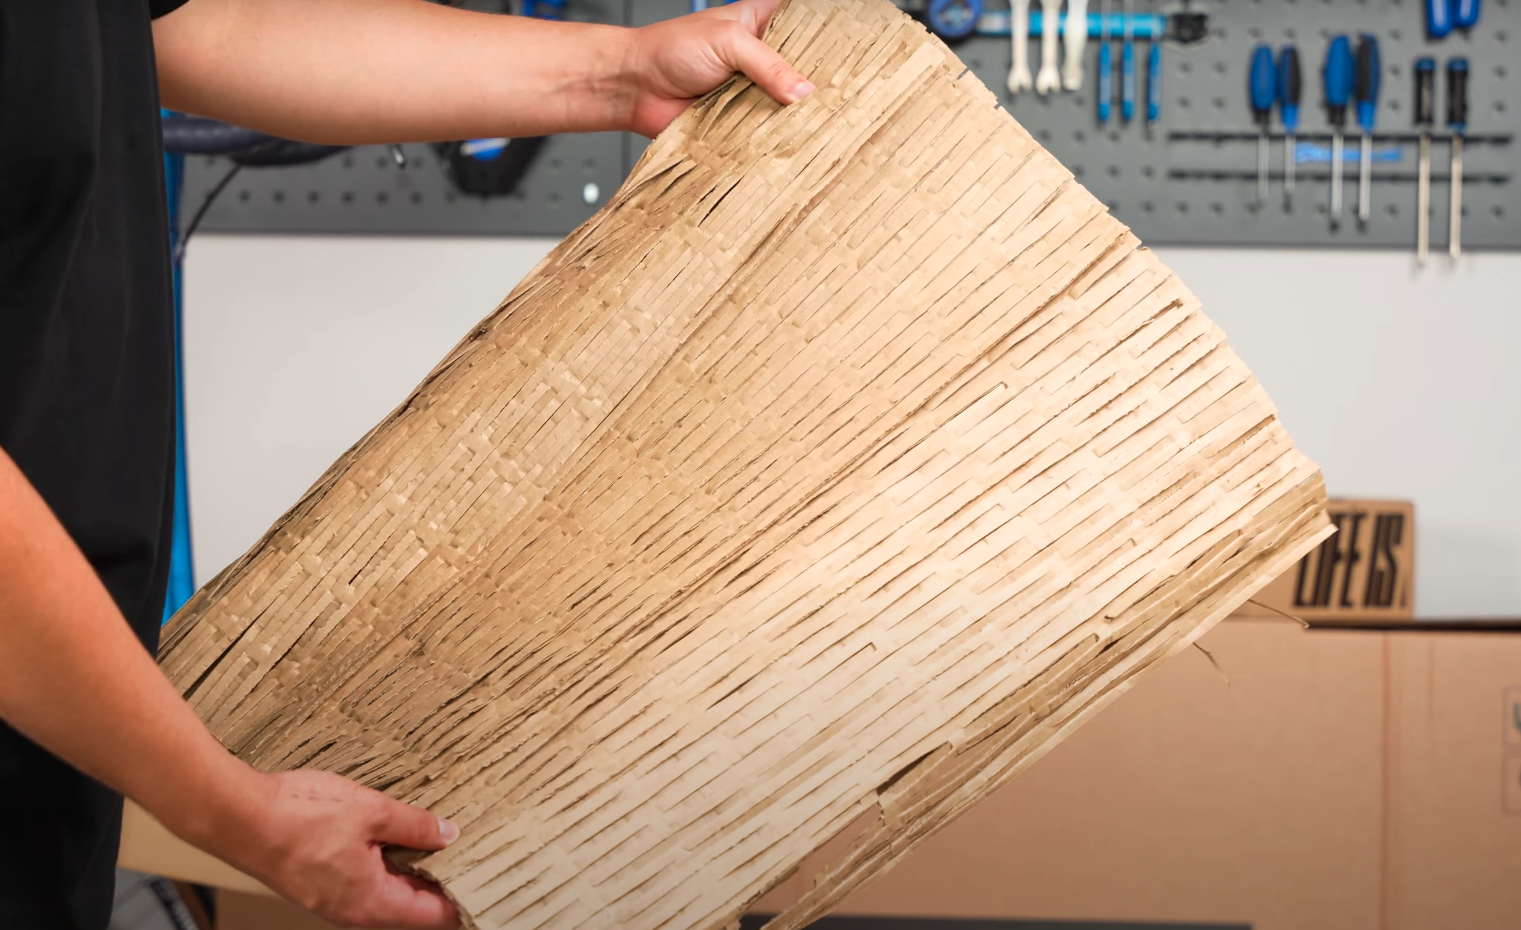
- 5 wraps for frame protection
You can also check the images below for an idea of what is what.
You’ll further need:
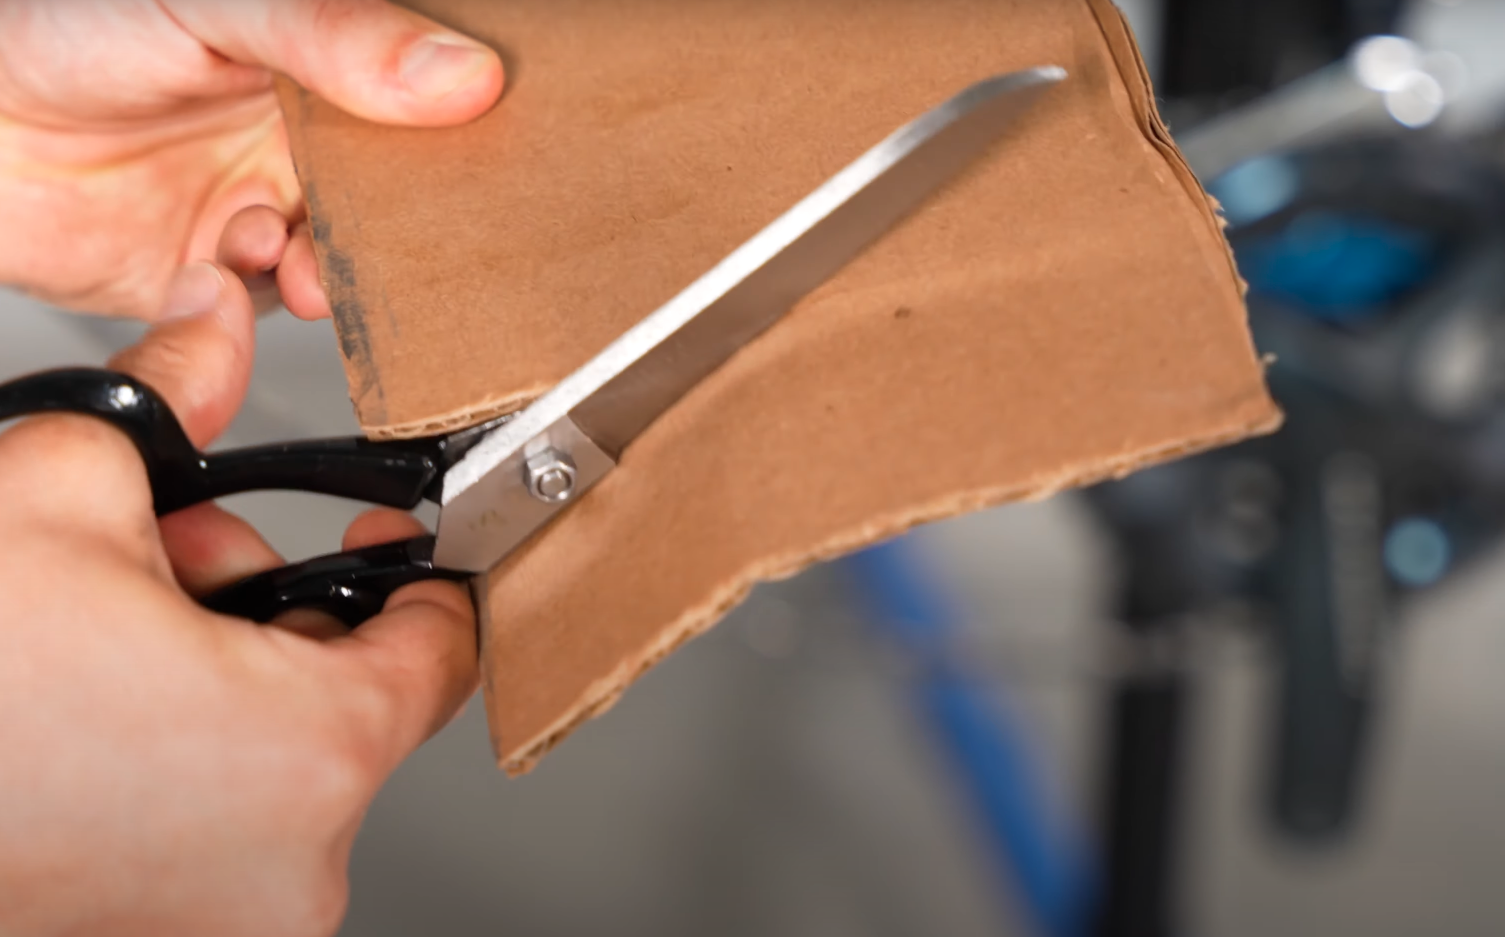
- scissors
- tape
- allen keys
Once you’ve ensured that your packaging material is complete, you can start to pack your bike.
3. Prepping the box and its inlays:
1. Build the main bike box:
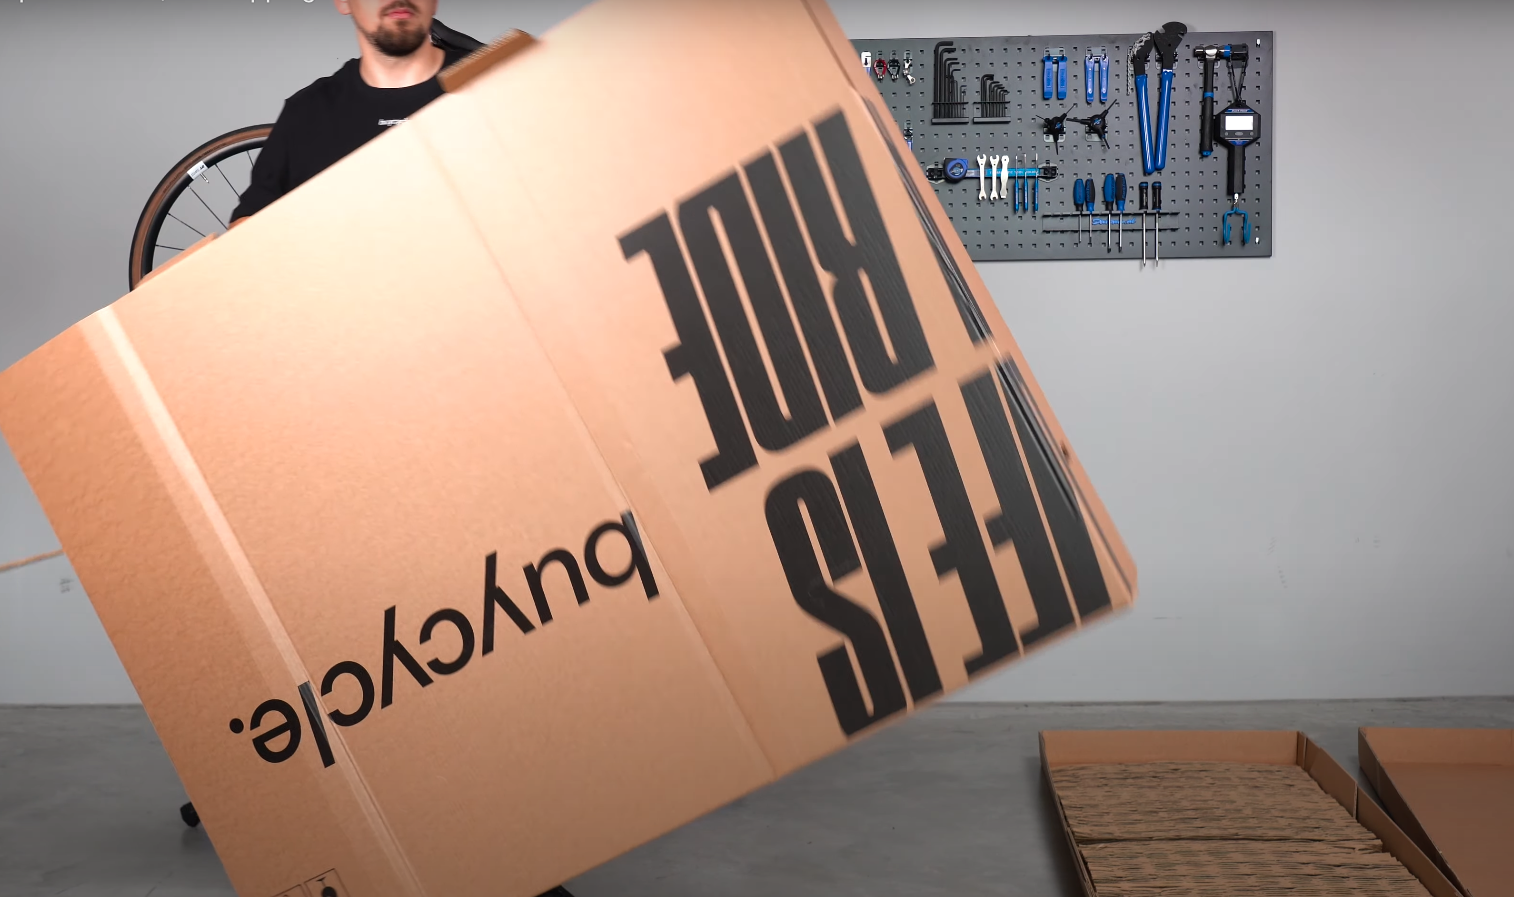
Take the big cardboard box out of the transport box and unfold it so that it starts looking like a box already.
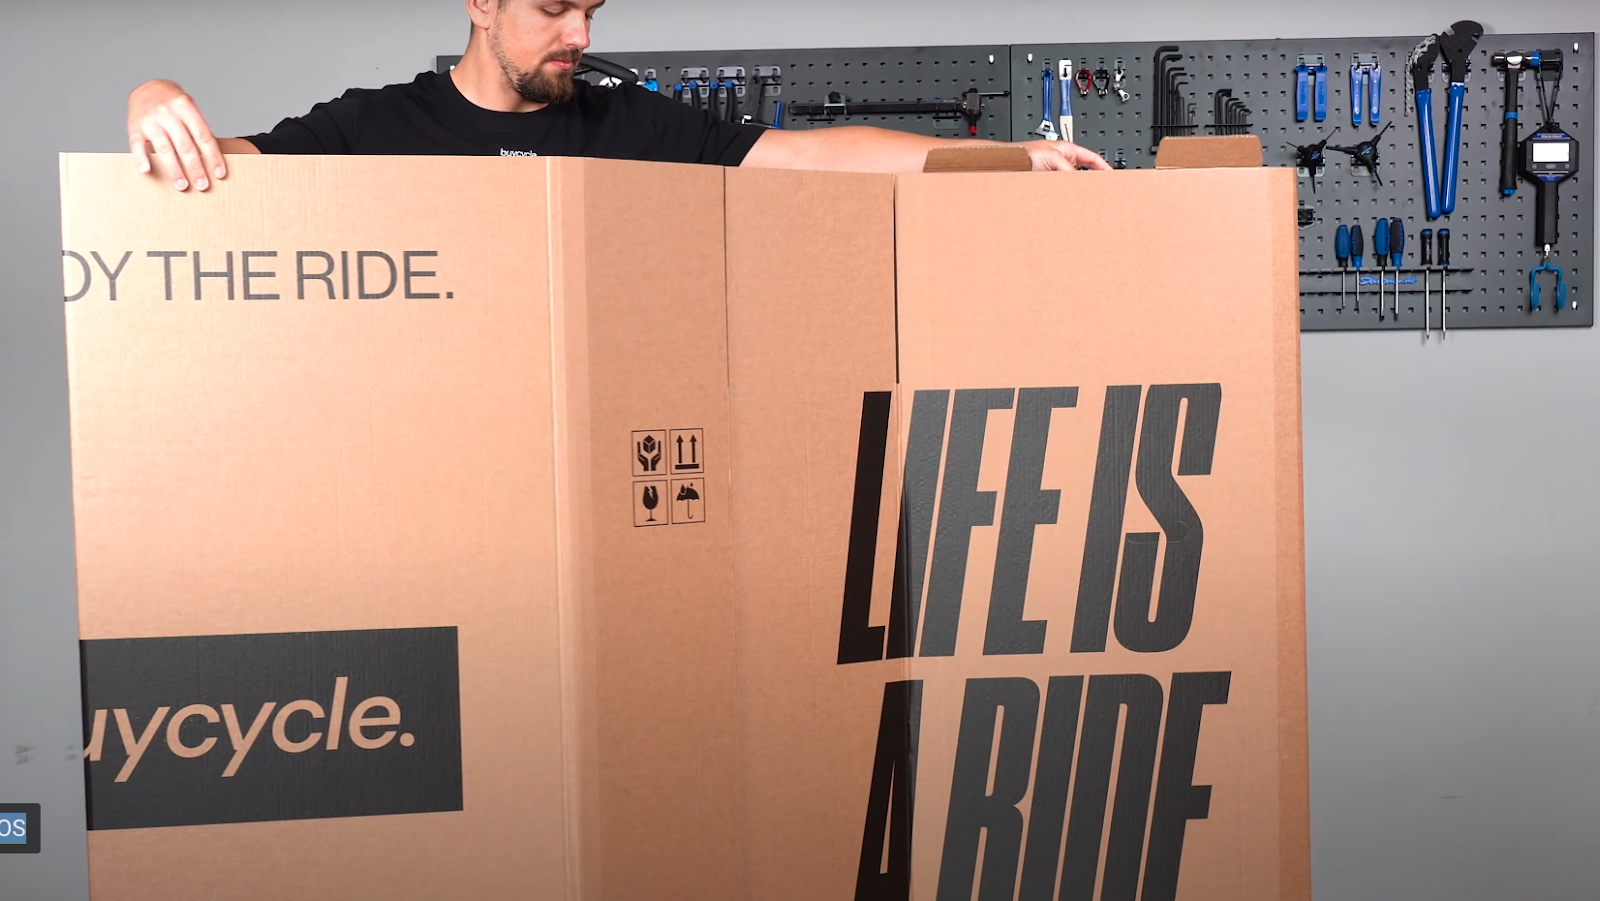
Turn it upside down (with the buycycle logo facing downwards) and fold the flat flaps inside.
Secure the flaps with the closing flap - you’ve got your box a bottom!
Turn it back upright, leaving the top open for now.
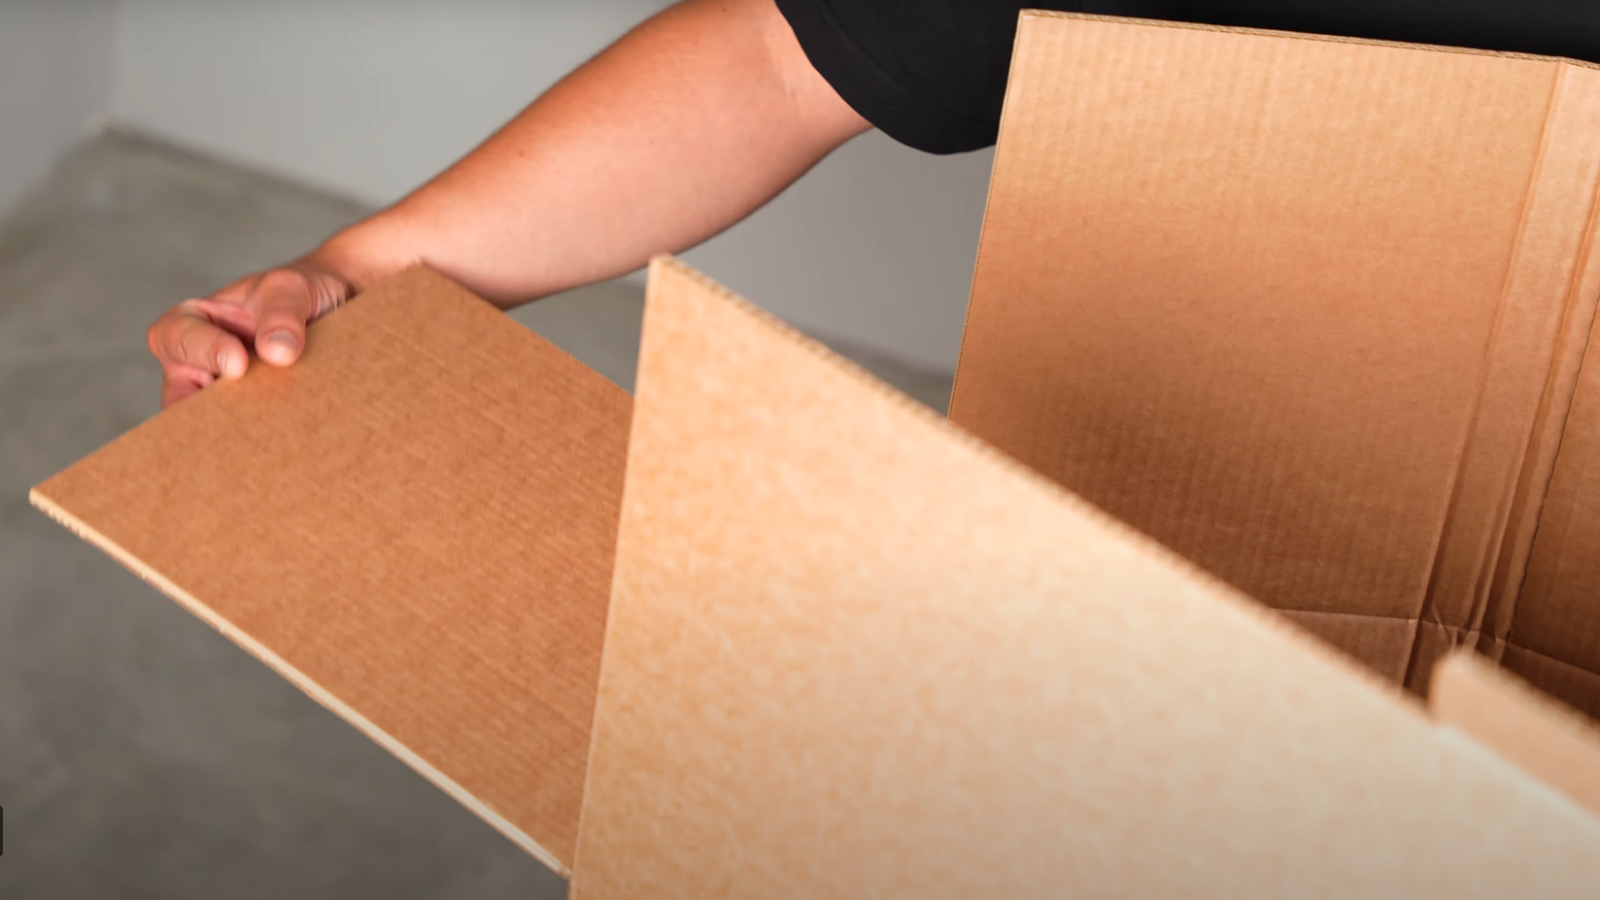
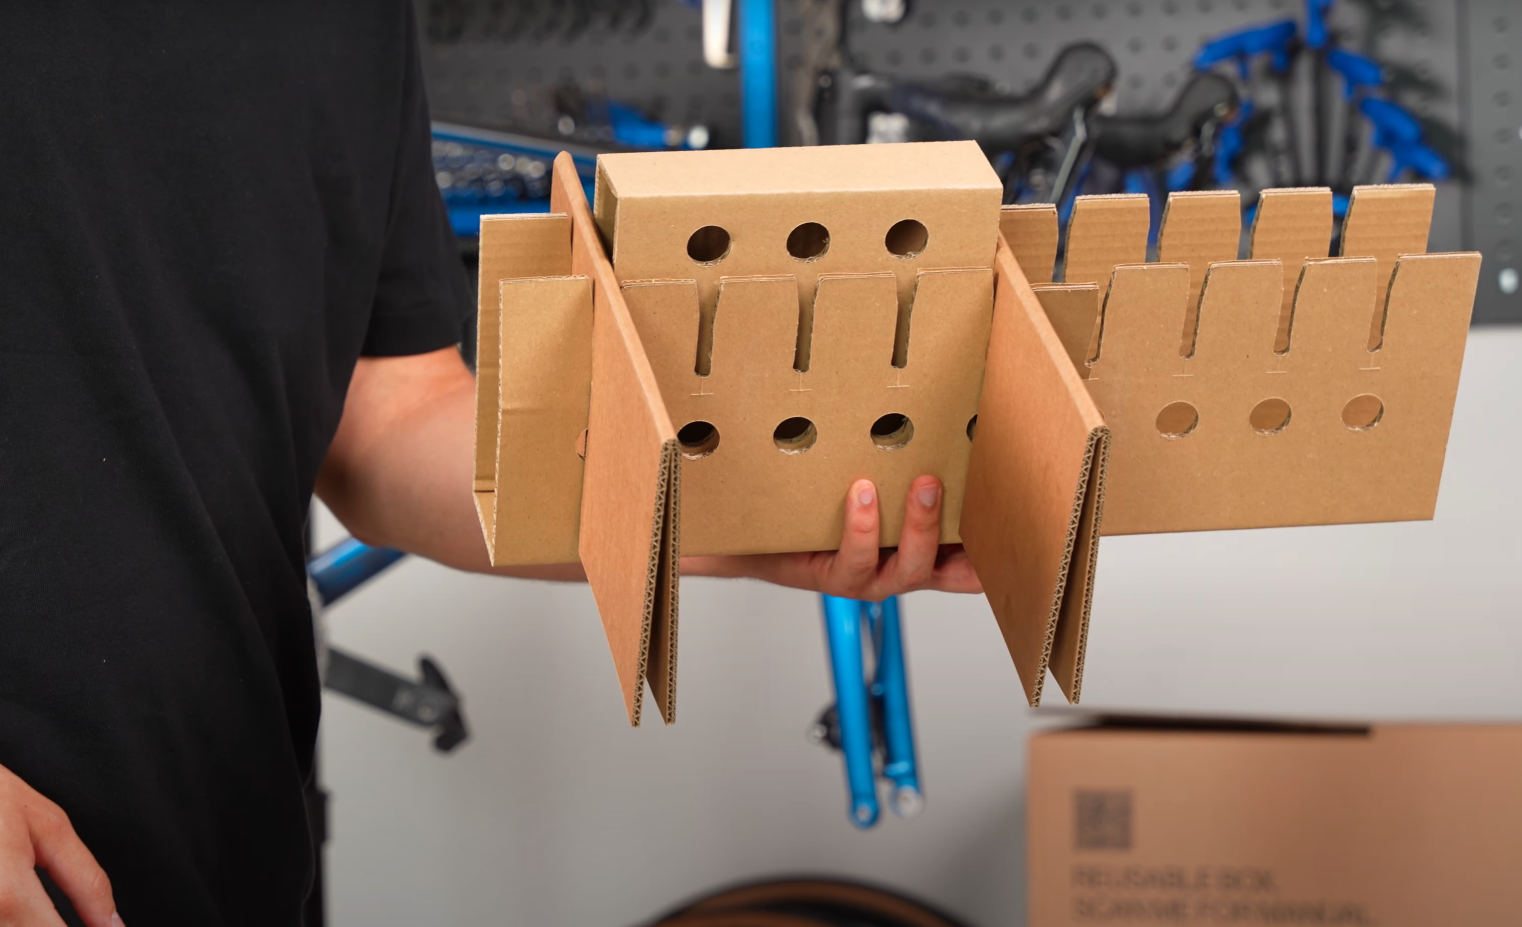
2. Assemble the front axle holder
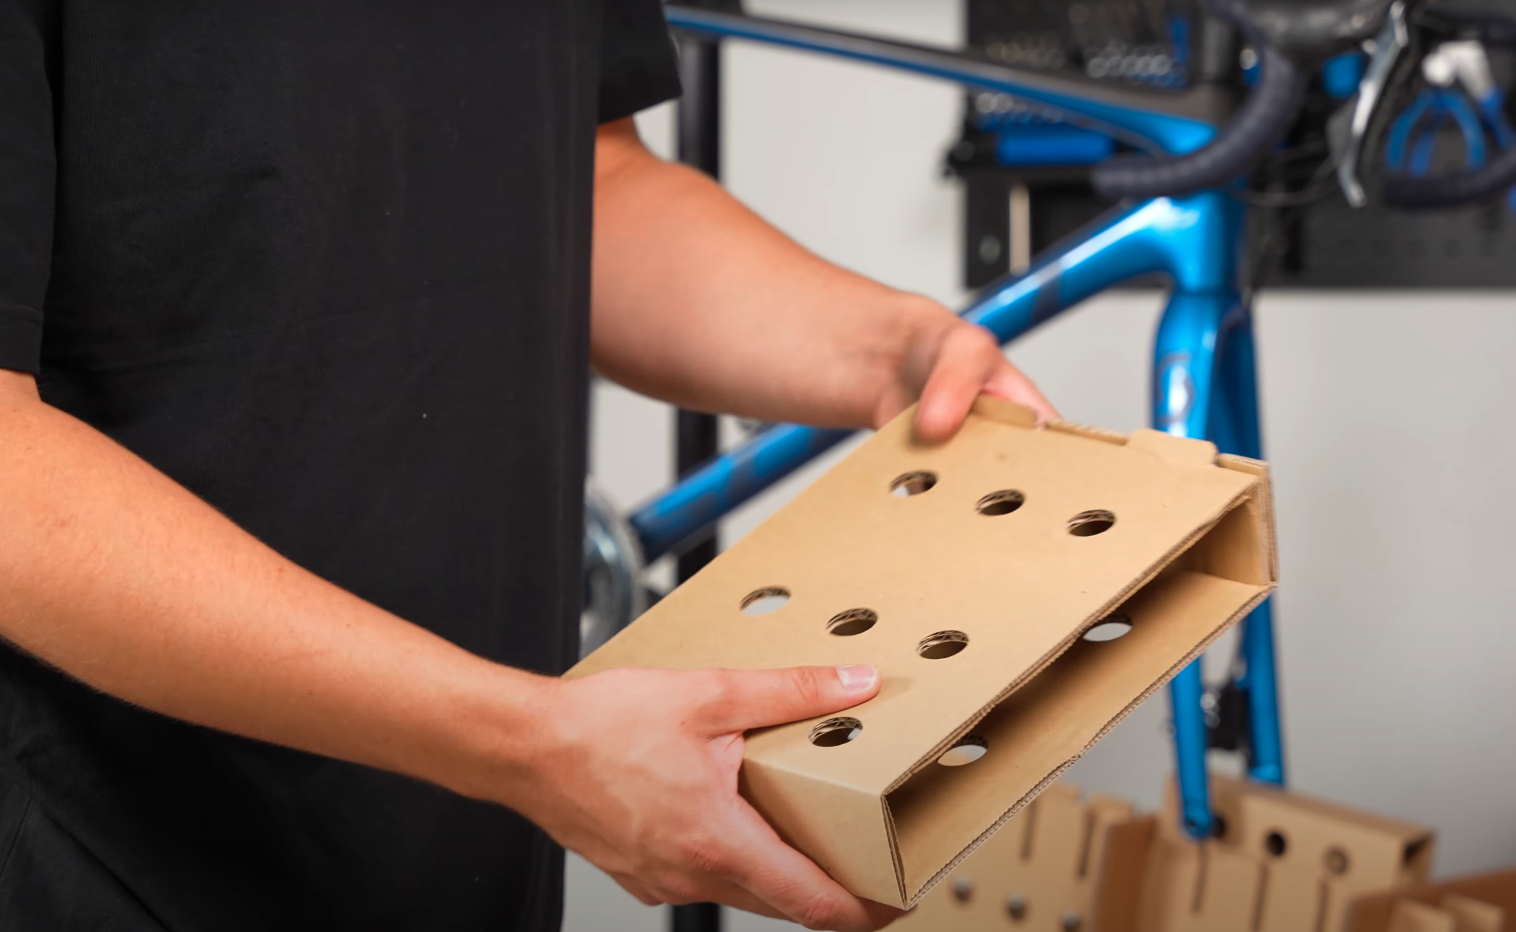
Take the cardboard with the six holes in it and fold it into a cube.

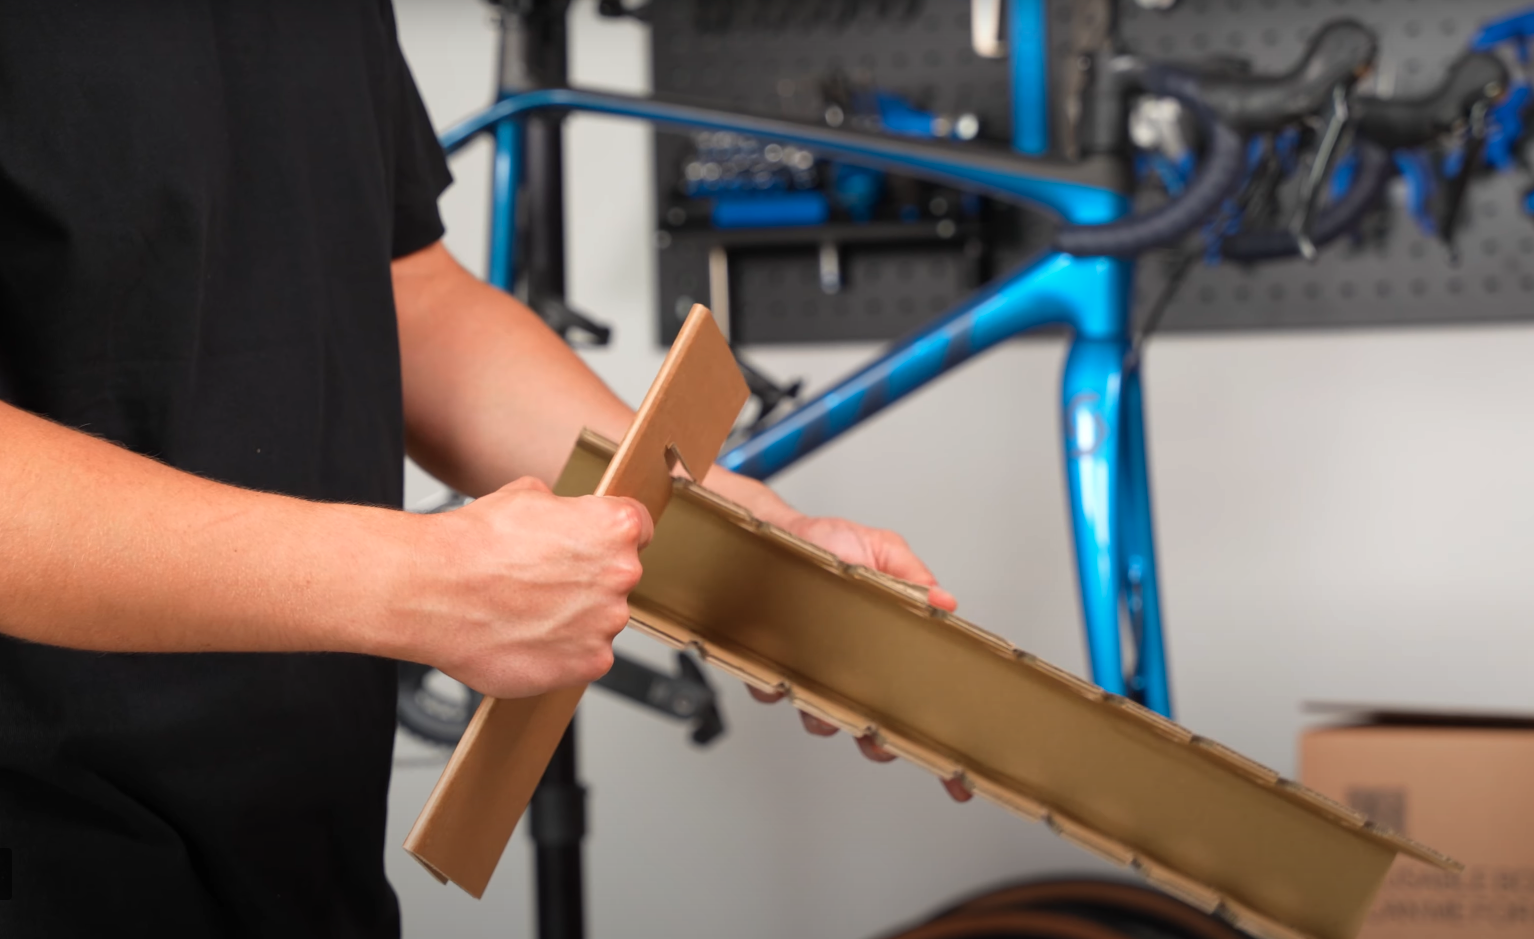
Create a C-shaped rail with the long element.
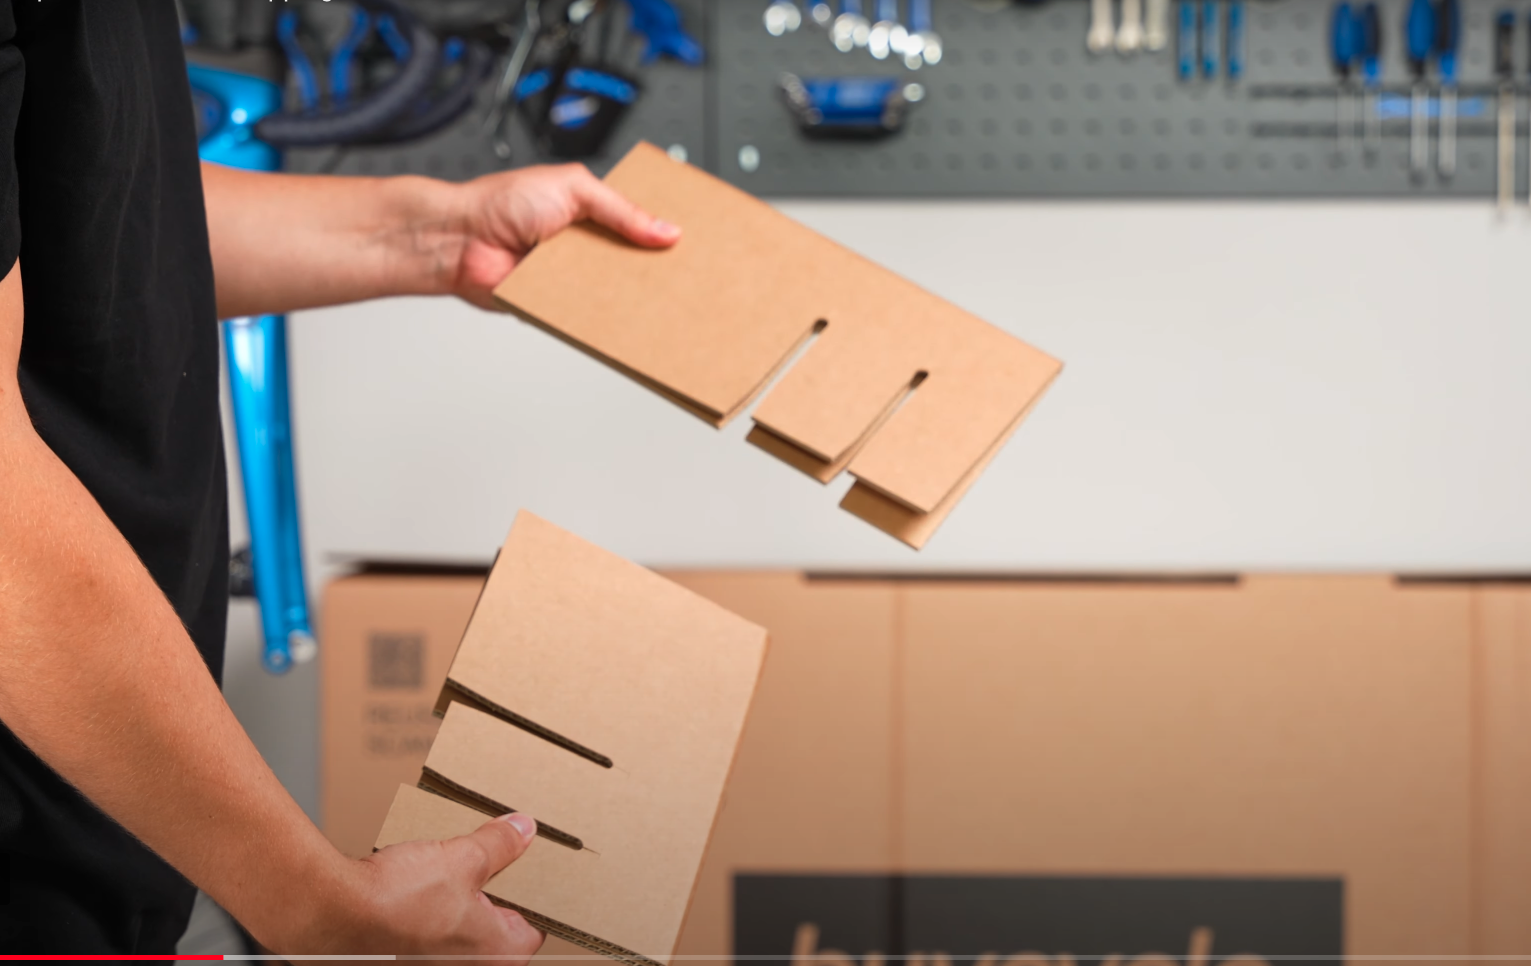
Fold two holder pieces in half.
Place the six-holed element inside the rail and secure it with the two holders.
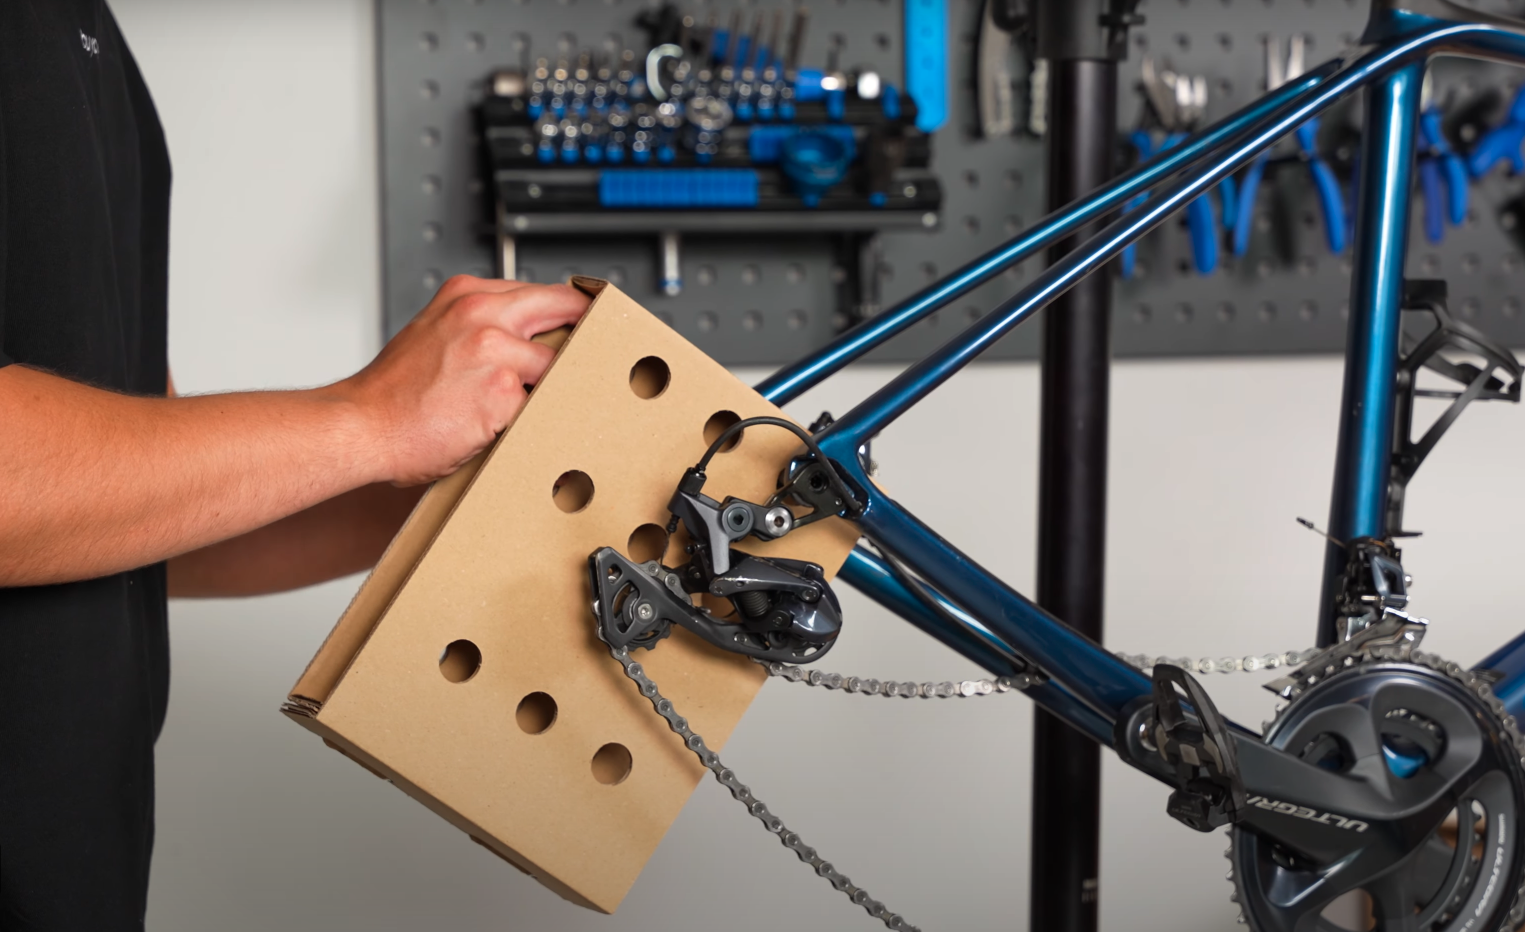
3. Assemble the rear axle holder
Take the cardboard element with nine holes and fold it into a cube.
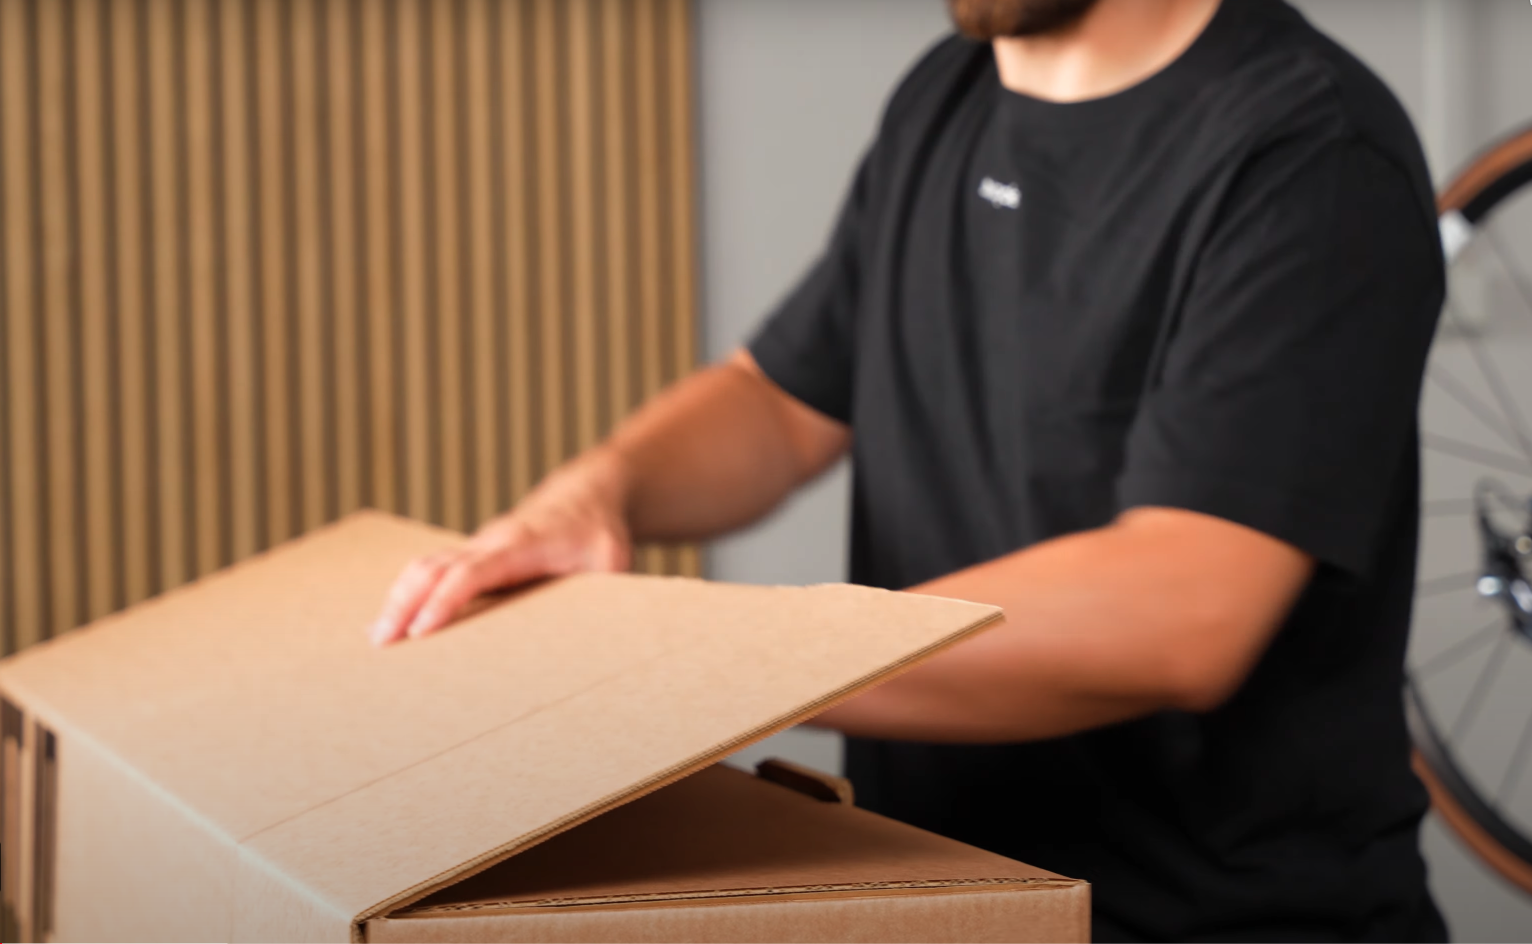
4. Build the accessory box
Take the small box with the buycycle and fold it into a cube too.

4. Prepping the bike
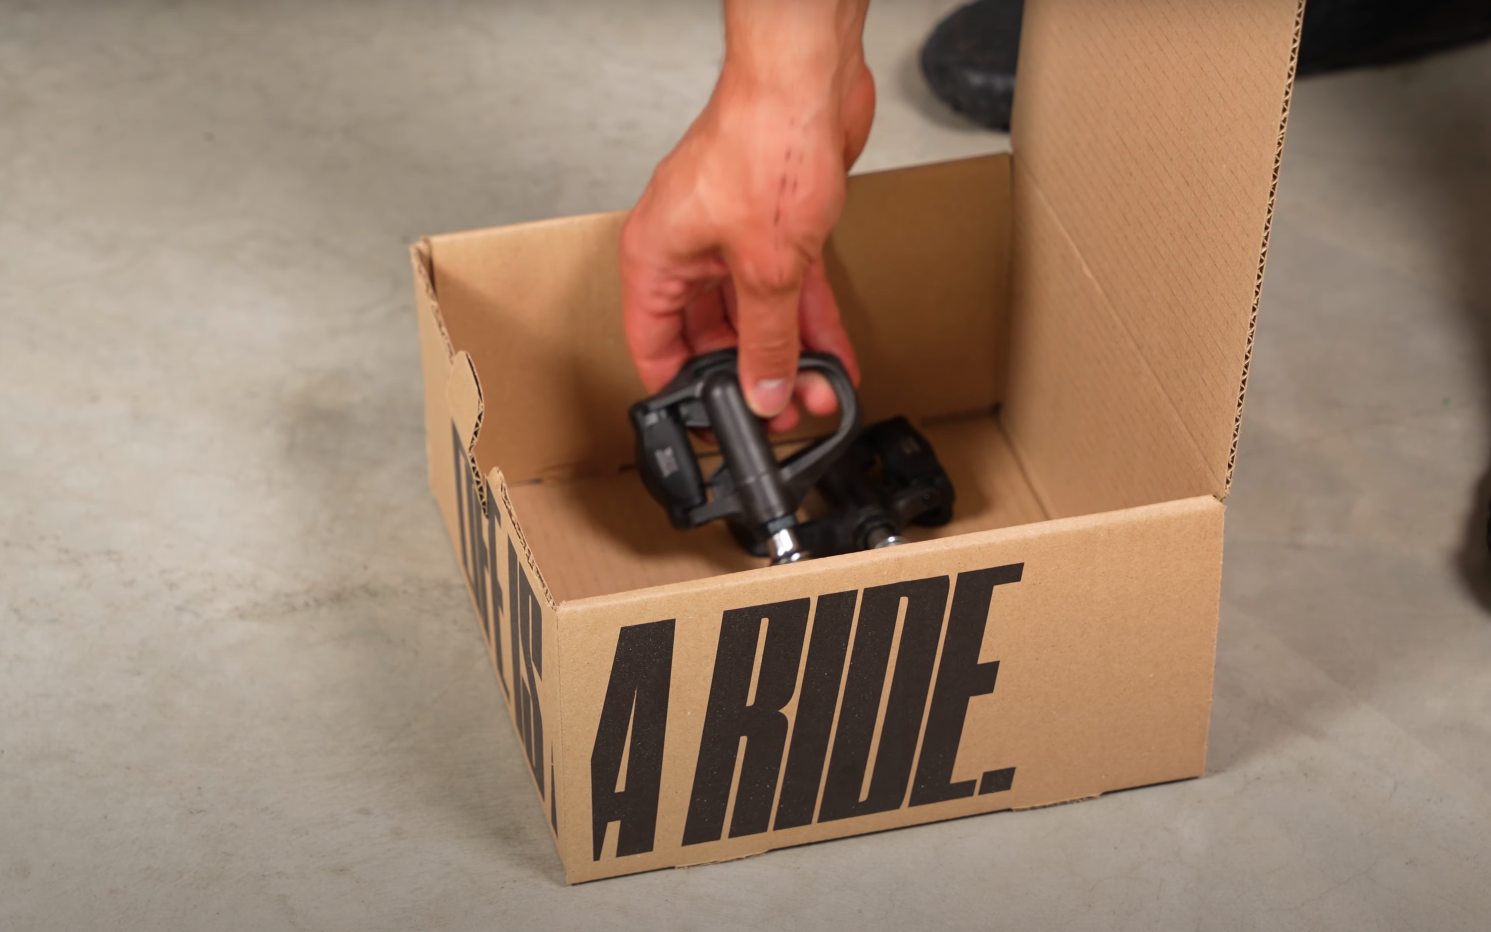
1. Remove and store the pedals
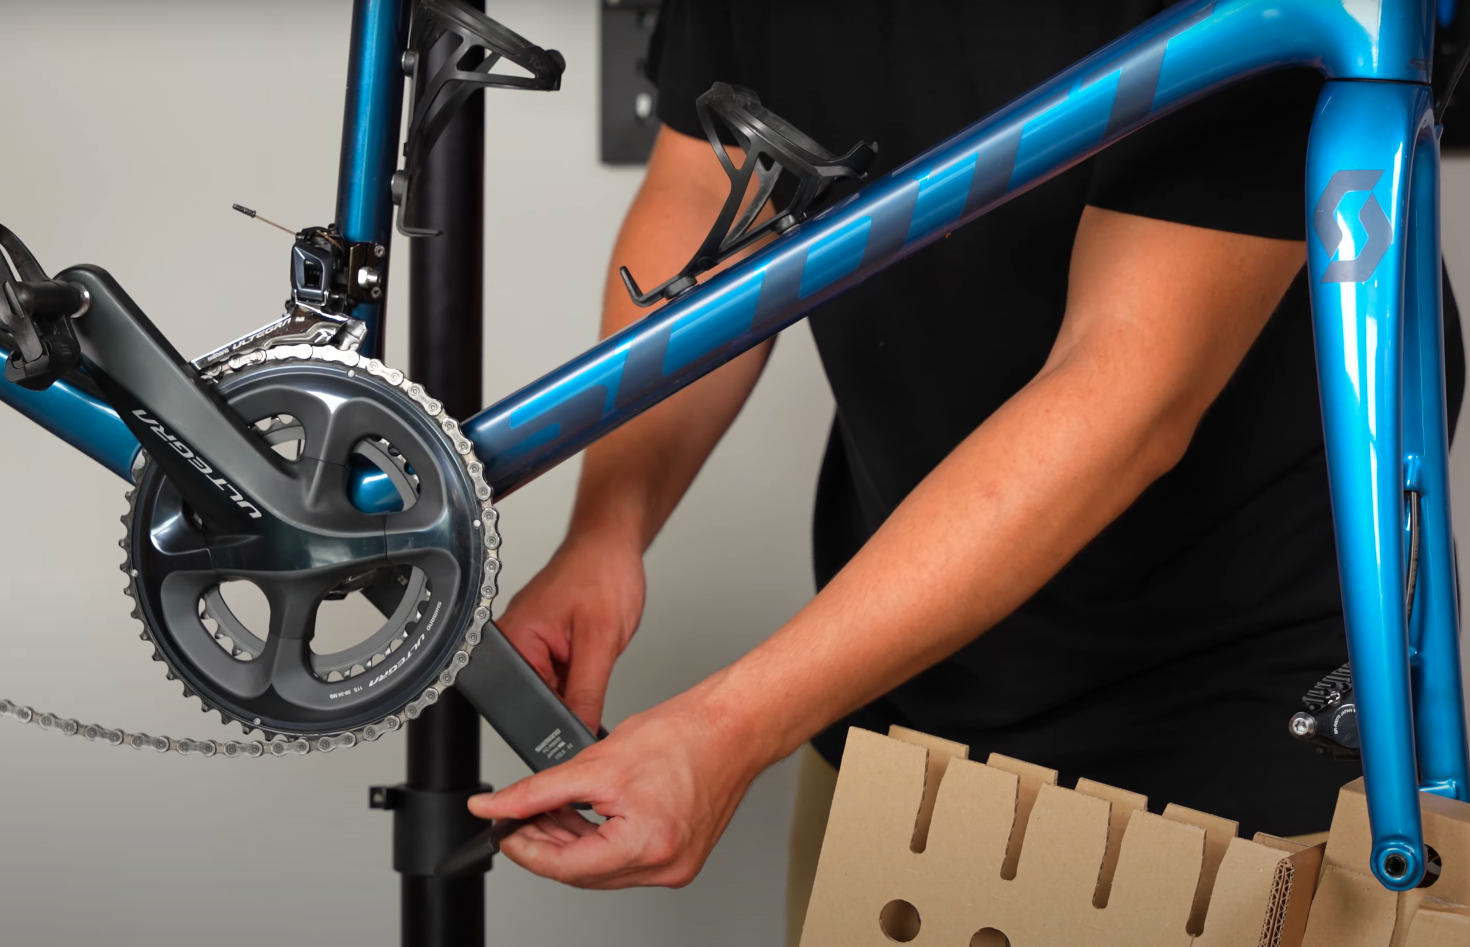
Once done, simply put them in the accessories box along with all other smaller parts you’re shipping (e.g. bike computer or lights).
2. Remove and protect the front wheel
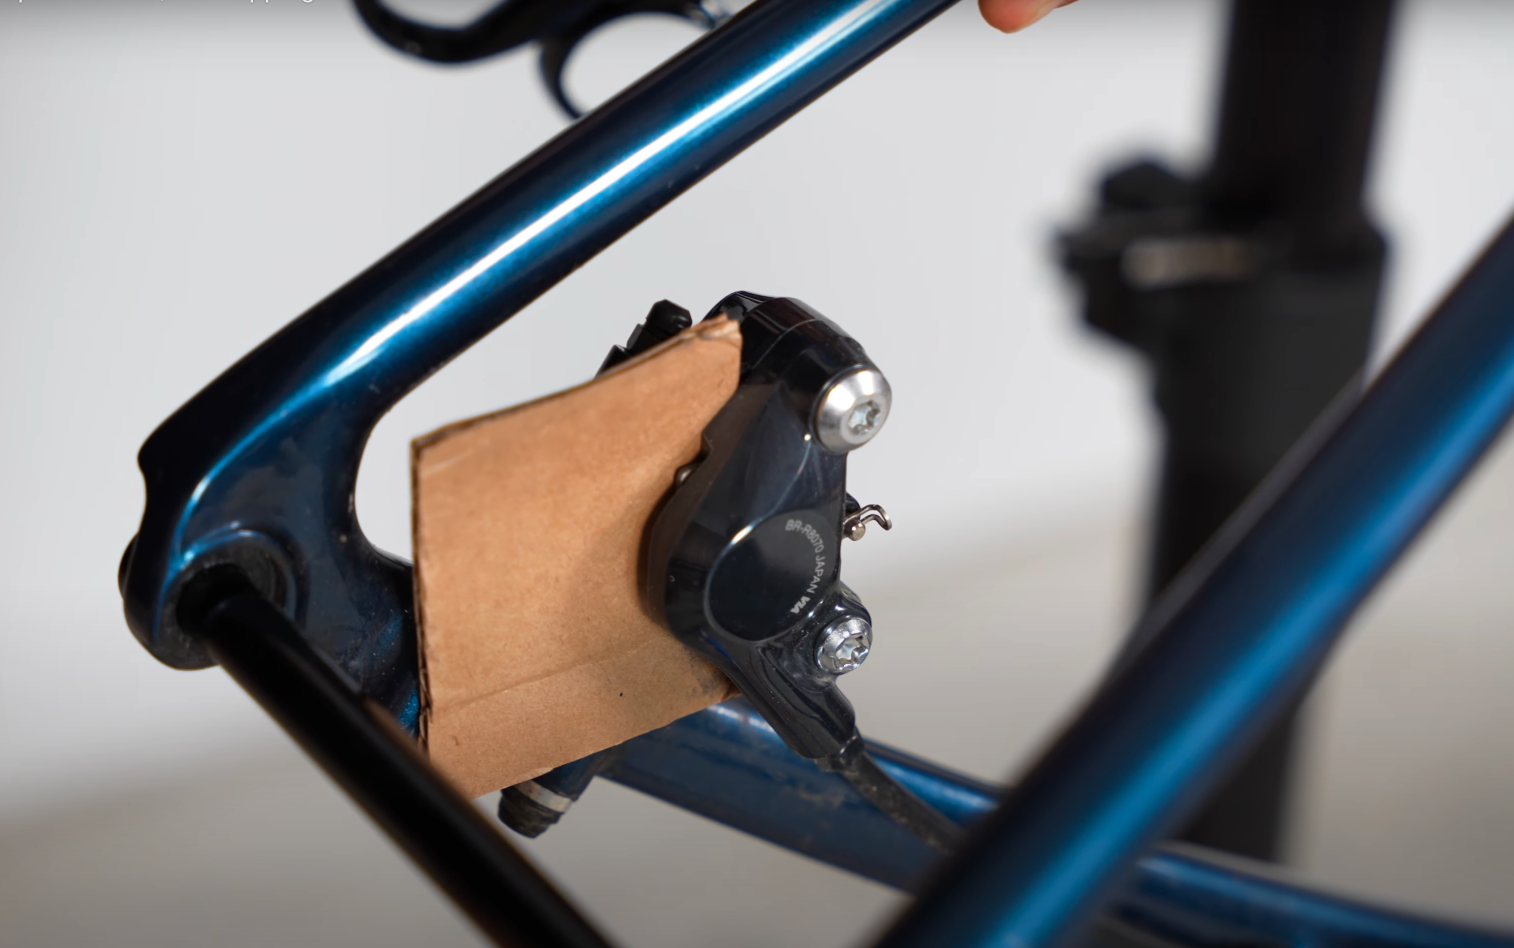
Take off the front axle and wheel, placing a spacer or cardboard between disc brake pads (if applicable).
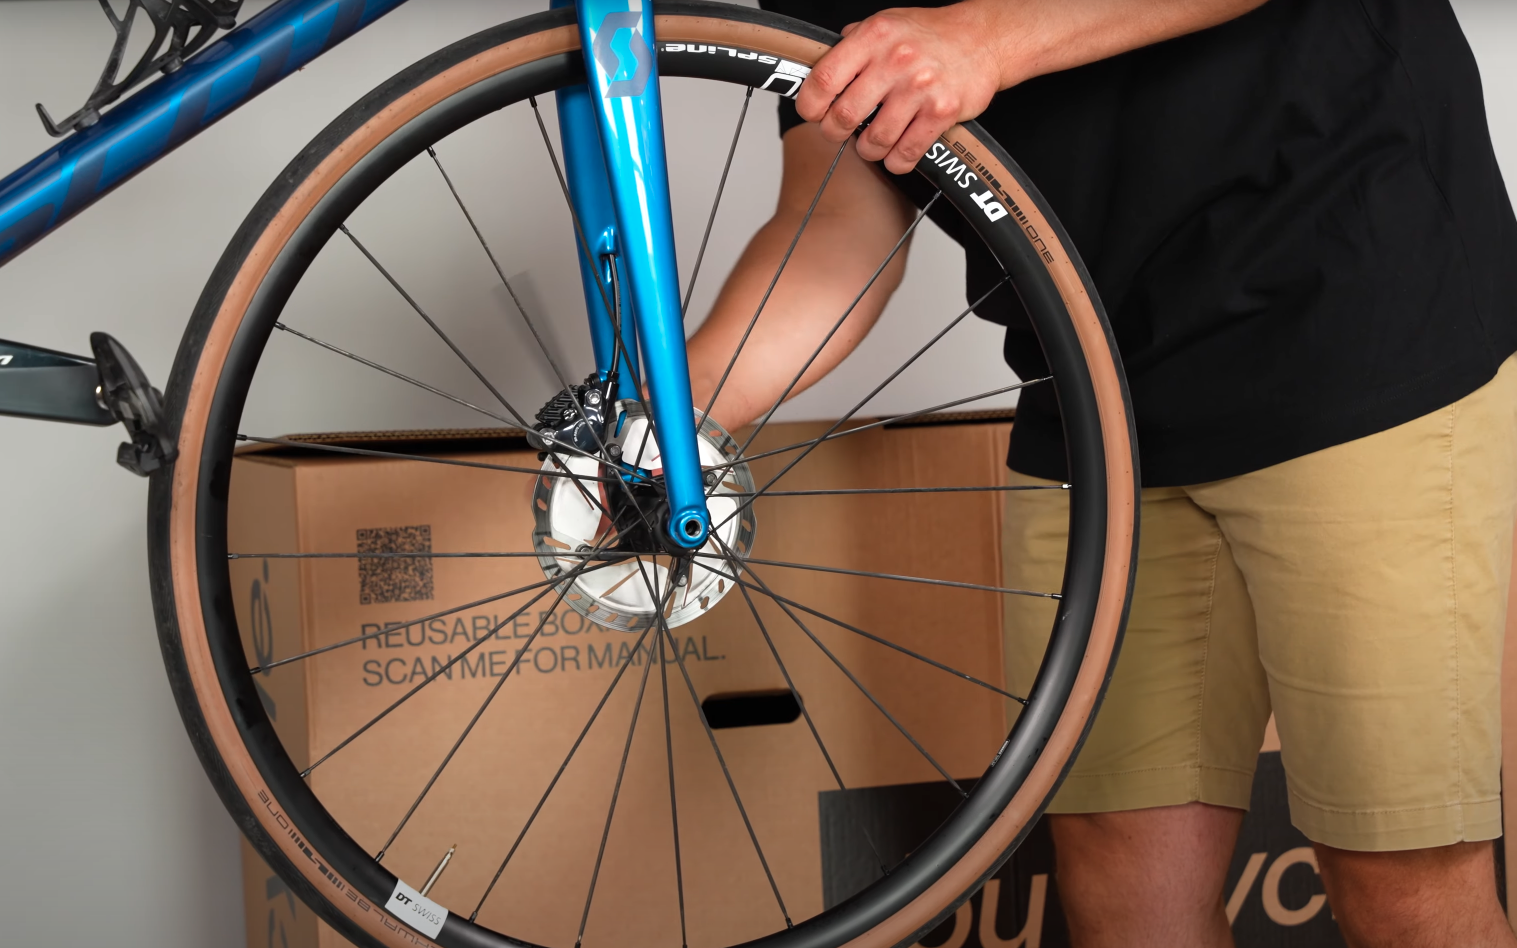
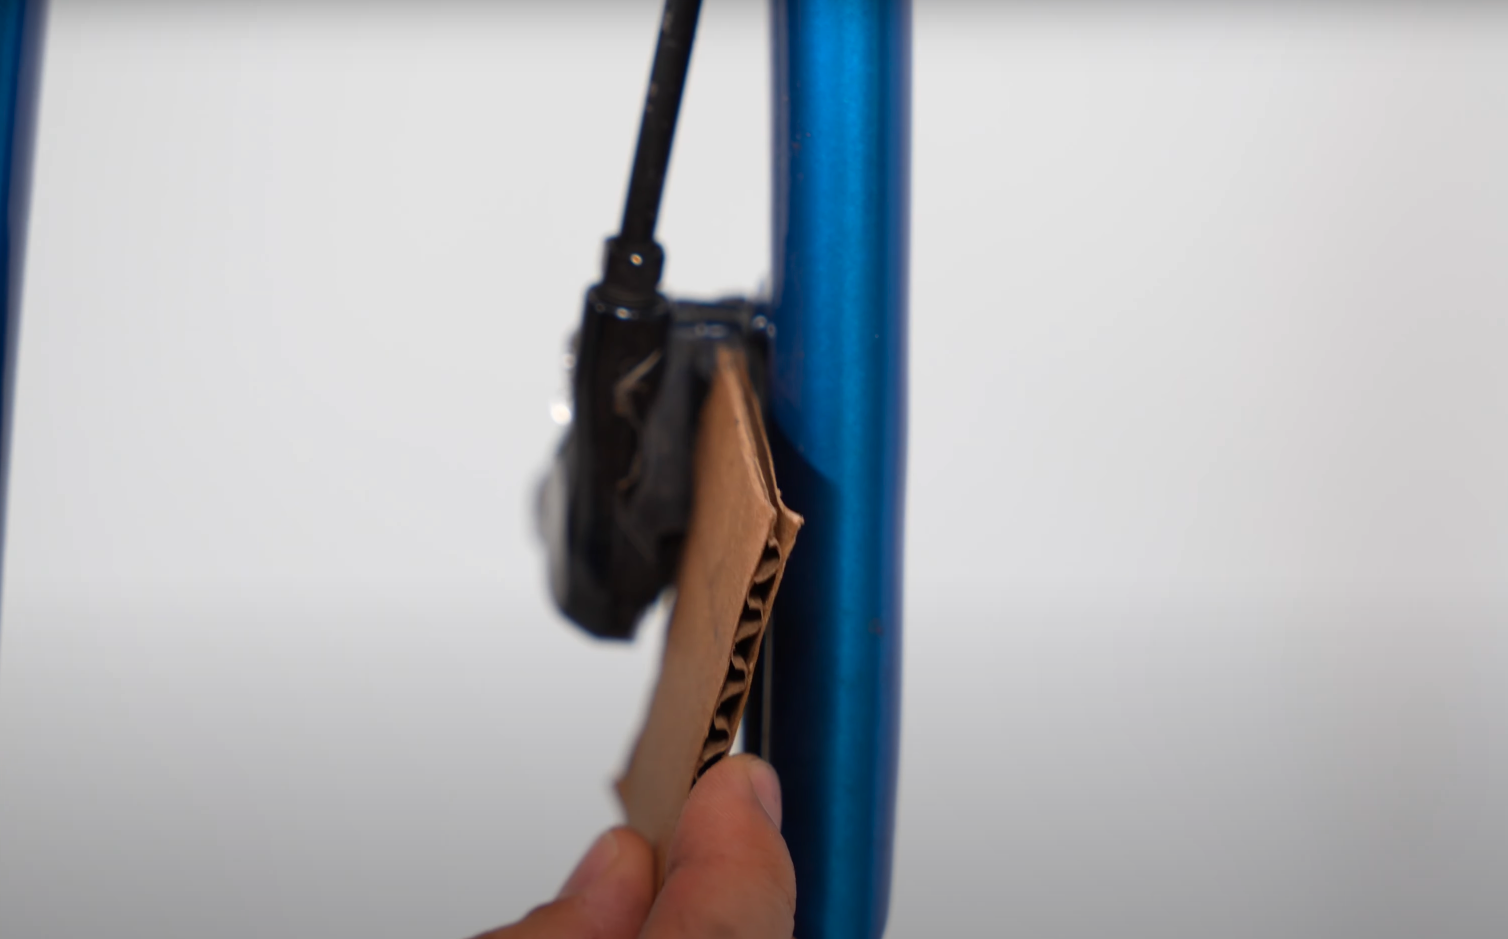
Mount your front axle on the front axle support.
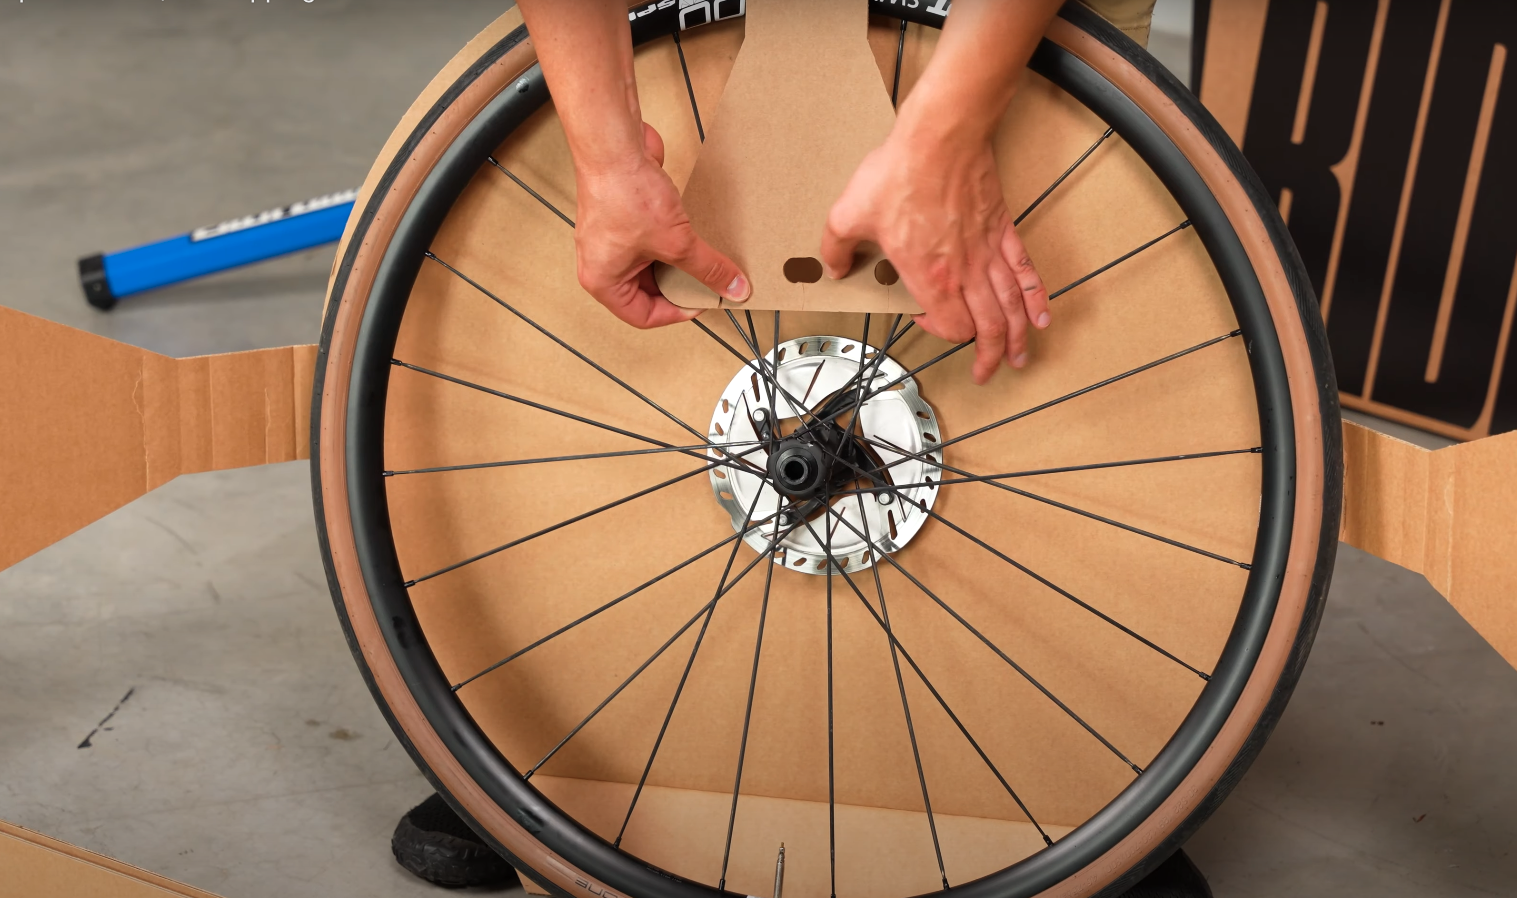
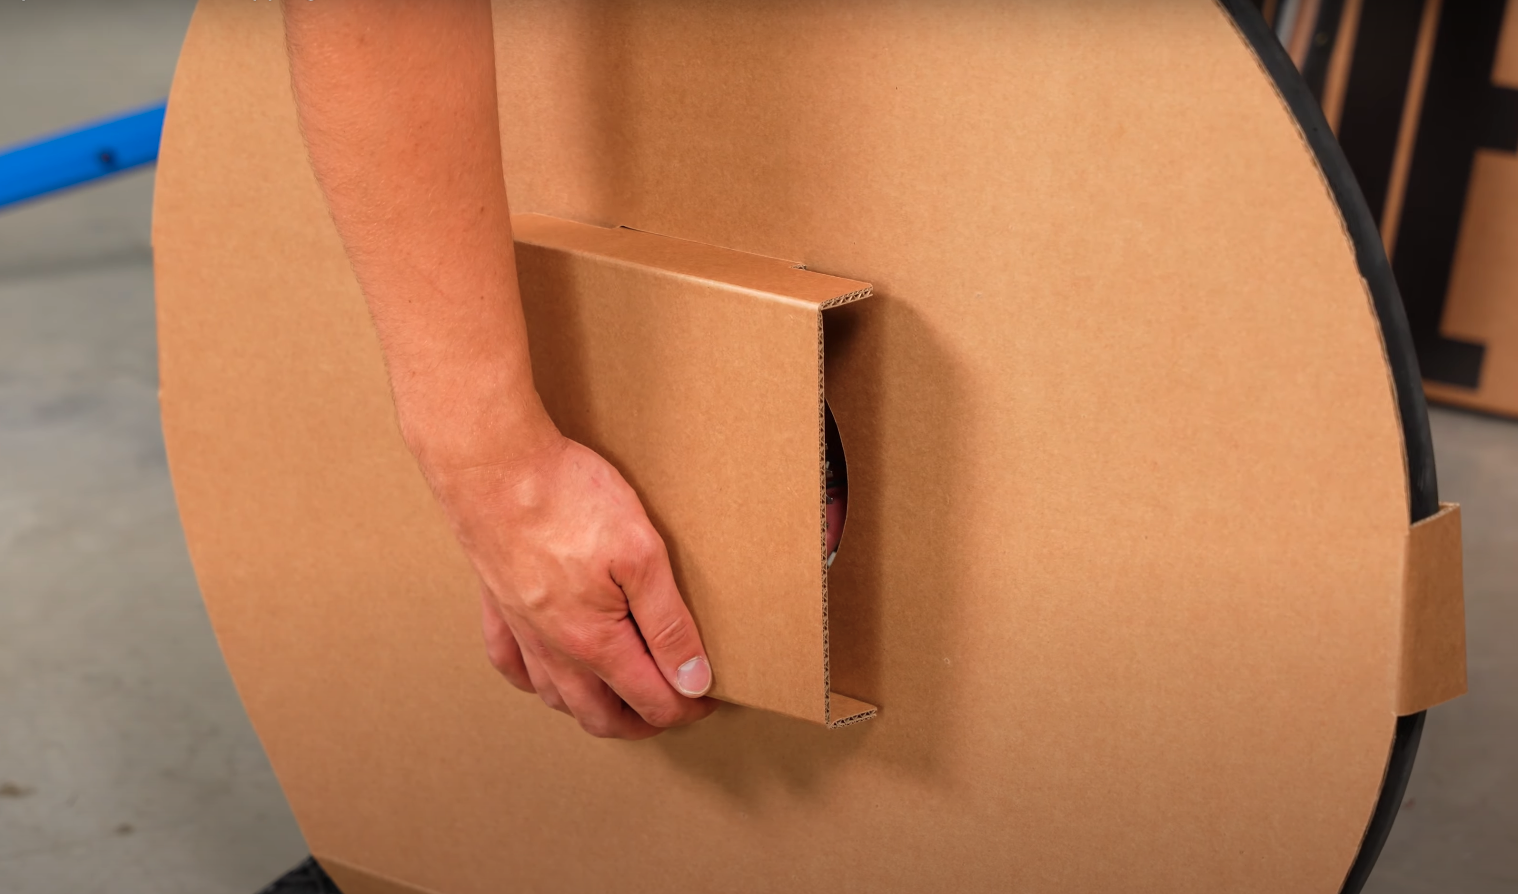
Attach the wheel protector without the hole to the spokes of the front wheel.
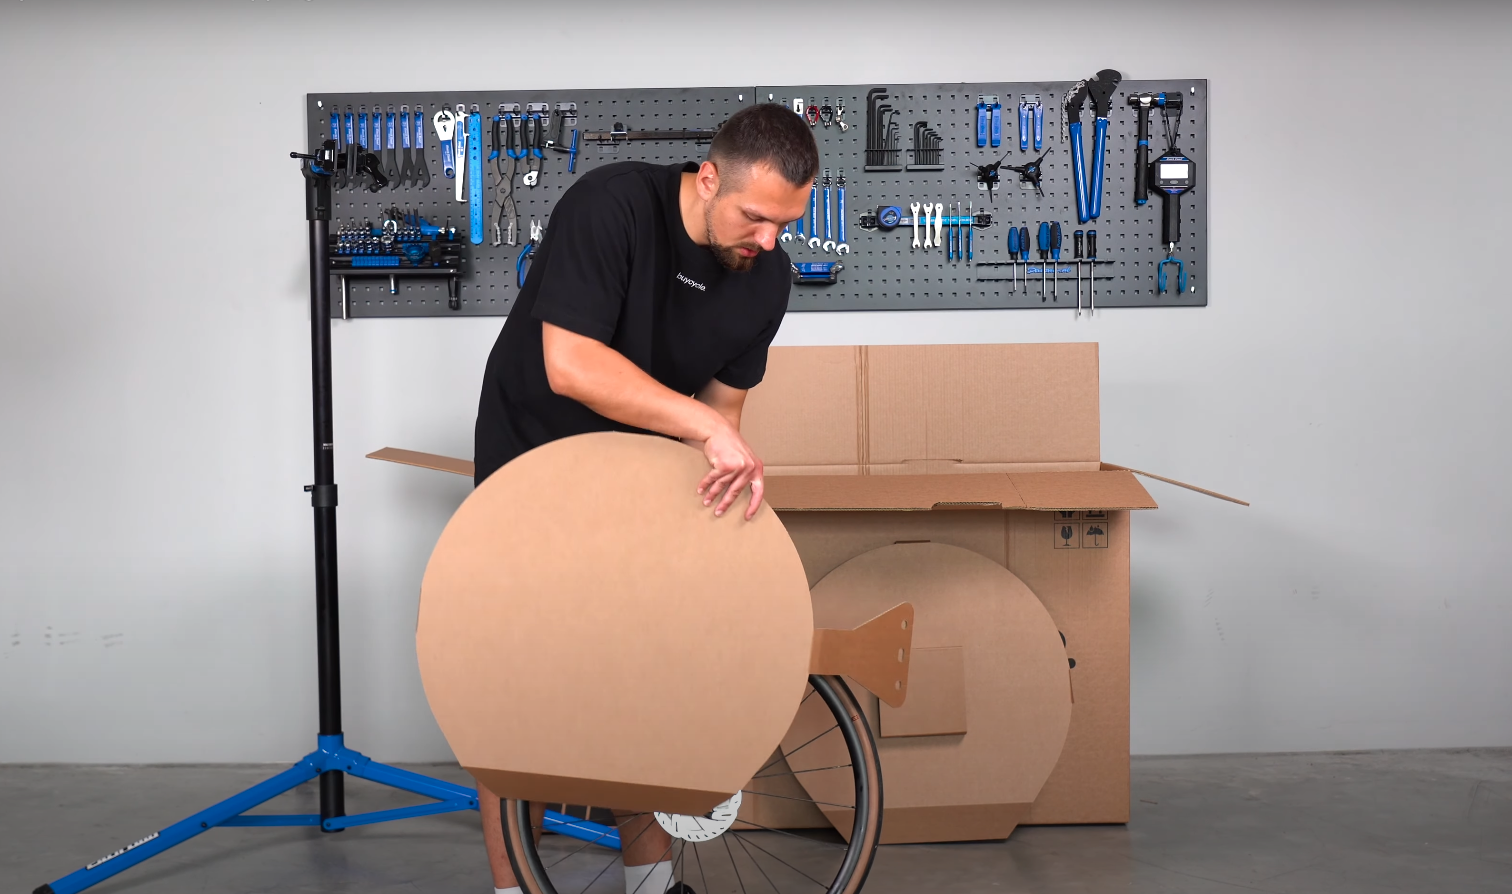
3. Remove and protect the rear wheel
Shift to the smallest cog, remove the rear axle and wheel, and insert a brake spacer if needed.

Mount your rear axle support on the rear axle.
Attach the wheel protector with the hole to the rear wheel and make sure that the cassette is protected with the cassette protector too.

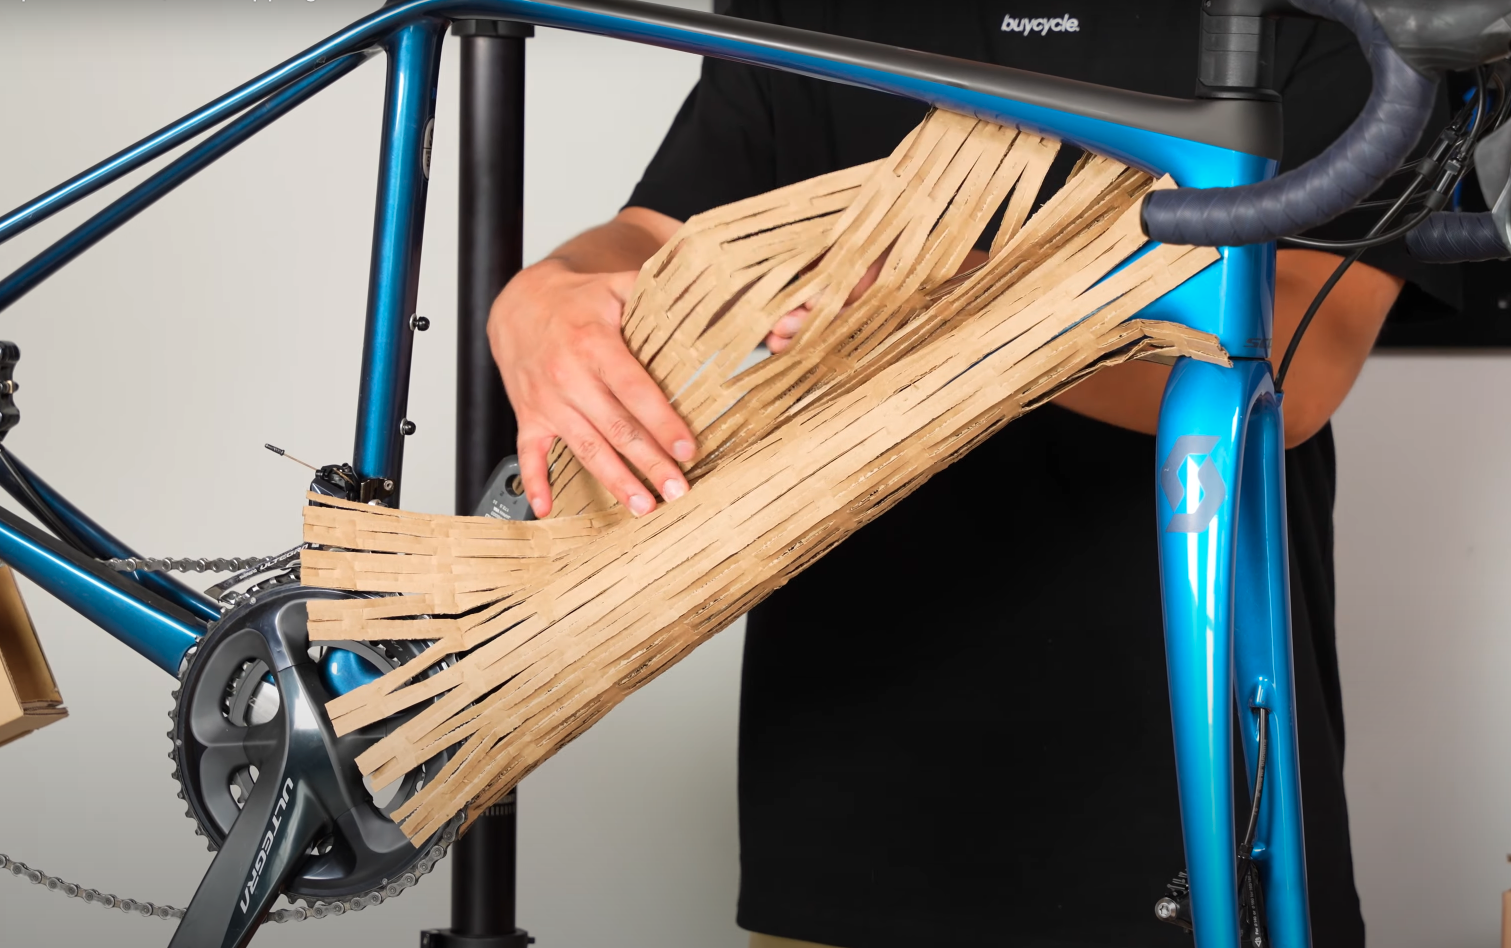
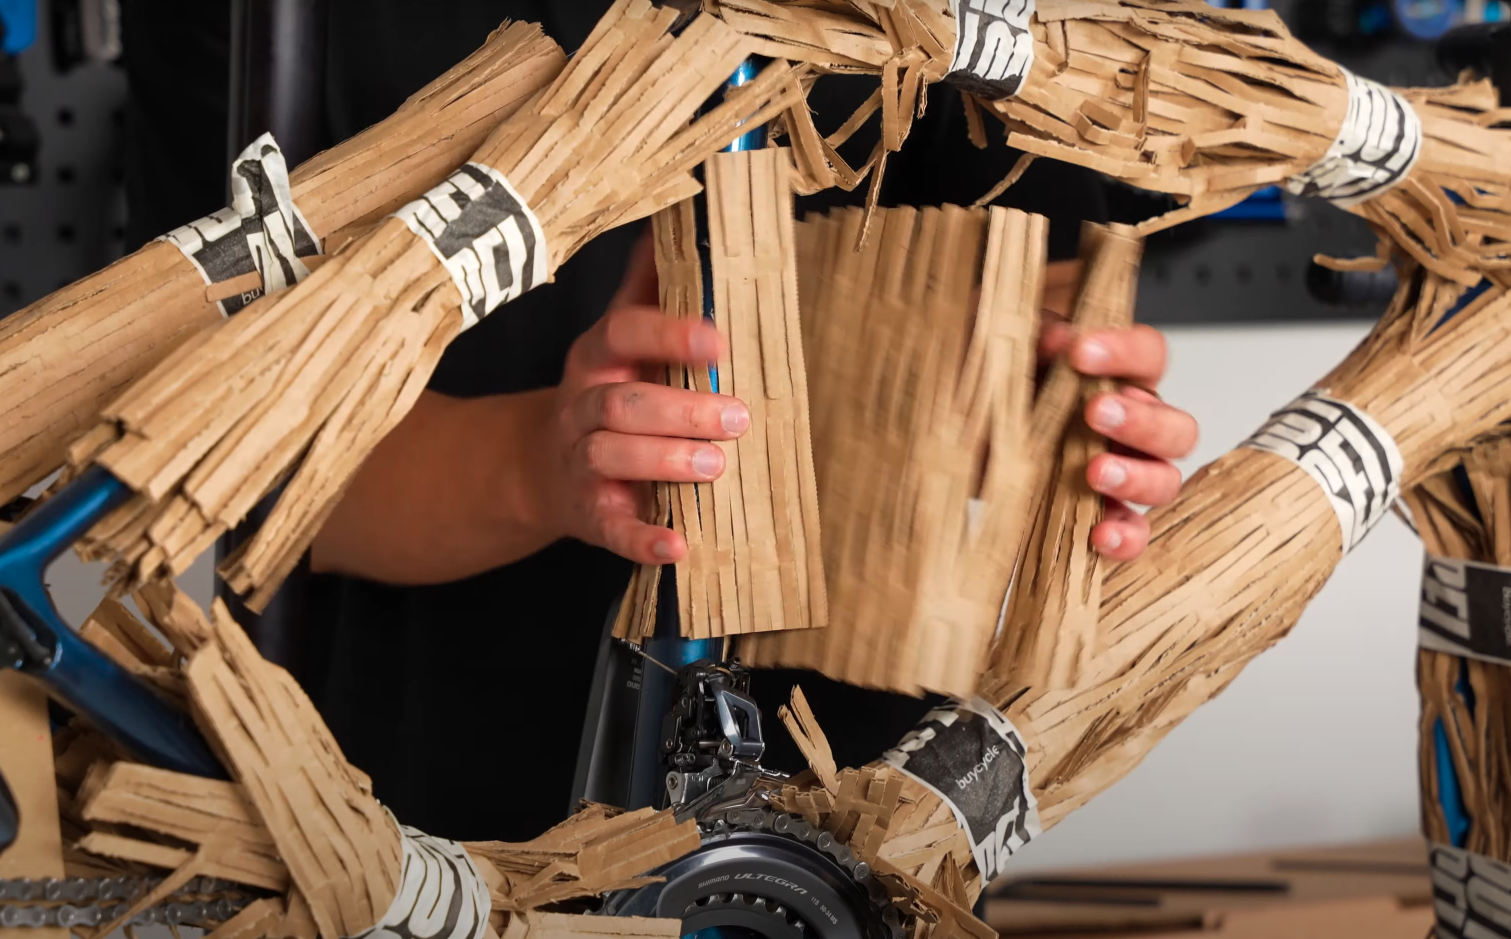
4. Protect the frame
Use the shredded cardboard elements to wrap your frame in it and cover it completely.
5. Packing the box
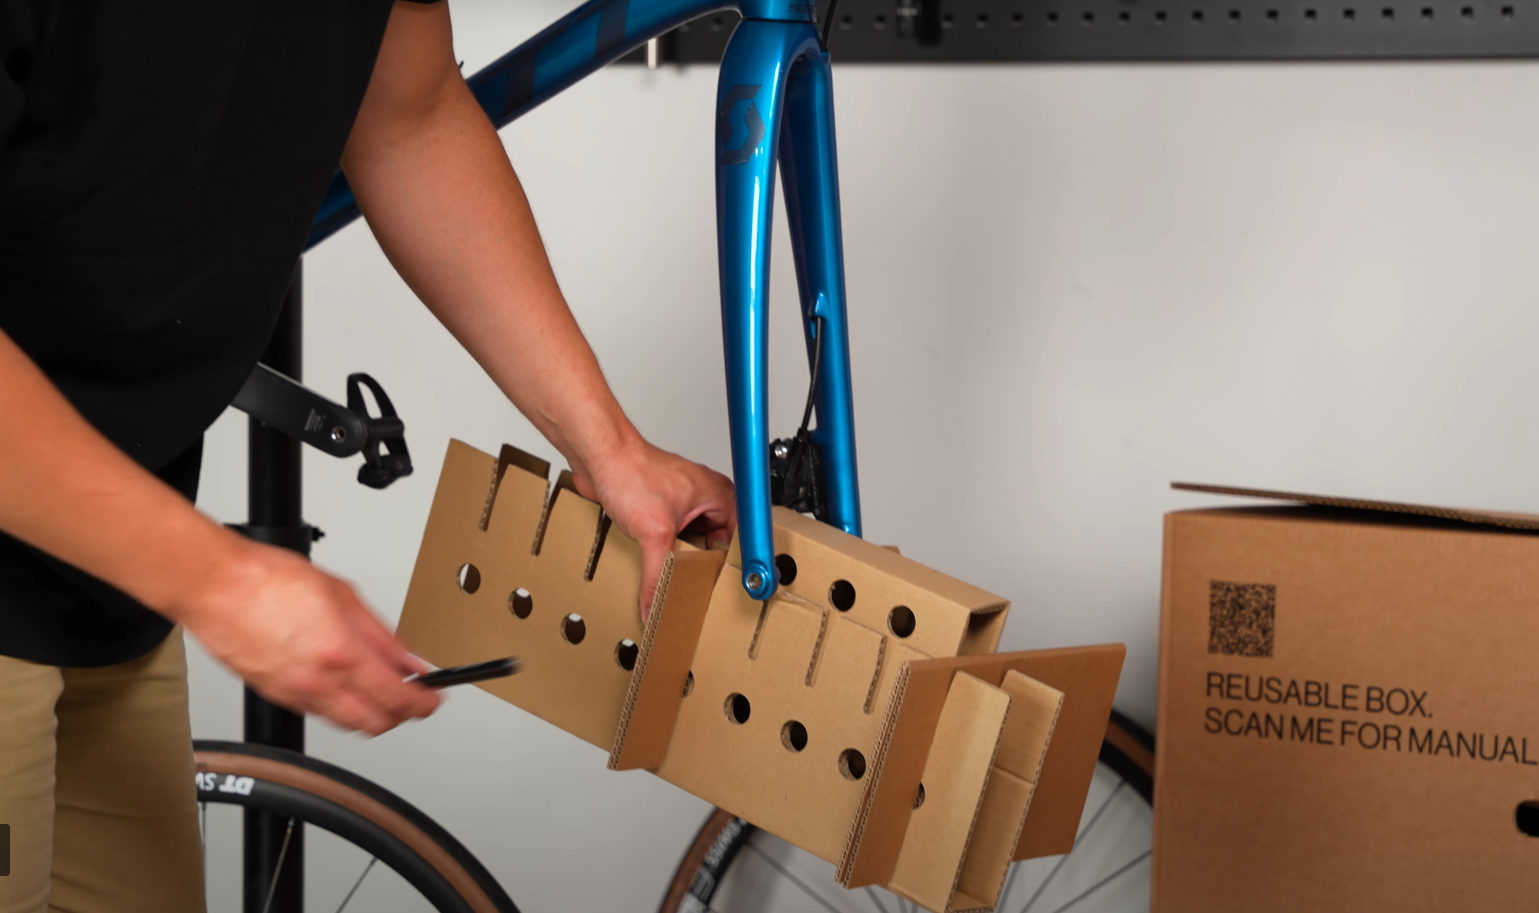
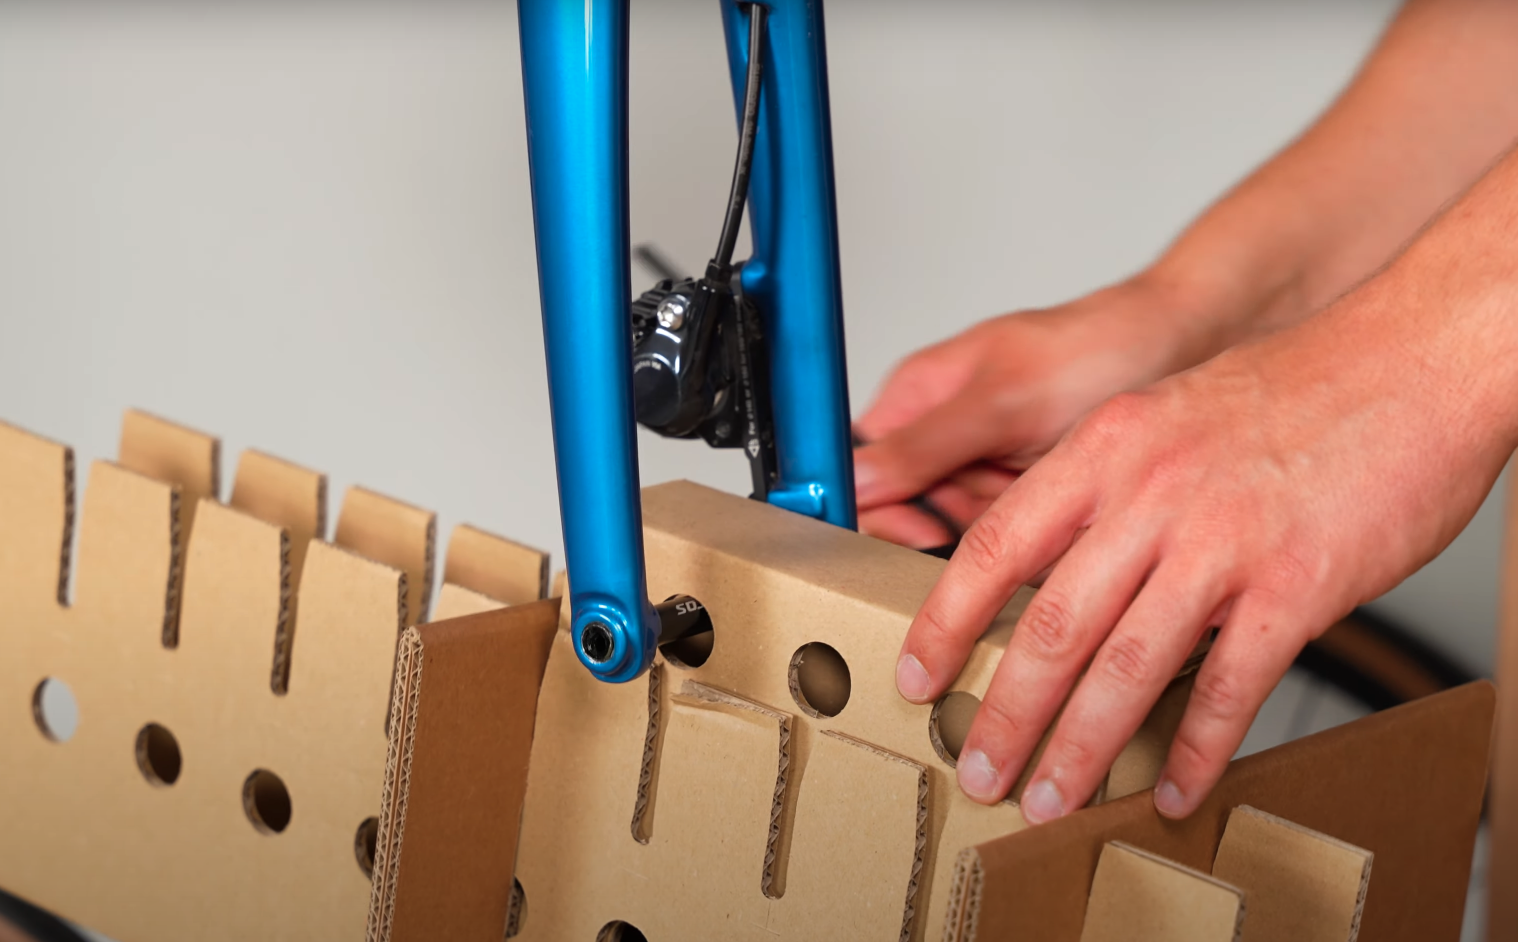
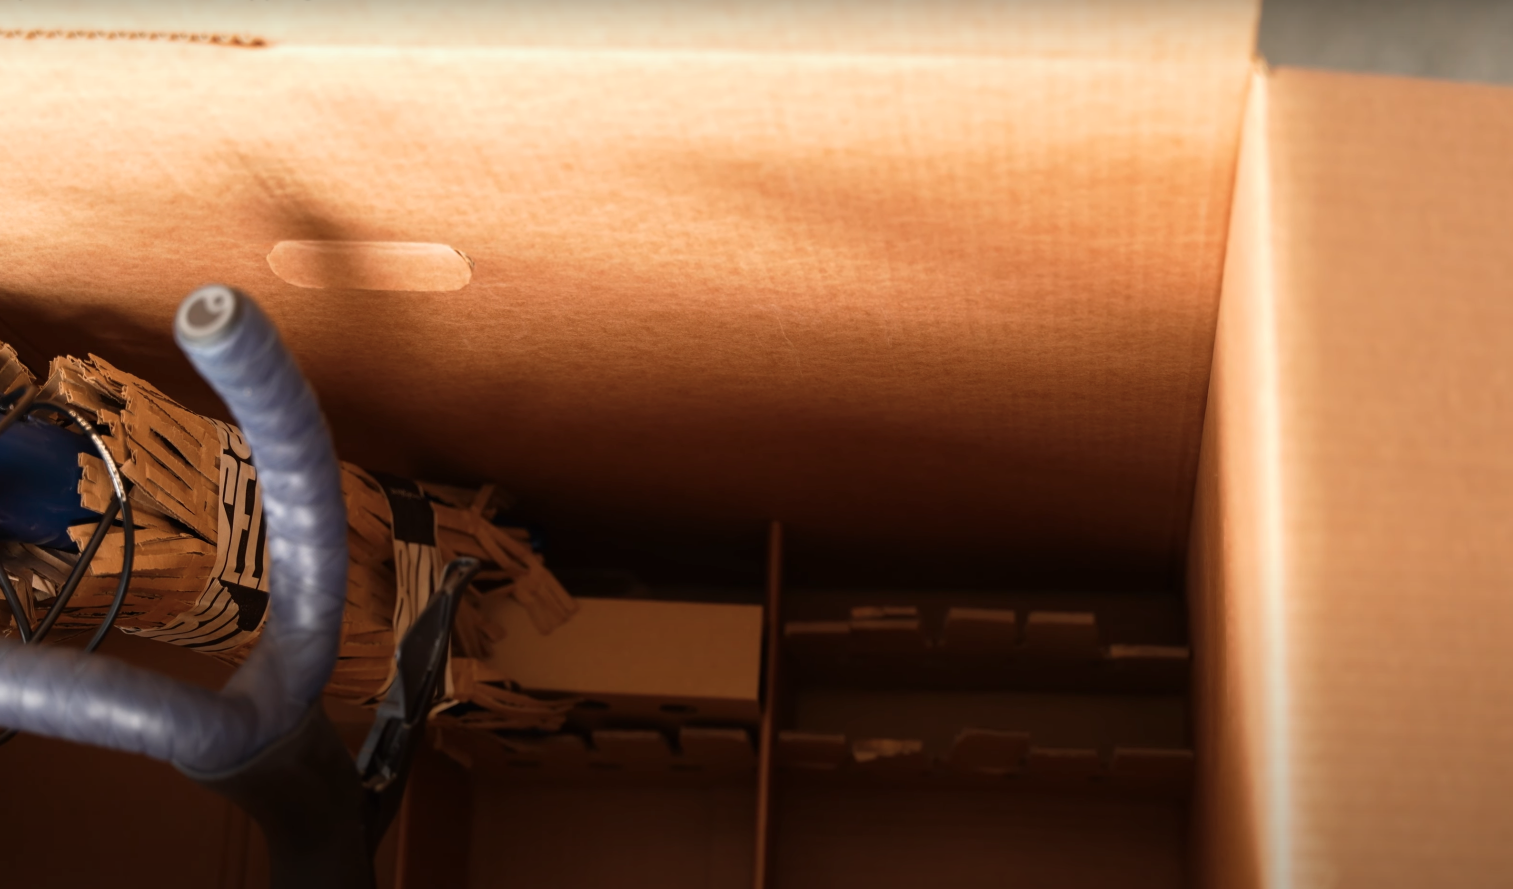
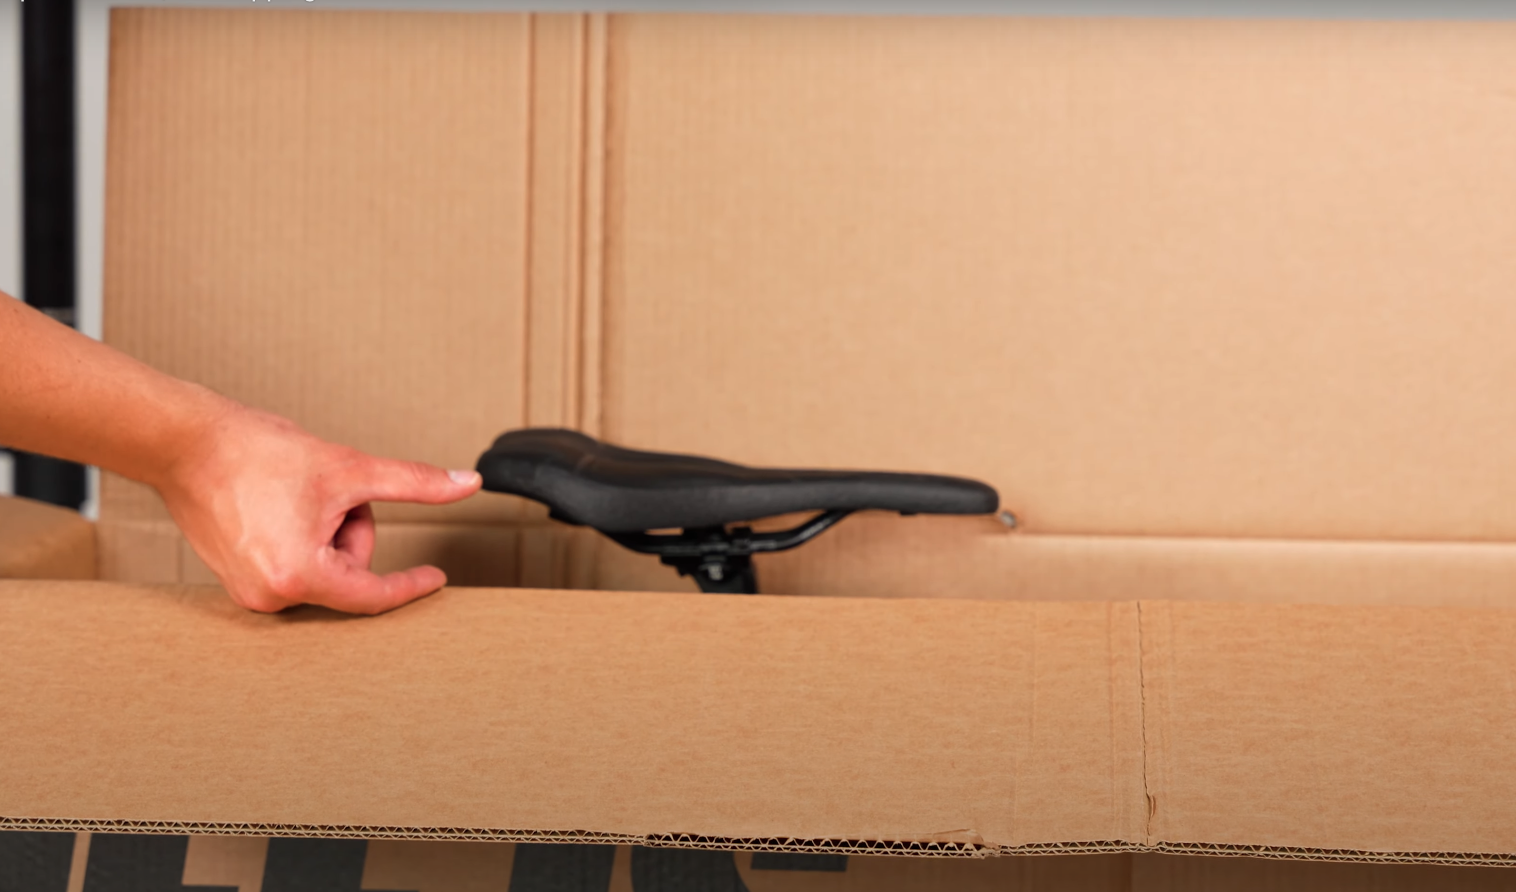
1. Put the bike in the box
Place the bike inside, ensuring the front and rear axle holders touch the box walls.

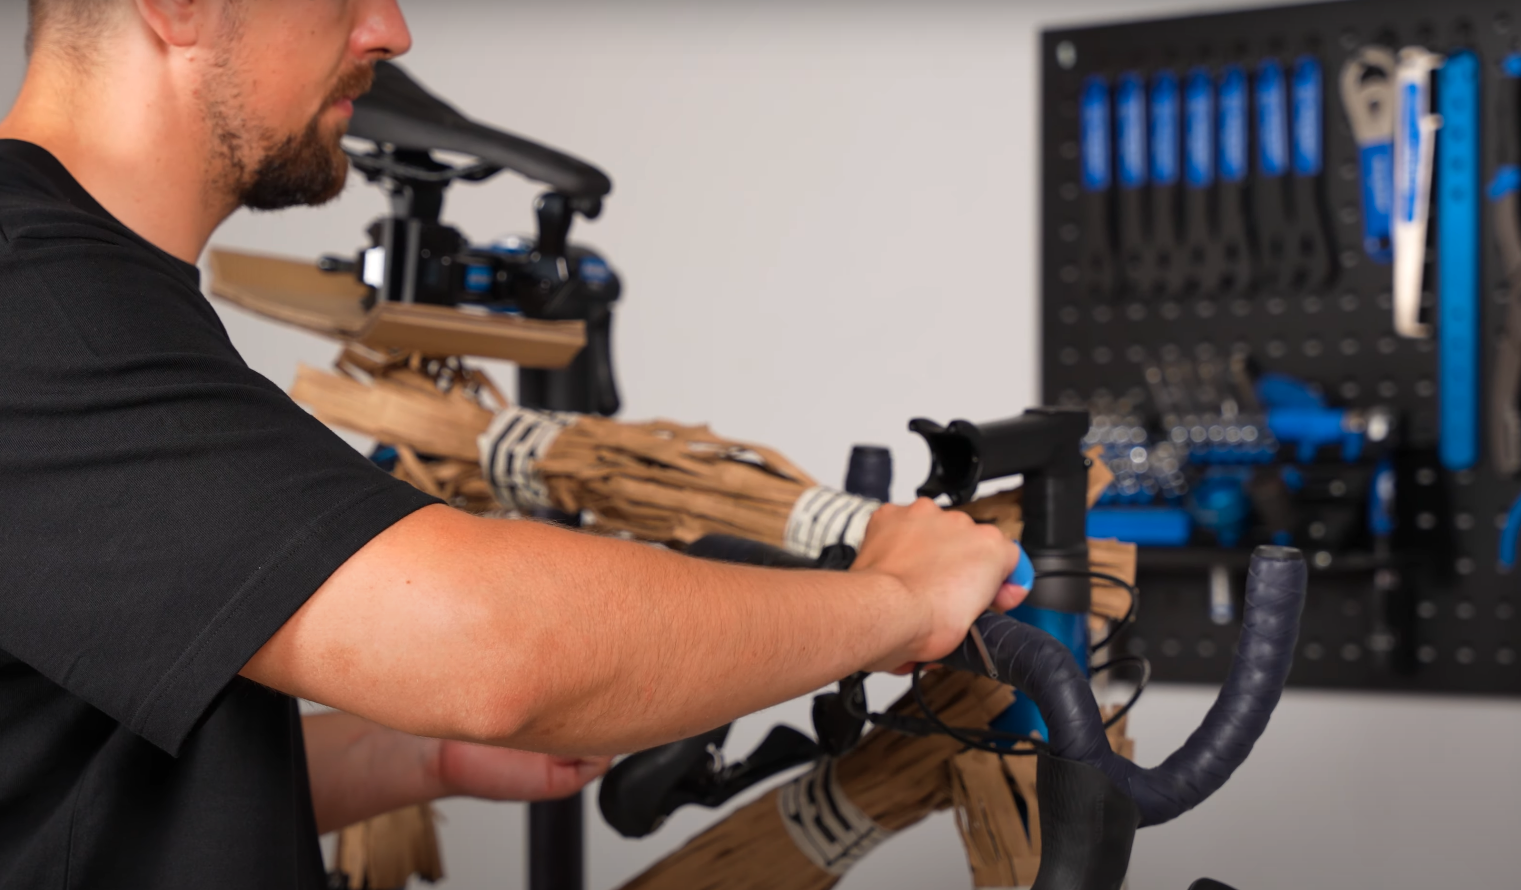
If adjustments are needed, reposition the front axle holder or remove the handlebars for a better fit.
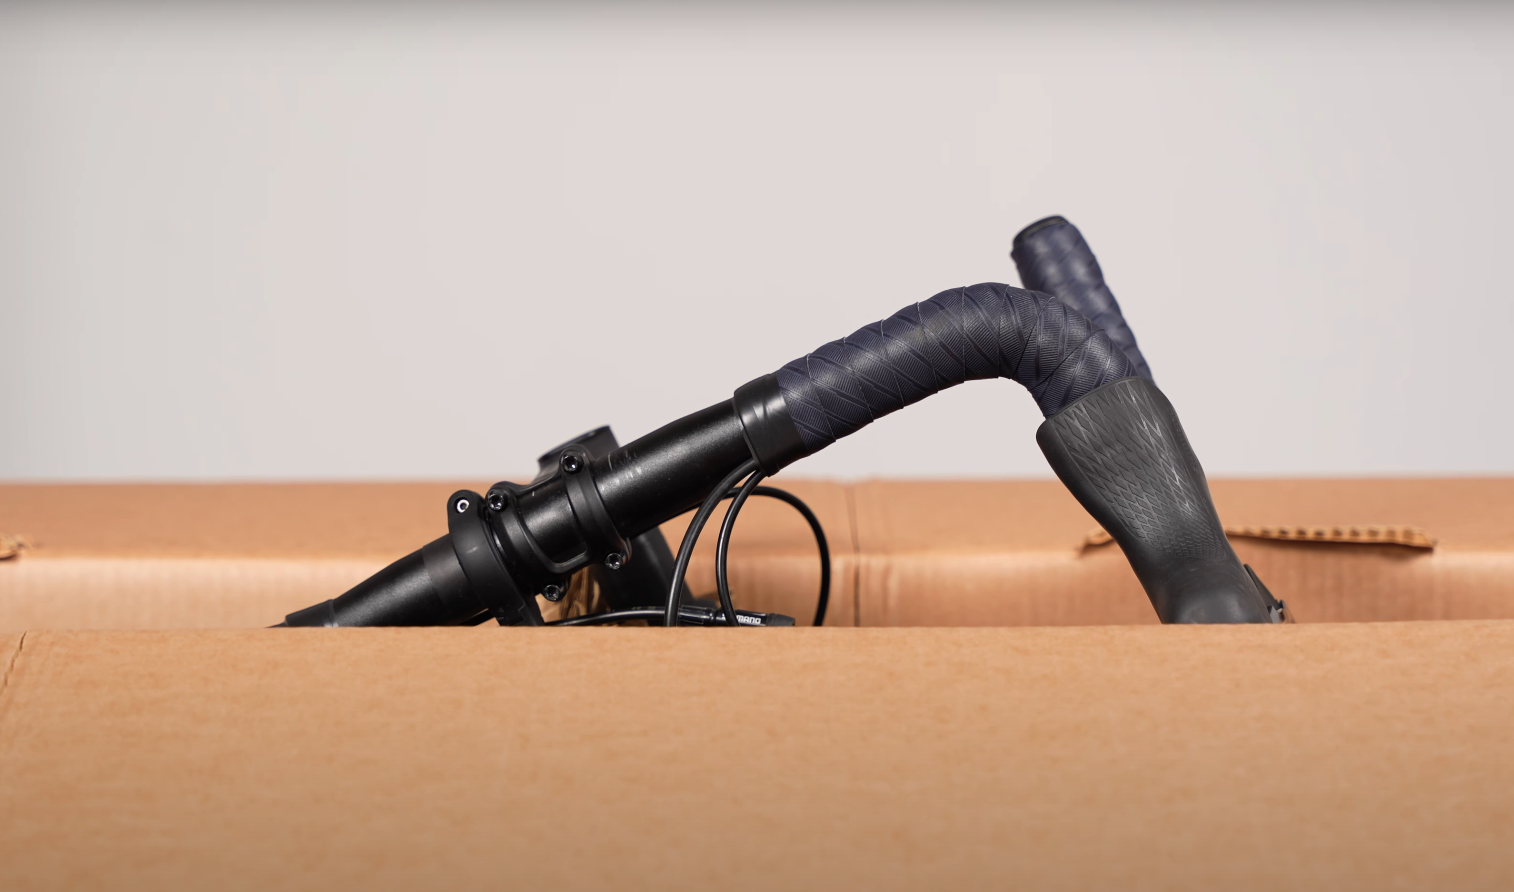
Simply loosen the screws on the stem and rotate the handlebar 90 degrees
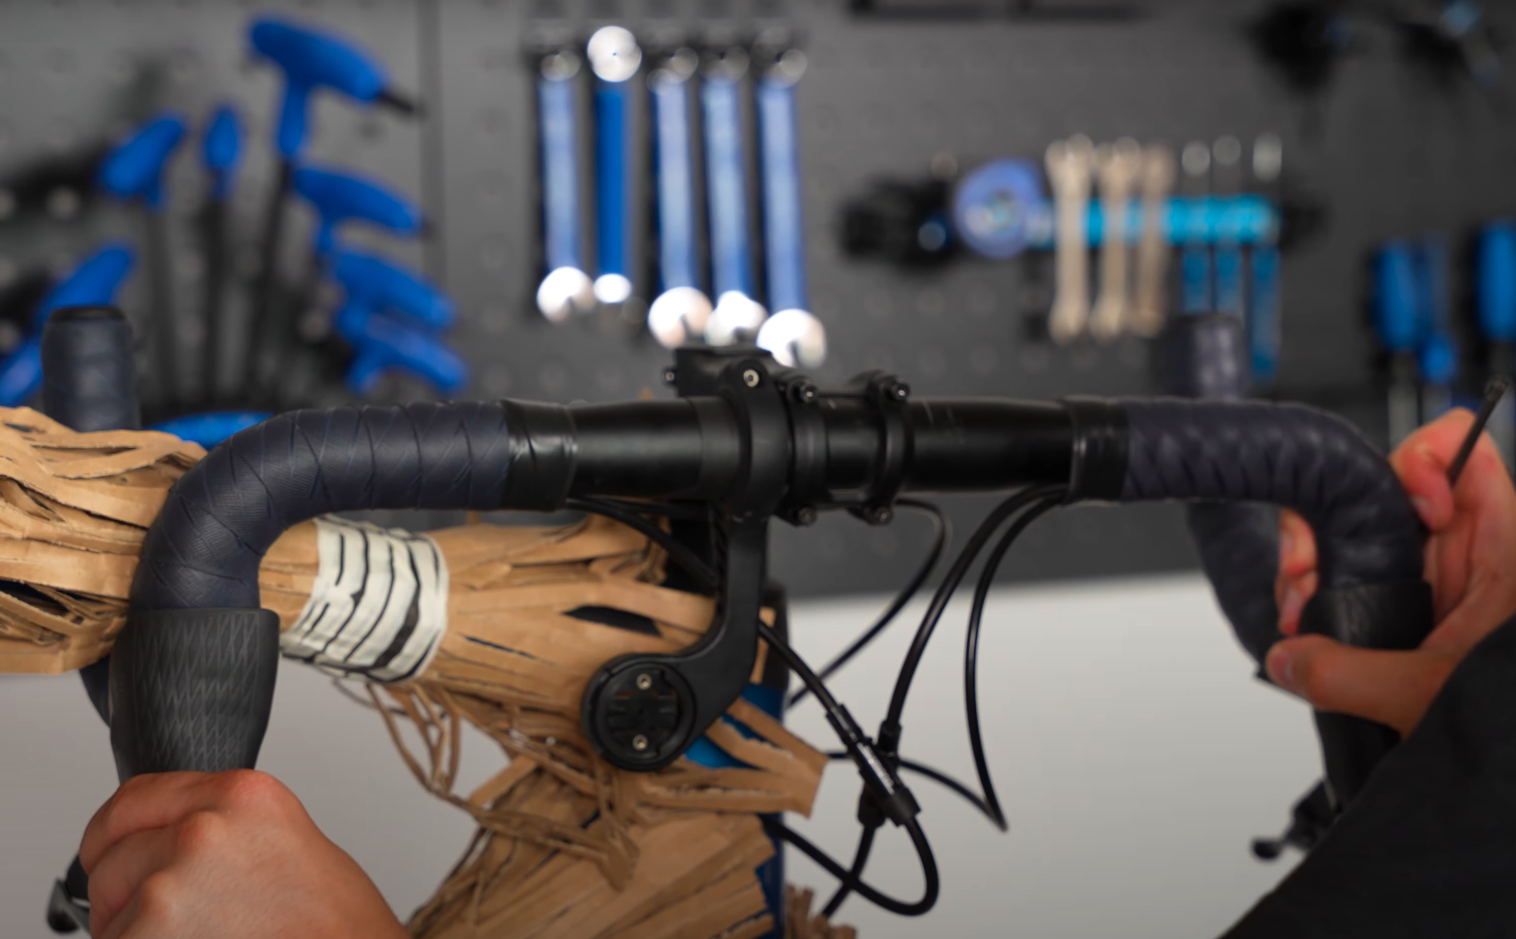
Or unscrew it from the stem completely and put it in the box too. Make sure to wrap it in some of the shredded cardboard too.
2. Stabilize the seatpost
Lower the seatpost or remove it if necessary, then secure it with the seatpost stabilizer cardboard.
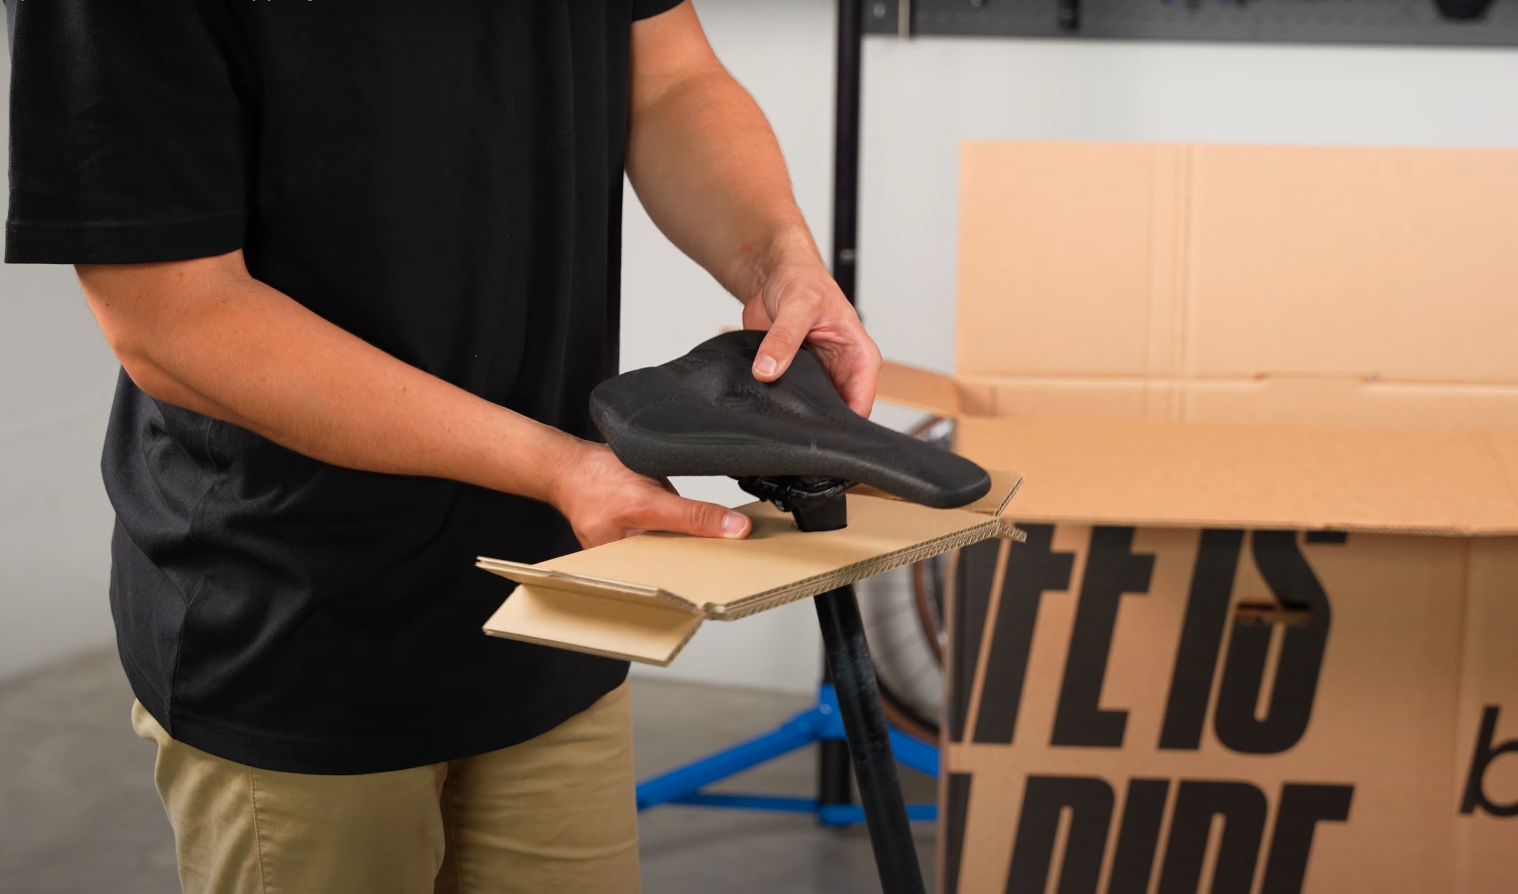
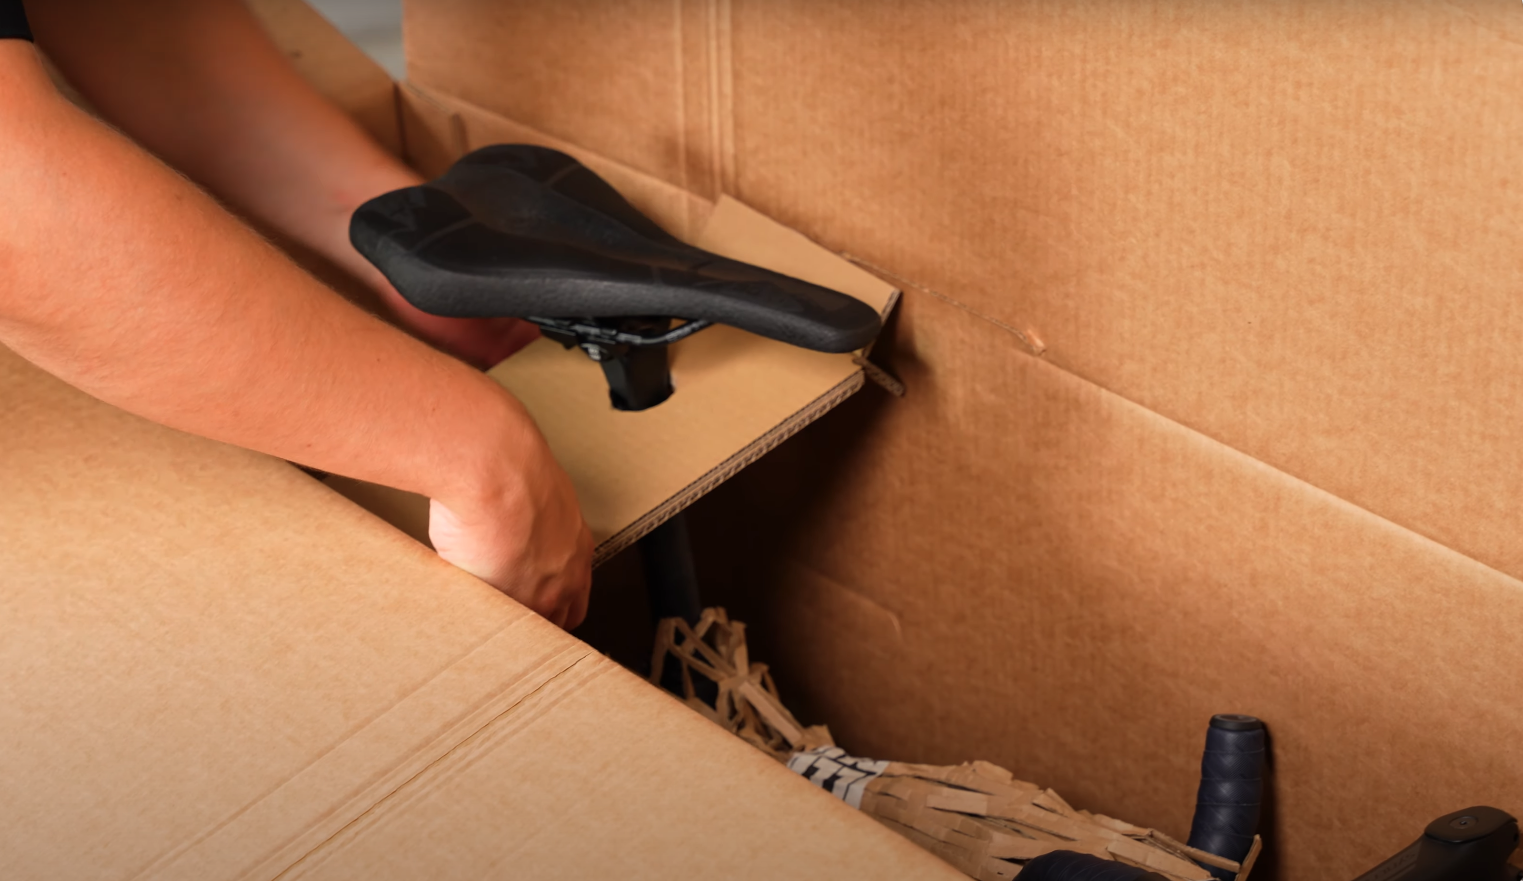
If that does not work, take the seatpost out completely, wrap it in shredded cardboard and put it in the box.
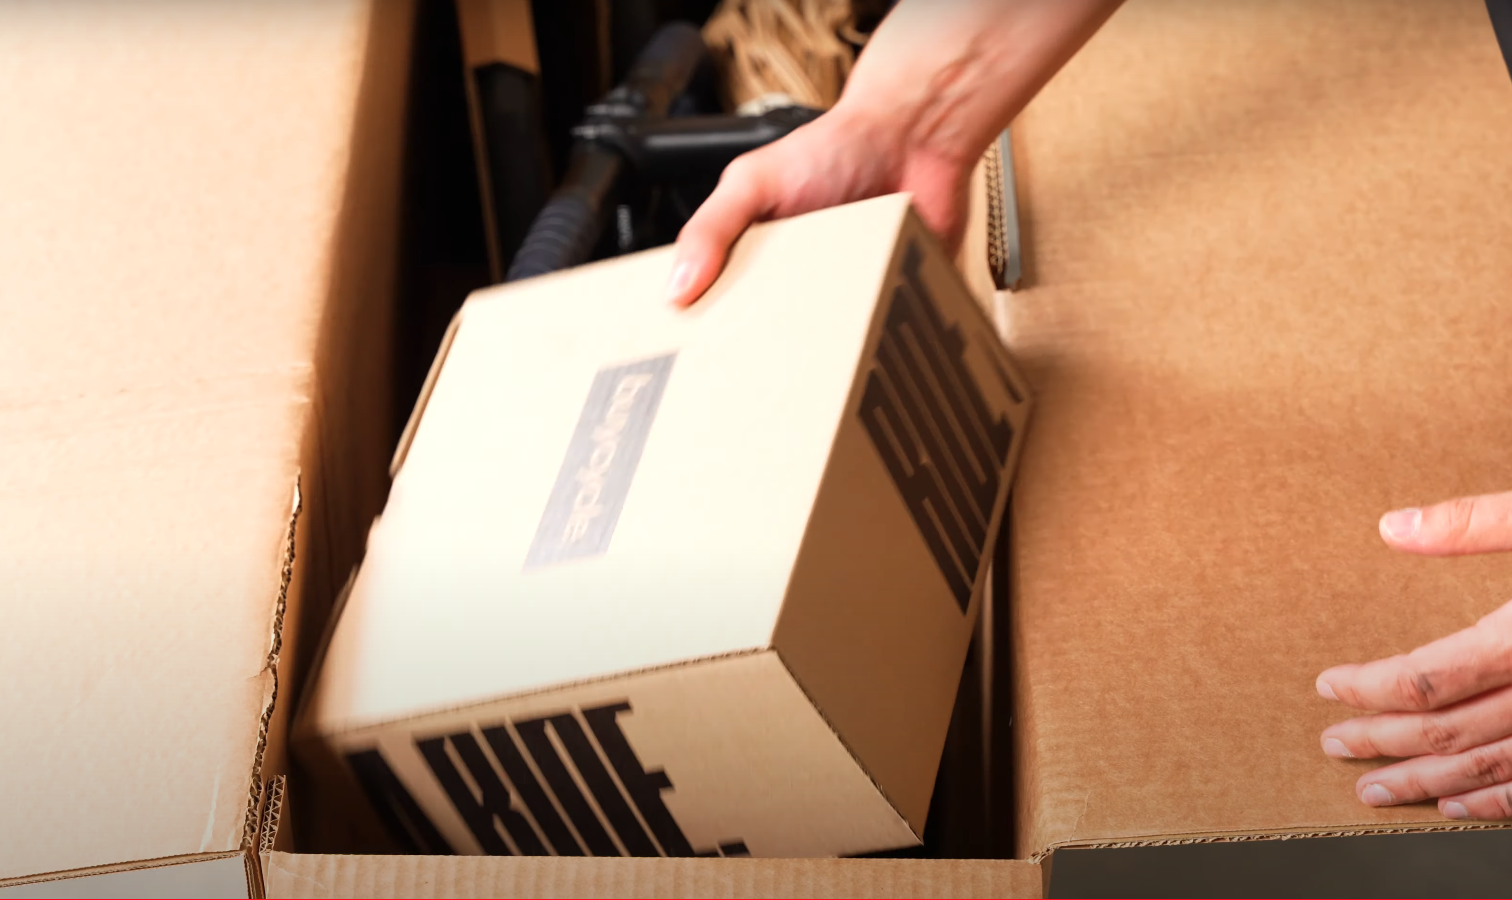
3. Don’t forget your accessories
Put the accessories box in the main bike box, close the top flaps, tape it all shut and you’re good to go!

6. Your bike is ready for shipment!
In conclusion, packing your bike securely when selling it is key to making sure it reaches its new owner in top condition. A well-protected bike not only prevents damage during transit but also leaves a good impression on the buyer. By following the right steps, using proper materials, and taking the time to pack it with care, you can ensure a smooth handover and a satisfied customer. Good luck with your sale, and here’s to your bike’s next great ride!